MariaDB(MySQL) C API
C, C++ 2021. 8. 29. 15:44 |반응형

MariaDB도 MySQL과 거의 비슷한 방식으로 C API를 사용할 수 있다.
2018.11.20 - [C, C++] - MySQL C API
기본적인 내용은 MySQL C API와 거의 같고 아래와 같이 Project Property Pages에 Include/Library Directories 및 파일 이름만 변경 된다.
- Project - XXX Properties... - Configuration Properties - C/C++ - General - Additional Include Directories - C:\Program Files\MariaDB 10.6\include
- Project - XXX Properties... - Configuration Properties - Linker - General - Additional Library Directories - C:\Program Files\MariaDB 10.6\lib
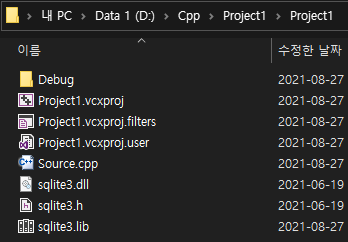
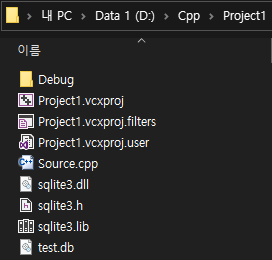
아래 두 파일은 프로젝트 폴더에 복사한다. (libmysql.lib, libmysql.dll 이 아니다)
- libmariadb.lib
- libmariadb.dll
|
1
2
3
4
5
6
7
8
9
10
11
12
13
14
15
16
17
18
19
20
21
22
23
24
25
26
27
28
29
30
31
32
33
34
35
36
37
38
39
40
41
42
43
44
45
46
47
48
49
50
51
52
53
54
55
56
57
|
#include <stdio.h>
#include <mysql/mysql.h>
#pragma comment (lib, "libmariadb.lib")
int main()
{
MYSQL mysql; // MariaDB(MySQL) 정보를 담을 구조체
MYSQL* mysqlPtr = NULL; // MariaDB(MySQL) connection 핸들러
MYSQL_RES* Result = NULL; // 쿼리 성공시 결과를 담는 구조체 포인터
MYSQL_ROW Row; // 쿼리 성공시 결과로 나온 행의 정보를 담는 구조체
int stat; // 쿼리 요청 후 결과
printf("MariaDB(MySQL) Client Version: %s\n\n", mysql_get_client_info());
// Returns client version information as a string
mysql_init(&mysql); // Gets or initializes a MYSQL structure
mysqlPtr = mysql_real_connect(&mysql, "127.0.0.1", "root", "password", "database", 3306, (char*)NULL, 0);
// Connects to a MariaDB(MySQL) server
if (mysqlPtr == NULL)
{
printf("MariaDB(MySQL) connection error: %s\n", mysql_error(&mysql));
// Returns the error message for the most recently invoked MariaDB(MySQL) function
return 1;
}
// MariaDB(MySQL)에서 사용하는 문자세트를 Visual Studio가 사용하는 euc-kr로 바꾸기
mysql_query(mysqlPtr, "set session character_set_connection=euckr");
mysql_query(mysqlPtr, "set session character_set_results=euckr");
mysql_query(mysqlPtr, "set session character_set_client=euckr");
const char* Query = "SELECT * FROM table";
stat = mysql_query(mysqlPtr, Query); // Executes an SQLquery specified as a null-terminated string
if (stat != 0)
{
printf("MariaDB(MySQL) connection error: %s\n", mysql_error(&mysql));
return 1;
}
Result = mysql_store_result(mysqlPtr); // Retrieves a complete result set to the client
printf("Number of rows: %I64d\nNumber of columns: %d\n\n", Result->row_count, Result->field_count);
while ((Row = mysql_fetch_row(Result)) != NULL) // Fetches the next row from the result set
{
for (unsigned int i = 0; i < Result->field_count; i++)
{
printf("%s ", Row[i]);
}
printf("\n");
}
mysql_free_result(Result); // Frees memory used by a result set
mysql_close(mysqlPtr); // Closes a server connection
return 0;
}
|
반응형
'C, C++' 카테고리의 다른 글
| Qt platform plugin error fix (0) | 2021.09.26 |
|---|---|
| Qt6 설치 및 간단한 사용법 (0) | 2021.09.25 |
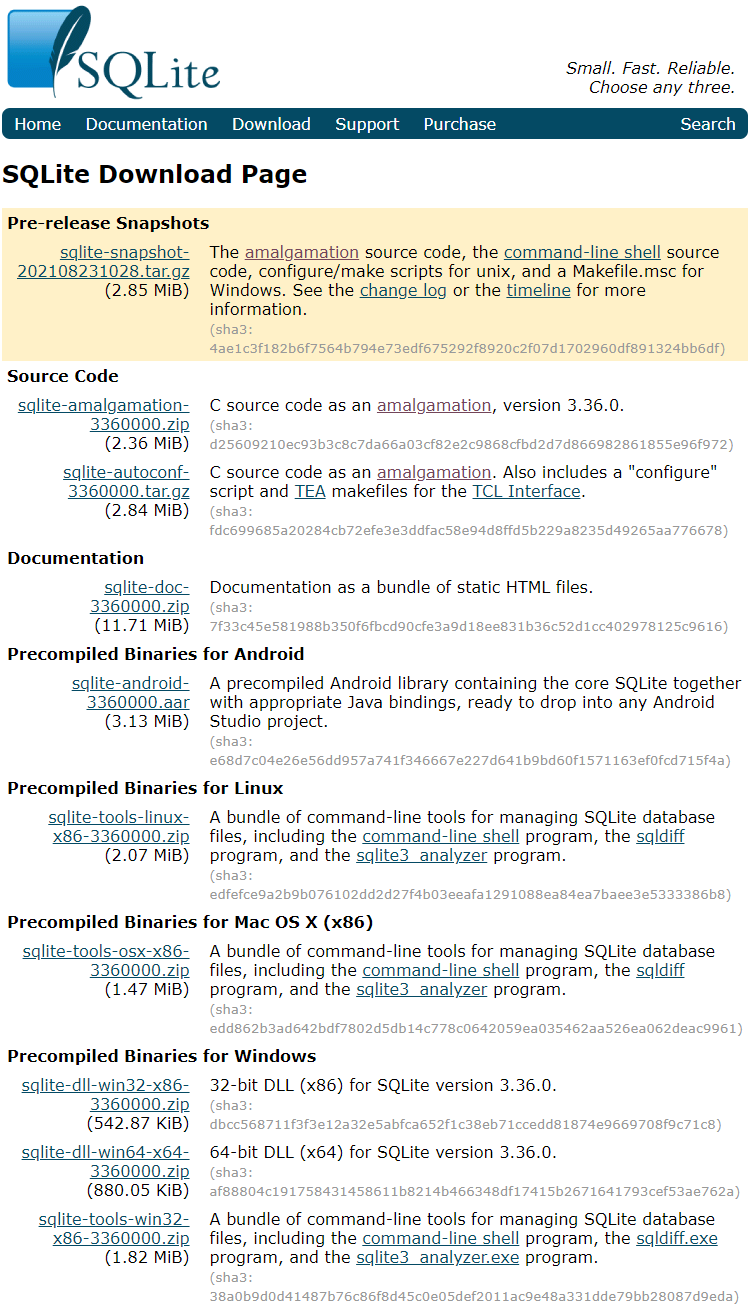
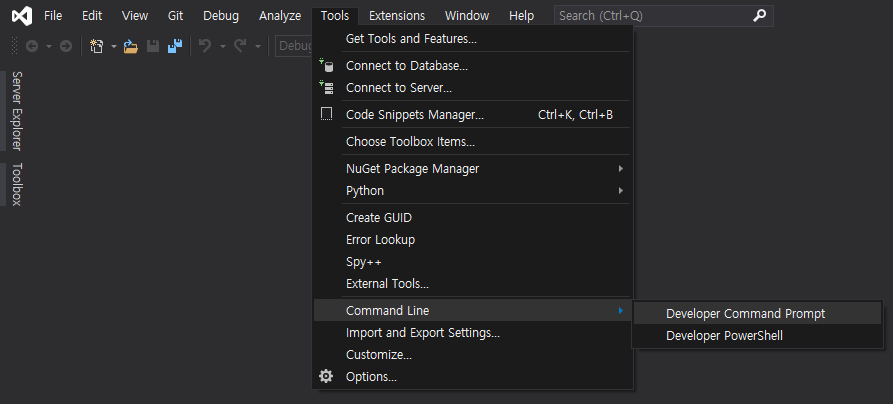
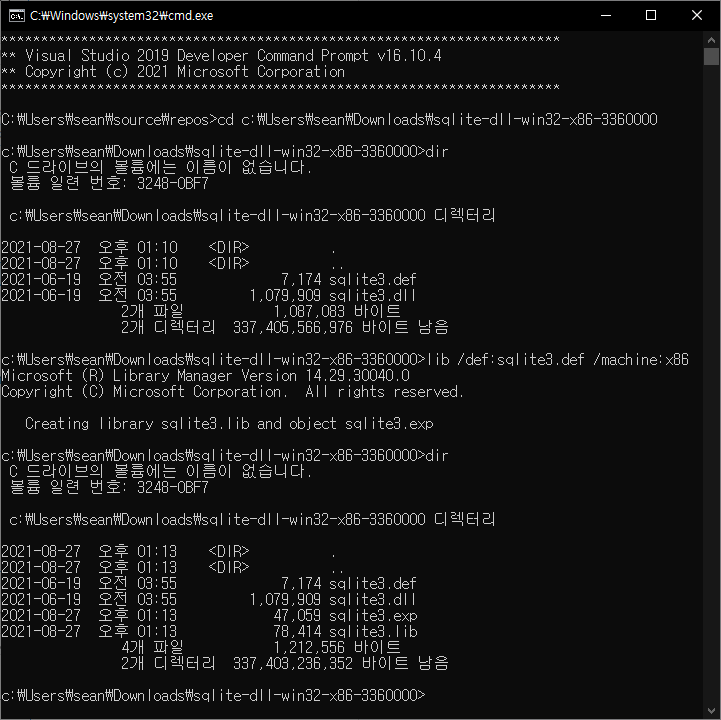
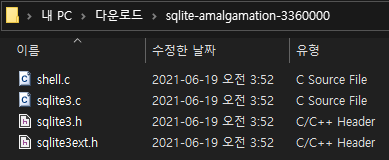
| SQLite - C/C++ (0) | 2021.08.27 |
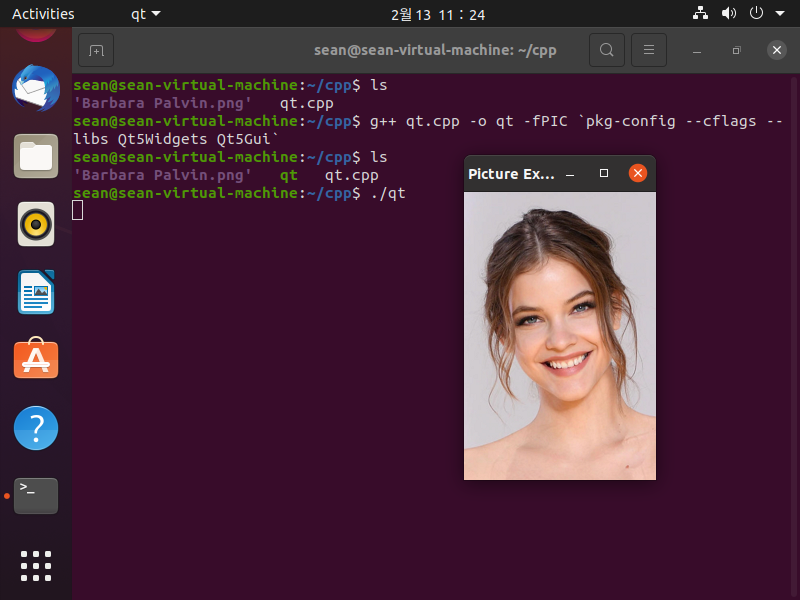
| Linux(Ubuntu) Qt5 Image Display - 리눅스(우분투) Qt5 이미지 디스플레이 (0) | 2021.02.13 |
| Linux(Ubuntu) Qt5 GUI Programming - 리눅스(우분투) Qt5 GUI 프로그래밍 (0) | 2021.02.12 |