[vLLM] WSL에서 vLLM 설치 및 간단한 실행
AI, ML, DL 2026. 6. 19. 13:29 |WSL에서 vLLM을 사용해보자.
■ WSL을 설치한다. 운영체제는 우분투 24.04를 설치한다.
우분투 26.04는 파이썬 3.14가 설치되어 있는데 현재 파이토치가 파이썬 3.13까지만 지원하기 때문에 파이토치 설치가 귀찮아진다.

■ pip3를 설치한다.
sudo apt update
sudo apt upgrade
sudo apt install python3-pip
pip3 --version (정상 설치 확인)

■ 파이썬 가상환경을 만들어 주는 venv를 설치한다.
sudo apt install python3-venv

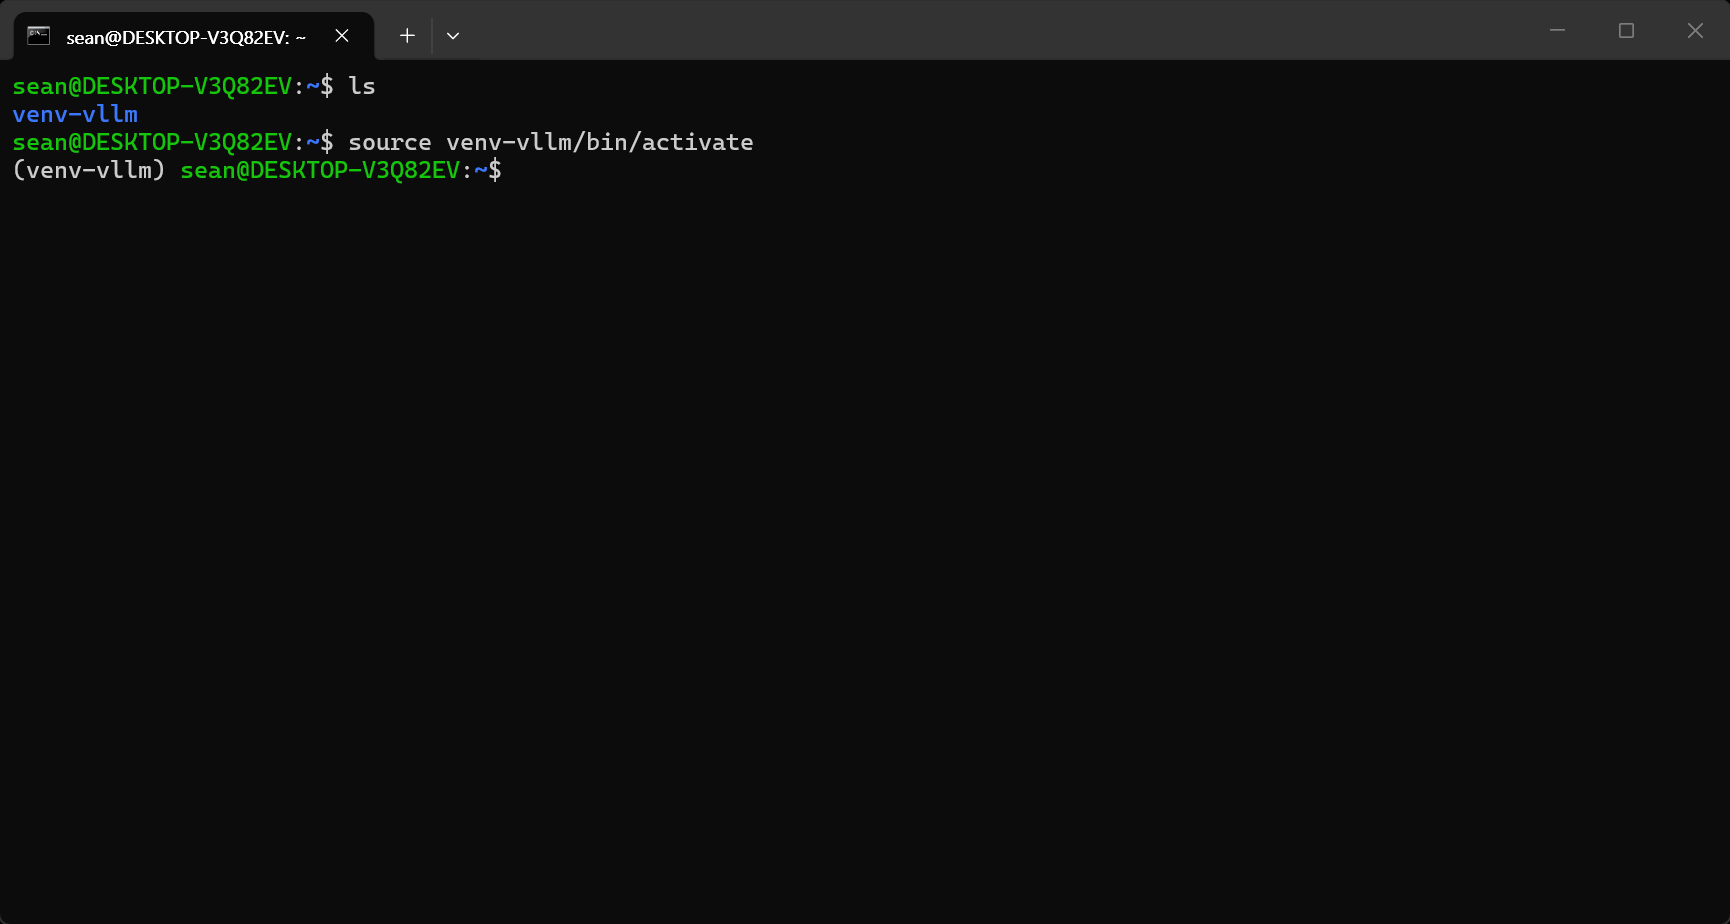
■ venv-vllm 디렉토리에 가상환경을 생성하고 활성화한다.
python3 -m venv venv-vllm
source venv-vllm/bin/activate
■ 파이토치를 설치한다. (CUDA 12.4)
pip3 install torch torchvision torchaudio --index-url https://download.pytorch.org/whl/cu124

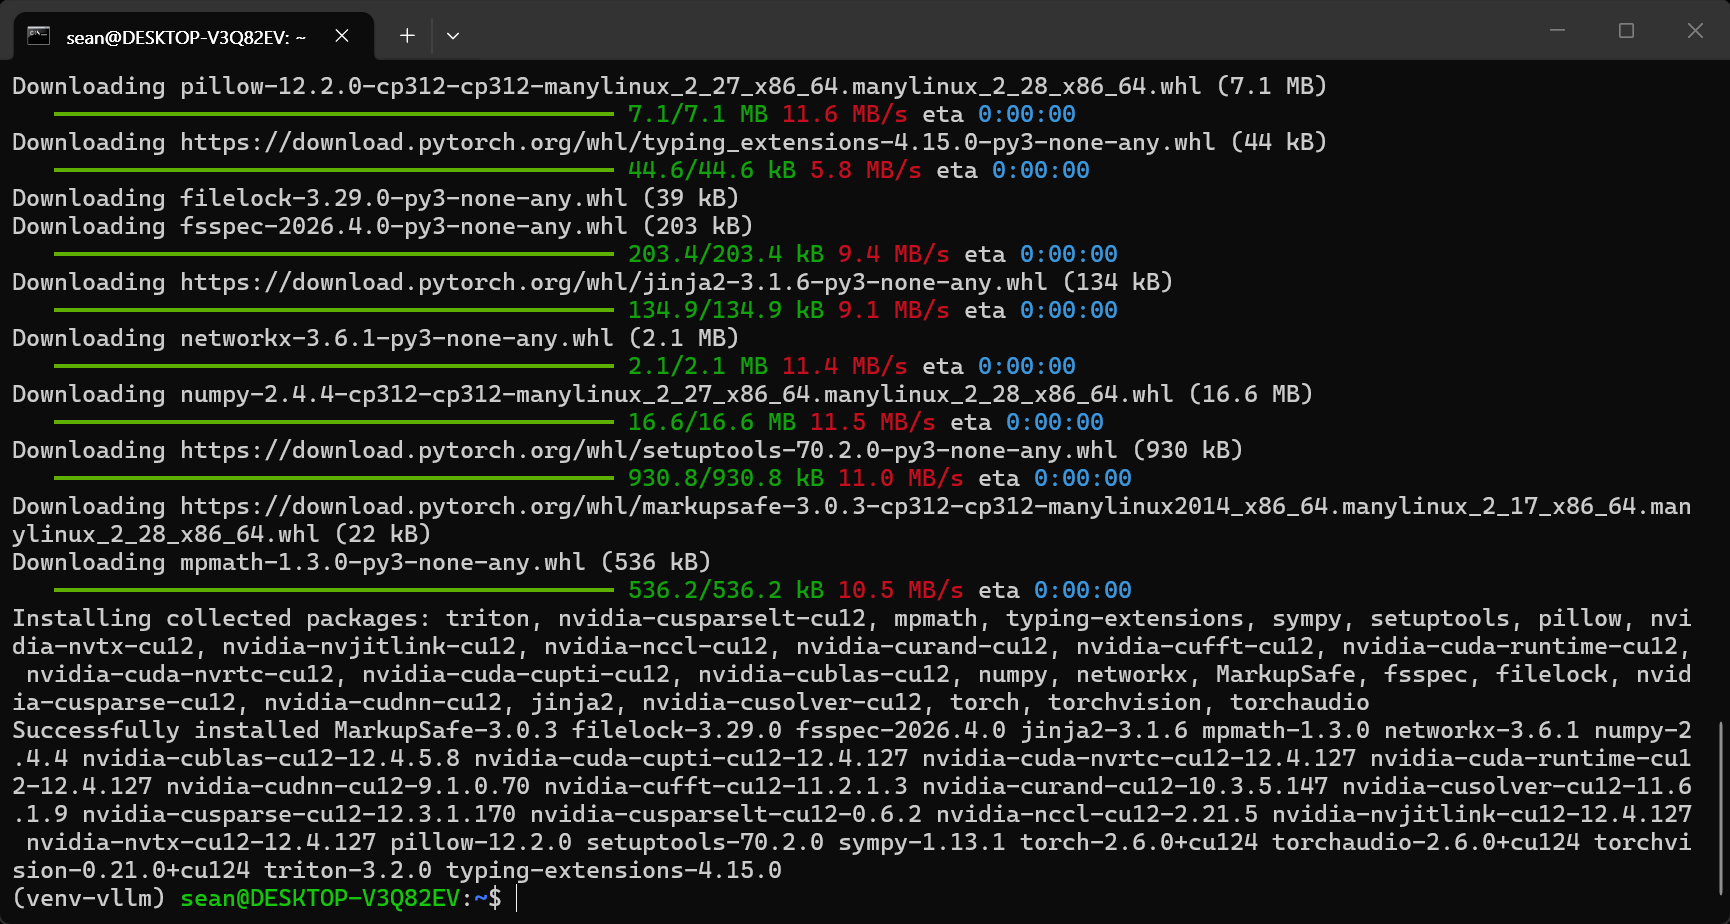
■ vLLM을 설치한다.
pip3 install vllm

■ vLLM을 실행하기 위해 CUDA Toolkit을 설치한다. (Cuda Toolkit 12.4)
wget https://developer.download.nvidia.com/compute/cuda/12.4.0/local_installers/cuda_12.4.0_550.54.14_linux.run
sudo sh cuda_12.4.0_550.54.14_linux.run
위 명령을 실행하면 잠시 멈춘 것처럼 시간이 좀 걸린다. 그리고 accept를 입력하고 다음 화면에서 CUDA Toolkit 12.4가 선택된 상태에서 Install을 선택한다. Driver는 옵션에 없었지만 있다면 선택해제한다. Driver를 설치하는 것이 아니다.
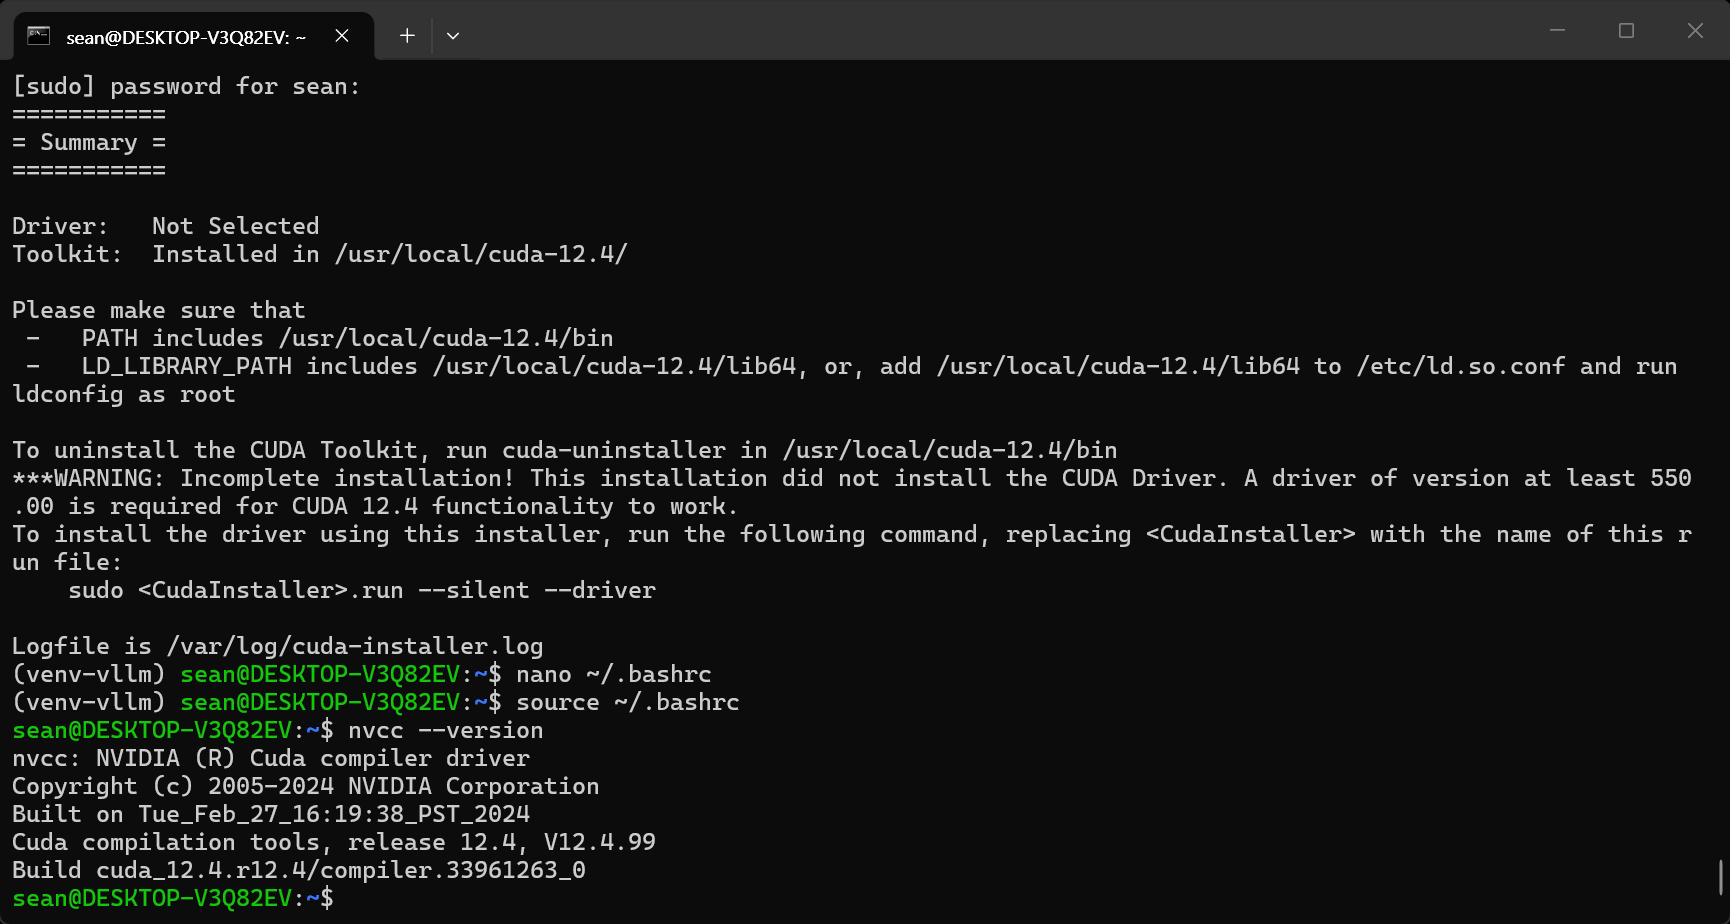
설치가 끝나면 아래와 같이 환경 변수를 등록한다.
nano ~/.bashrc 실행하고 파일 끝에 아래 내용 추가
export PATH=/usr/local/cuda-12.4/bin${PATH:+:${PATH}}
export LD_LIBRARY_PATH=/usr/local/cuda-12.4/lib64${LD_LIBRARY_PATH:+:${LD_LIBRARY_PATH}}
source ~/.bashrc 실행 (이 명령을 실행하고 나면 파이썬 가상환경이 풀린다)
nvcc --version 명령을 실행하면 버전이 표시된다.
■ vLLM에서 LGAI EXAON 모델을 사용하는 예
import os

# vLLM에서 FlashInfer 기반의 고속 셈플링(Sampling) 기능을 끄고, 안정적인 PyTorch 네이티브(기본)
# 셈플링 방식으로 되돌리기(Fallback).
os.environ["VLLM_USE_FLASHINFER_SAMPLER"] = "0"
# vLLM은 내부적으로 가속 연산을 위해 FlashInfer라는 라이브러리를 사용하는데 이 라이브러리는
# NVIDIA Turing 아키텍처(Compute Capability sm75) 이상의 GPU에서만 작동한다. 사용하는 그래픽카드가
# 소형 모델 구동용(VRAM 8GB 수준)이면서 sm75보다 낮은 구형 아키텍처(예: GTX 10시리즈인 Pascal 아키텍처 sm61 등)
# 이면 문제가 발생한다.
# 해결 방법: vllm 패키지를 로드하기 전에 os.environ을 통해 FlashInfer 가속 비활성화하기

from vllm import LLM, SamplingParams

def main():
    # 모델 로드
    llm = LLM(
        model="LGAI-EXAONE/EXAONE-Deep-2.4B-AWQ",
        trust_remote_code=True,
        gpu_memory_utilization=0.7
    )
# vLLM은 기본적으로 GPU 메모리의 90%(0.9)를 미리 할당하기 때문에, 낮은 성능의 GPU에서는
# OOM(메모리 부족) 에러를 방지하거나 다른 프로세스와 GPU를 나누어 쓰려면 gpu_memory_utilization
# 옵션이 필수적이다.

    # 파라미터 설정
    sampling_params = SamplingParams(
        temperature=0.0,
        top_p=0.95,
        max_tokens=1024,
        repetition_penalty=1.1
    )

    # 질문 리스트
    raw_questions = [
        "대한민국의 수도는 어디인가요?",
        "인공지능은 무엇인가요?"
    ]

    # vLLM 공식 Chat Template 적용
    prompts = []
    tokenizer = llm.get_tokenizer()
    for q in raw_questions:
        messages = [{"role": "user", "content": q}]
        formatted_prompt = tokenizer.apply_chat_template(messages, tokenize=False, add_generation_prompt=True)
        prompts.append(formatted_prompt)

    # 텍스트 생성
    outputs = llm.generate(prompts, sampling_params)

    # 결과 출력 (내장함수로 태그 뒤쪽만 추출)
    for i, output in enumerate(outputs):
        prompt = raw_questions[i]
        # output.prompt로 프롬프트를 추출할 수도 있지만 불필요한 태그가 많이 따라온다. 정제과정이 필요.
        generated_text = output.outputs[0].text

        # </thought> 태그가 존재한다면 그 태그 뒷부분([1])만 추출한다
        if "</thought>" in generated_text:
            clean_answer = generated_text.split("</thought>")[1]
        else:
            clean_answer = generated_text

        print(f"==========================================")
        print(f"질문: {prompt}")
        print(f"답변: {clean_answer.strip()}")
        print(f"==========================================\n")

if __name__ == "__main__":
    main()

위 코드에서는 토큰 없이 허가되지 않은 접근을 하고 있기 때문에 다운로드가 느리다고 한다. 토큰을 받고 빠르게 다운로드하는 방법은 맨 아래 내용을 참고하자.


import os
os.environ["VLLM_USE_FLASHINFER_SAMPLER"] = "0"

from vllm import LLM, SamplingParams

def main():
    llm = LLM(
        model="LGAI-EXAONE/EXAONE-Deep-2.4B-AWQ",
        trust_remote_code=True,
        gpu_memory_utilization=0.7
    )

    sampling_params = SamplingParams(
        temperature=0.0,
        top_p=0.95,
        max_tokens=1024,
        repetition_penalty=1.1
    )

    raw_questions = [
        "대한민국의 수도는 어디인가요?",
        "인공지능에 대해 한 문장으로 요약해줘."
    ]

    prompts = []
    tokenizer = llm.get_tokenizer()
    for q in raw_questions:
        messages = [{"role": "user", "content": q}]
        formatted_prompt = tokenizer.apply_chat_template(messages, tokenize=False, add_generation_prompt=True)
        prompts.append(formatted_prompt)

    outputs = llm.generate(prompts, sampling_params)

    for i, output in enumerate(outputs):
        prompt = raw_questions[i]
        generated_text = output.outputs[0].text

        if "</thought>" in generated_text:
            clean_answer = generated_text.split("</thought>")[1]
        else:
            clean_answer = generated_text

        print(f"==========================================")
        print(f"질문: {prompt}")
        print(f"답변: {clean_answer.strip()}")
        print(f"==========================================\n")

    print(outputs)

if __name__ == "__main__":
    main()
짧은 답변이 나오도록 질문을 바꾸고 전체 결과가 출력되도록 print(outputs) 명령을 추가했다.
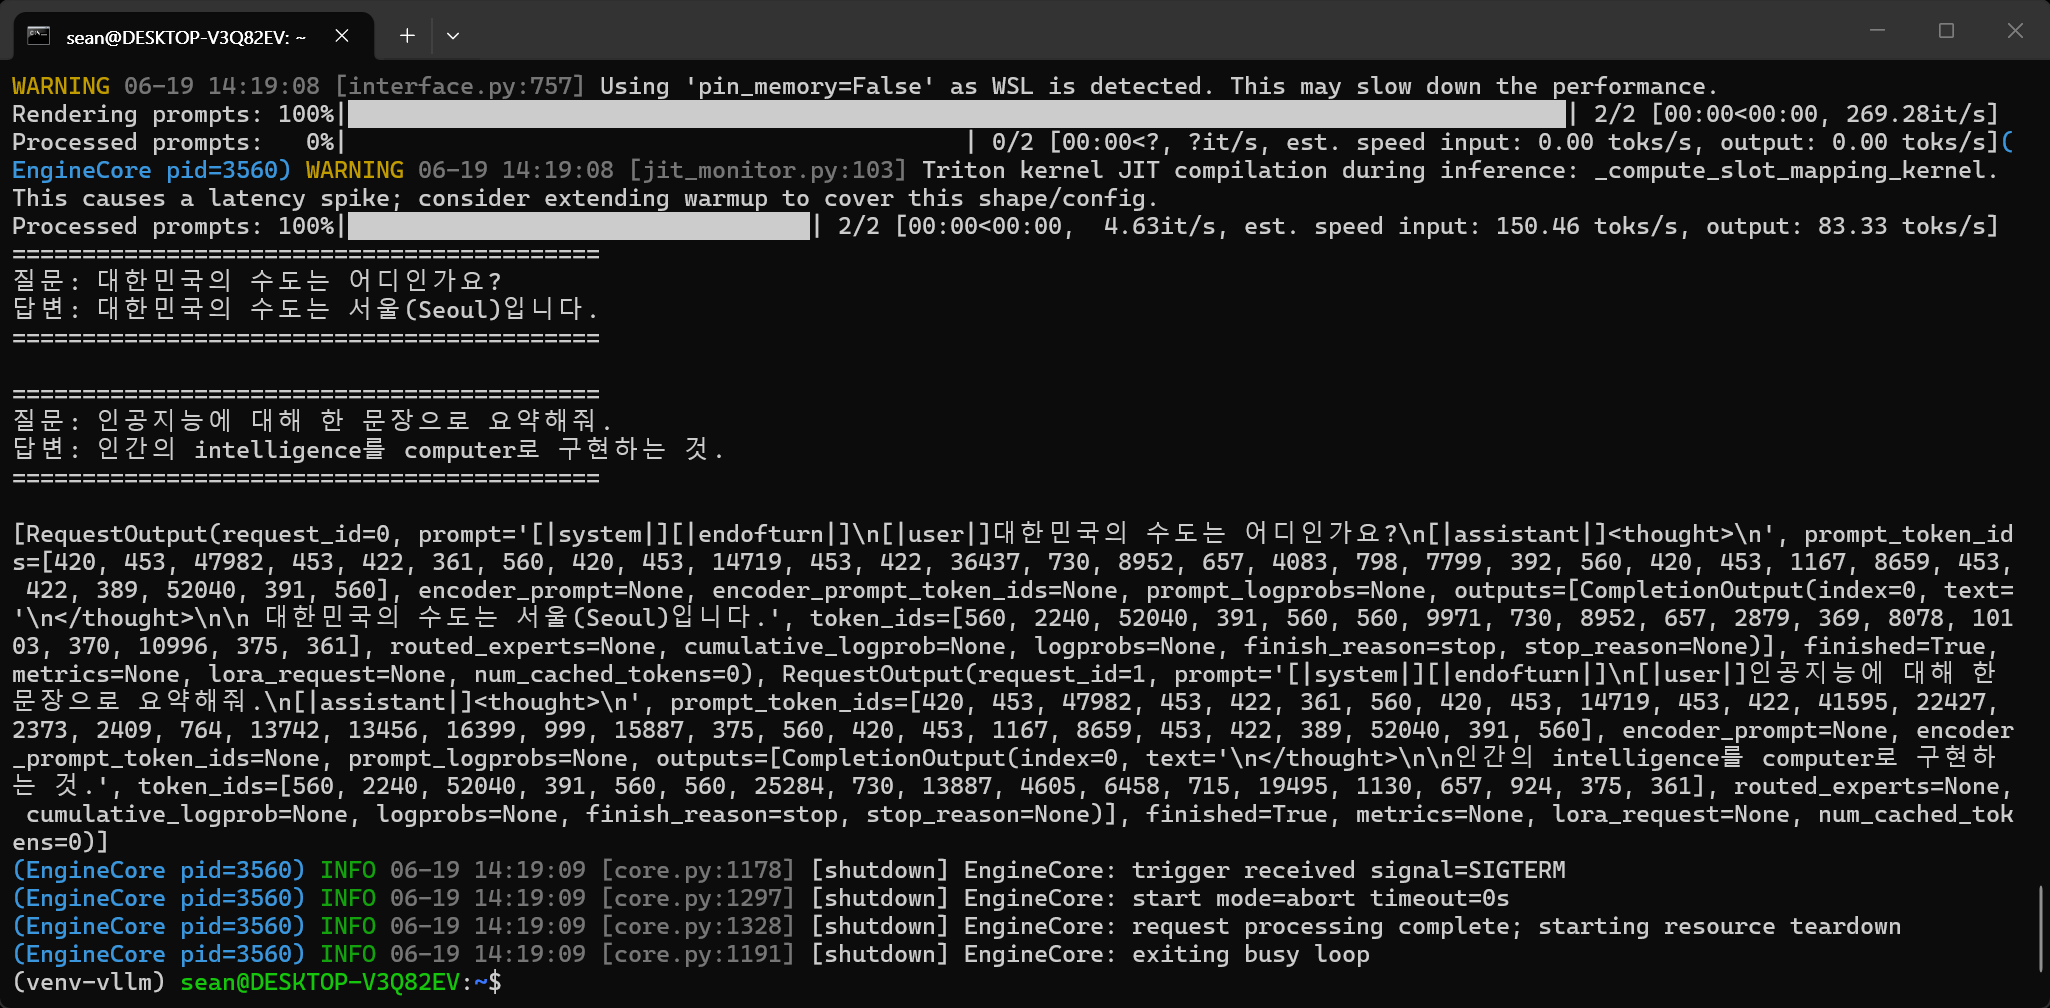
[RequestOutput(request_id=0, prompt='[|system|][|endofturn|]\n[|user|]대한민국의 수도는 어디인가요?\n[|assistant|]<thought>\n', prompt_token_ids=[420, 453, 47982, 453, 422, 361, 560, 420, 453, 14719, 453, 422, 36437, 730, 8952, 657, 4083, 798, 7799, 392, 560, 420, 453, 1167, 8659, 453, 422, 389, 52040, 391, 560], encoder_prompt=None, encoder_prompt_token_ids=None, prompt_logprobs=None, outputs=[CompletionOutput(index=0, text='\n</thought>\n\n 대한민국의 수도는 서울(Seoul)입니다.', token_ids=[560, 2240, 52040, 391, 560, 560, 9971, 730, 8952, 657, 2879, 369, 8078, 10103, 370, 10996, 375, 361], routed_experts=None, cumulative_logprob=None, logprobs=None, finish_reason=stop, stop_reason=None)], finished=True, metrics=None, lora_request=None, num_cached_tokens=0), RequestOutput(request_id=1, prompt='[|system|][|endofturn|]\n[|user|]인공지능에 대해 한 문장으로 요약해줘.\n[|assistant|]<thought>\n', prompt_token_ids=[420, 453, 47982, 453, 422, 361, 560, 420, 453, 14719, 453, 422, 41595, 22427, 2373, 2409, 764, 13742, 13456, 16399, 999, 15887, 375, 560, 420, 453, 1167, 8659, 453, 422, 389, 52040, 391, 560], encoder_prompt=None, encoder_prompt_token_ids=None, prompt_logprobs=None, outputs=[CompletionOutput(index=0, text='\n</thought>\n\n인간의 intelligence를 computer로 구현하는 것.', token_ids=[560, 2240, 52040, 391, 560, 560, 25284, 730, 13887, 4605, 6458, 715, 19495, 1130, 657, 924, 375, 361], routed_experts=None, cumulative_logprob=None, logprobs=None, finish_reason=stop, stop_reason=None)], finished=True, metrics=None, lora_request=None, num_cached_tokens=0)]
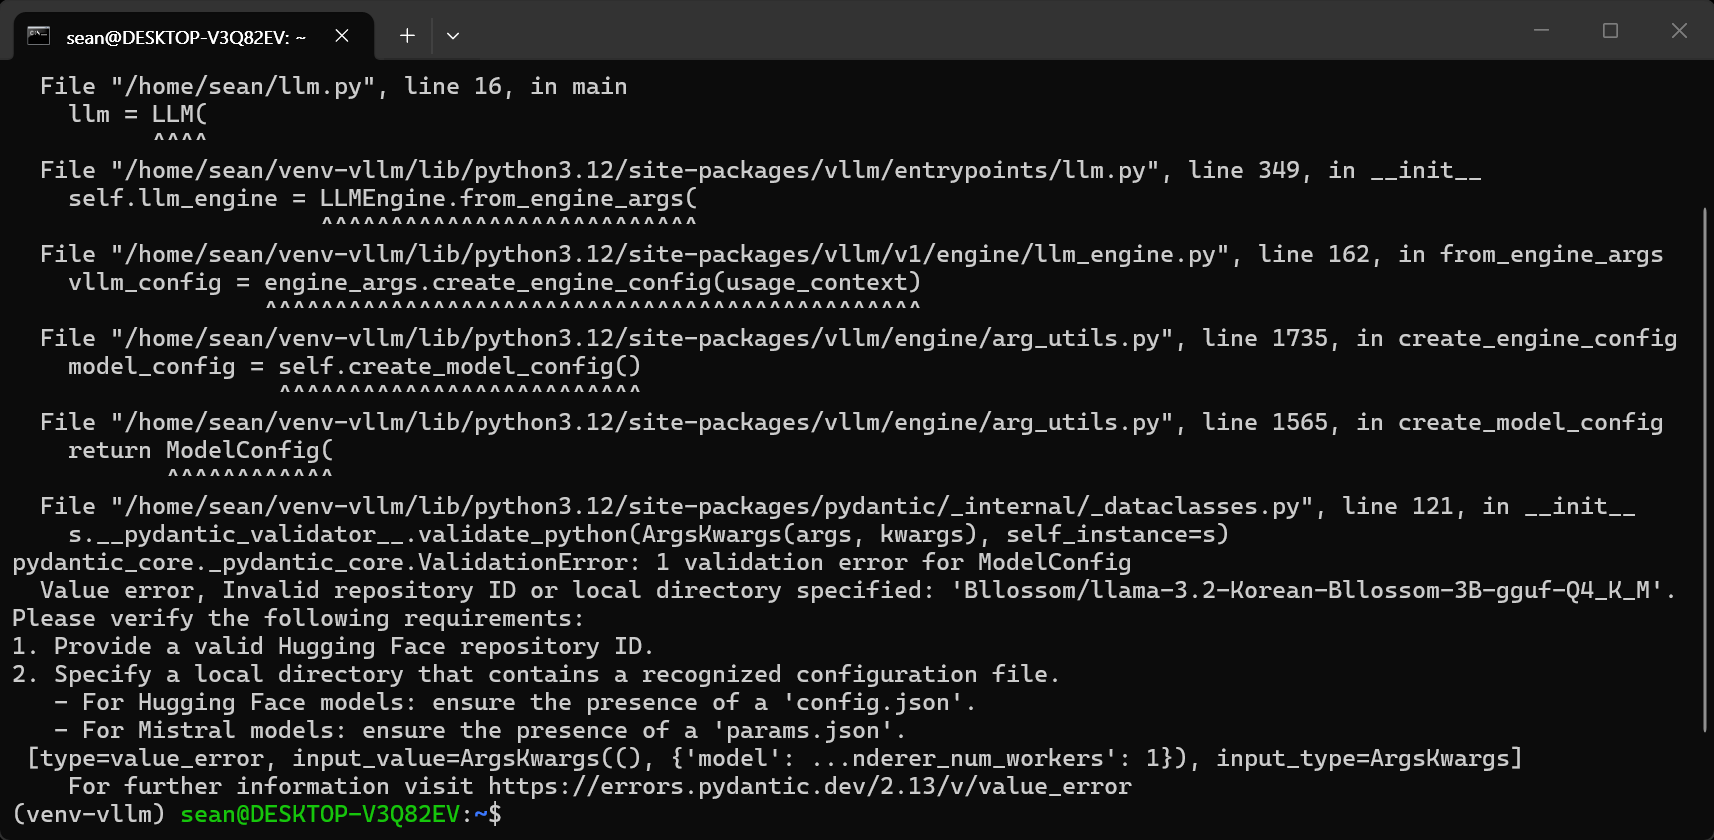
그런데 이렇게 진행하는 모델은 내부에 config.json 파일이 있어야 한다. (정확히는 gguf 포맷의 모델은 바로 사용할 수 없다는 것이다)
예를 들어 EXAON은 config.json 파일이 있지만 Bllossom-3B-gguf-Q4_k_M은 없다. 그래서 Bllossom-3B-gguf-Q4_k_M은 vLLM에서 바로 사용할 수 없다. (아래 참고 1~2를 참고한다)


※ 참고 1
■ Hugging Face에서 (Bllossom-3B-gguf-Q4_K_M) 모델 다운로드하기
hf 명령어를 사용한다. huggingface-cli는 더 이상 사용하지 않는다. 위 과정을 진행했다면 hf(Hugging Face Hub CLI)는 이미 설치되어 있다.

파이썬 가상화 환경을 시작한다.
hf auth login
Paste an access token 옵션을 선택하고 Profile - Settings - Access Tokens에서 생성한 토큰을 붙여넣는다.
로그인이 완료된다.
로그인 확인하기
hf auth whoami
Bllossom-3B-gguf-Q4_K_M 모델 다운로드하기
hf download Bllossom/llama-3.2-Korean-Bllossom-3B-gguf-Q4_K_M
로그인하지 않은 상태에서 다운로드하면 느리게 진행되지만 로그인을 했으므로 빠르게 진행된다.
모델 다운로드 위치
/home/sean/.cache/huggingface/hub/
예) /home/sean/.cache/huggingface/hub/models--Bllossom--llama-3.2-Korean-Bllossom-3B-gguf-Q4
※ 참고 2
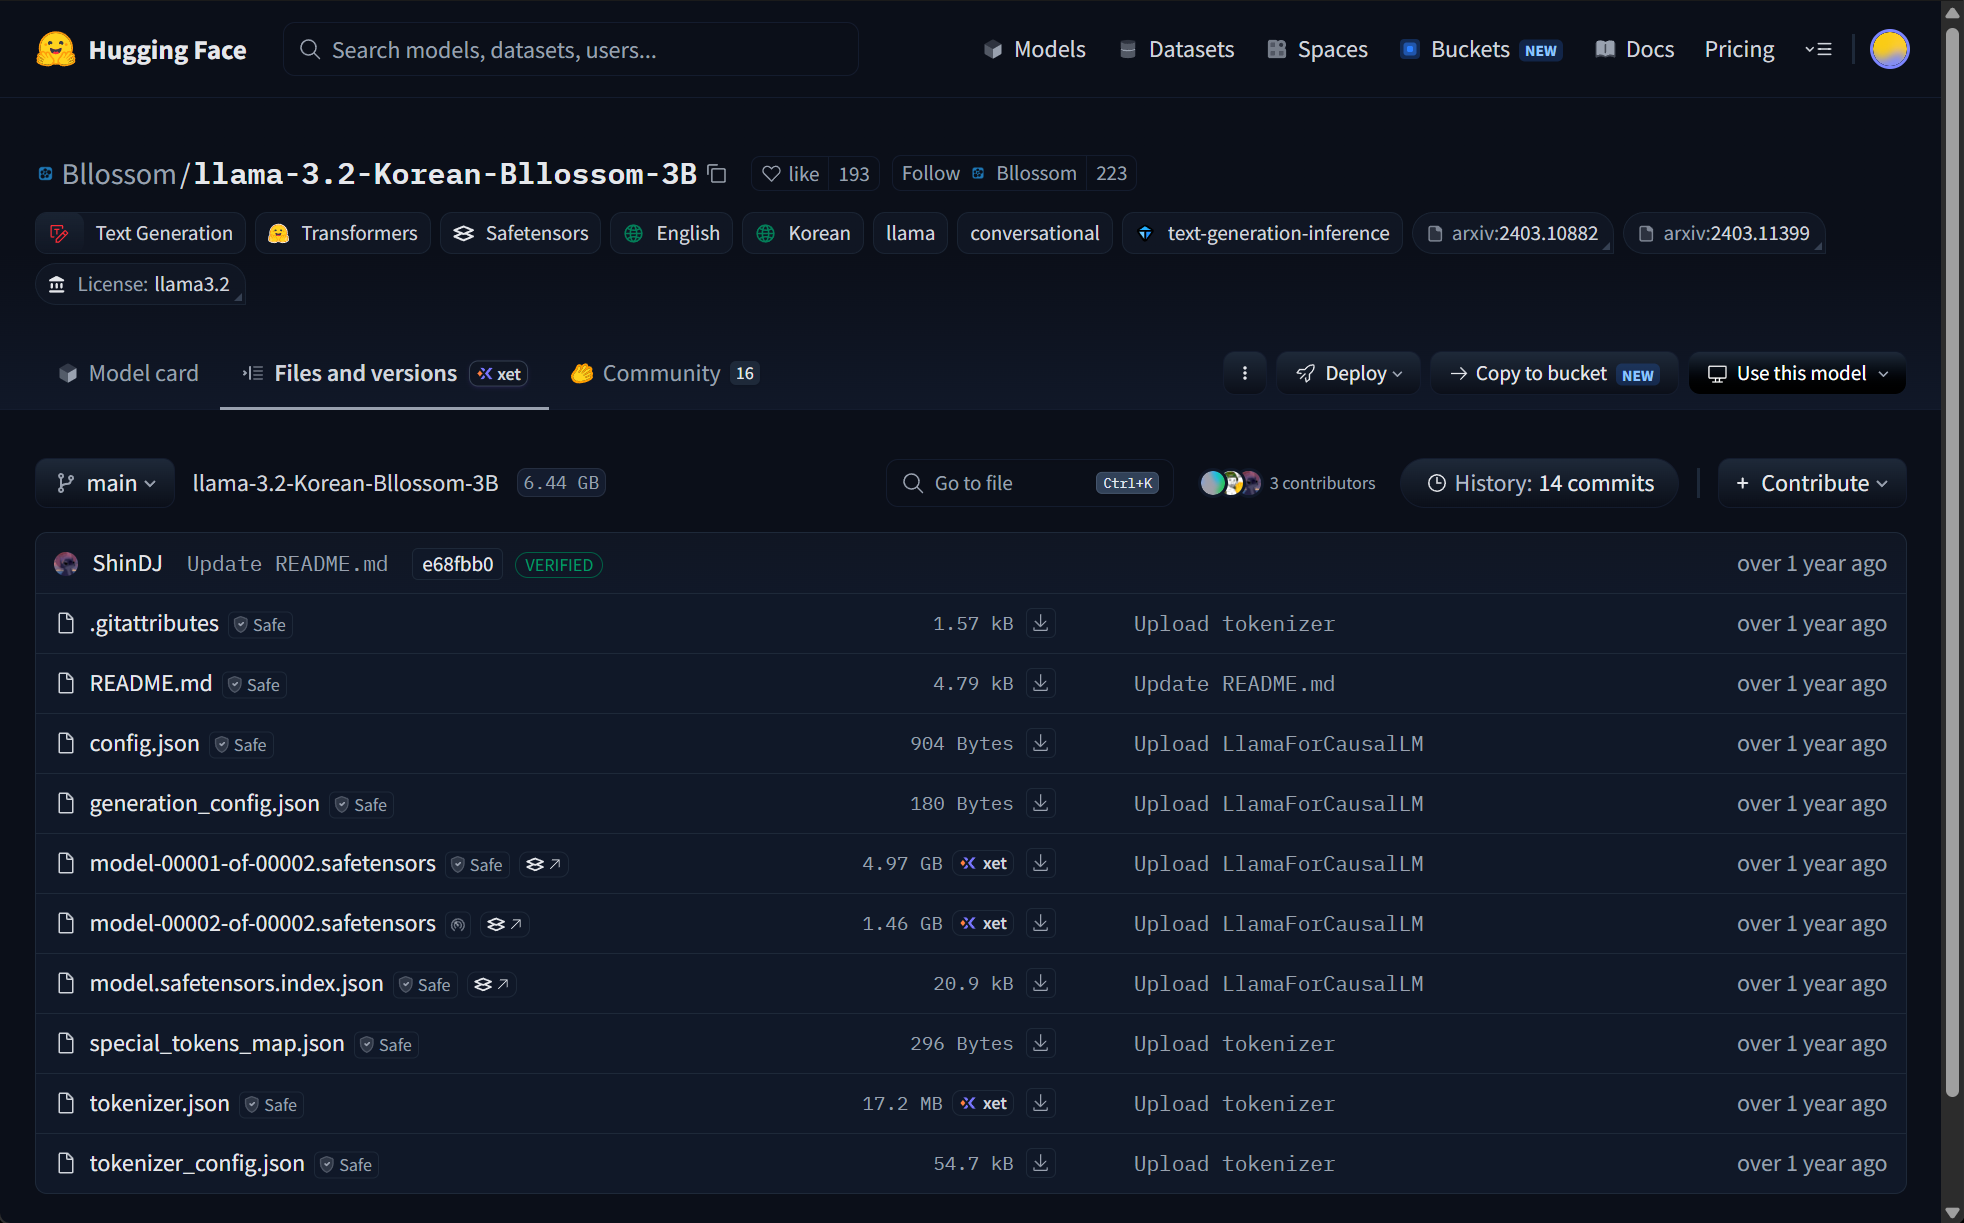
Bllossom-3B-gguf-Q4_K_M 같은 gguf 포맷 모델 저장소에는 config.json 파일이 포함되어 있지 않다. guff 파일은 모델의 가중치뿐만 아니라 토크나이저 설정, 레이어 수, 아키텍처 정보 등 config.json에 들어가는 모든 메타데이터를 단일 guff 파일 내부에 바이너리 형태로 통합하여 저장하기 때문이다. 모델의 메타데이터와 아키텍처 구조를 확인하거나 다른 라이브러리와 호환을 맞추기 위해 json 파일이 필요하다면 양자화되기 전 원본 모델 저장소인 Bllossom/llama-3.2-Korean-Bllossom-3B에 있는 config.json 및 토크나이저 설정 파일들을 사용하면 된다. (설정 파일을 직접 다운로드 받아 gguf 파일이 있는곳에 저장할 필요는 없다)
llm = LLM(
        model="/home/sean/.cache/huggingface/hub/models--Bllossom--llama-3.2-Korean-Bllossom-3B-gguf-Q4_K_M/snapshots/c07b7a0f2688d1212612b653a752a0dfe4e18bae/llama-3.2-Korean-Bllossom-3B-gguf-Q4_K_M.gguf",
        # 모델은 저장된 경로와 이름을 정확히 적어준다.
        tokenizer="Bllossom/llama-3.2-Korean-Bllossom-3B",
        # 토크나이저는 저장소 이름을 적어줘도 된다.
        trust_remote_code=True,
        gpu_memory_utilization=0.7,
        dtype="float16",
    )
하지만 위와 같이 LLM 클래스를 생성하면 될 것 같은데, WSL에서 실행하면 계속 UVA 관련 에러가 발생한다. WSL이 아닌 리눅스를 네이티브 운영체제로 사용하는 환경에서 테스트해 봐야 할 것 같다.
또한 vLLM에서 gguf 포맷 모델 사용은 실험적 단계이며 특별한 제약과 조건이 있어 추천하지 않는다. vLLM은 AWQ, GPTQ, FP8 같은 GPU 네이티브 양자화 포맷에서 제대로 된 성능이 나온다. gguf 포맷 모델을 로컬 환경에서 편하고 안정적으로 사용하려면 Ollama를 사용하자.
GGUF(GPT-Generated Unified Format)는 인공지능 모델(특히 LLM)을 개인 PC나 노트북 같은 로컬 환경에서 빠르고 효율적으로 실행하기 위해 설계된 단일 파일 모델 포맷이다.
3B: 모델의 매개변수가 30억 개이다. (3 Billion)
Q4: 4비트 양자화를 의미. 원래 16비트인 모델을 4비트로 압축하여 파일 용량과 메모리를 1/4로 줄였다는 뜻.
K_M: 양자화 기법의 종류. 보통 _L(Large), _M(Medium), _S(Small) 로 나뉘며, Q4_K_M은 성능 저하를 최소화하면서 용량을 줄인 가장 대중적이고 밸런스가 좋은 기법이다.
■ UVA
WSL에서 UVA는 일반적으로 엔비디아(NVIDIA)의 Unified Virtual Addressing(통합 가상 주소) 기술을 의미합니다.
이는 GPU가 컴퓨터 메모리(RAM)와 GPU 자체 메모리를 하나의 주소 공간으로 다룰 수 있게 해주는 기술입니다. WSL 환경에서는 AI/머신러닝(예: PyTorch)을 구동할 때 GPU 가속을 위해 필수적으로 사용되는 핵심 기능입니다.
WSL에서 UVA가 중요한 이유
1. 메모리 접근 단순화: CPU 메모리와 GPU 메모리 간의 데이터를 복사할 때 위치를 일일이 지정할 필요가 없습니다.
2. AI 및 딥러닝 가속: vLLM이나 대형 모델(LLM) 학습 시 VRAM 부족을 해결하기 위해 CPU RAM을 공유해 사용할 때(CPU Offloading), 이 기술이 필수적으로 작동해야 합니다.
3. 호환성 이슈 해결: 종종 WSL 환경에서 이 기능이 제대로 감지되지 않으면 메모리 오류가 발생하거나 가속 기능이 작동하지 않을 수 있습니다.

※ 참고 3

※ 참고 4
'AI, ML, DL' 카테고리의 다른 글
| [Hugging Face] Hugging Face Python Libraries 허깅 페이스 파이썬 라이브러리 (0) | 2026.07.04 |
|---|---|
| [vLLM] WSL에서 vLLM 서버 실행하고 사용하기 (2) | 2026.06.21 |
| [YOLO] YOLO-World (0) | 2026.06.16 |
| [Ollama] Ollama Backend Serve 백엔드 실행 (0) | 2026.06.14 |
| [Ollama] llava 동영상 분석 (0) | 2026.06.14 |