[raylib] raylib with opencv
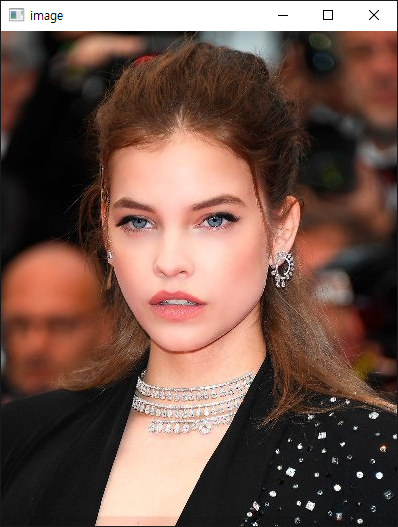
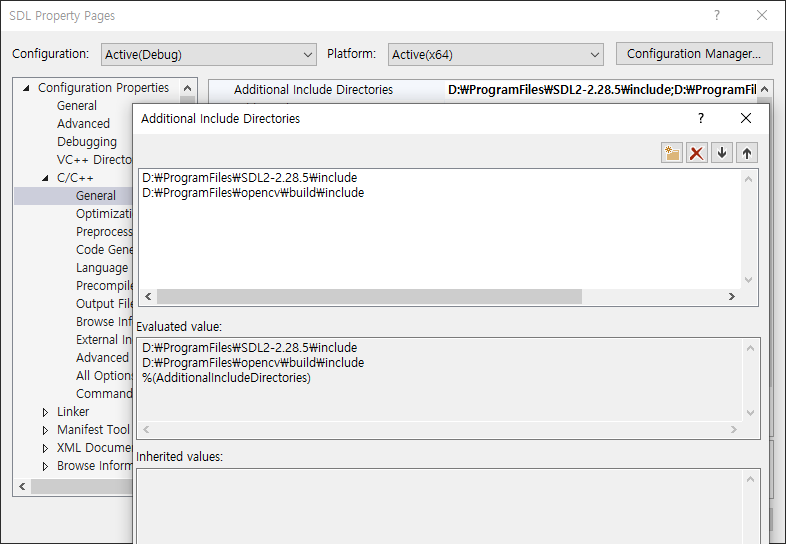
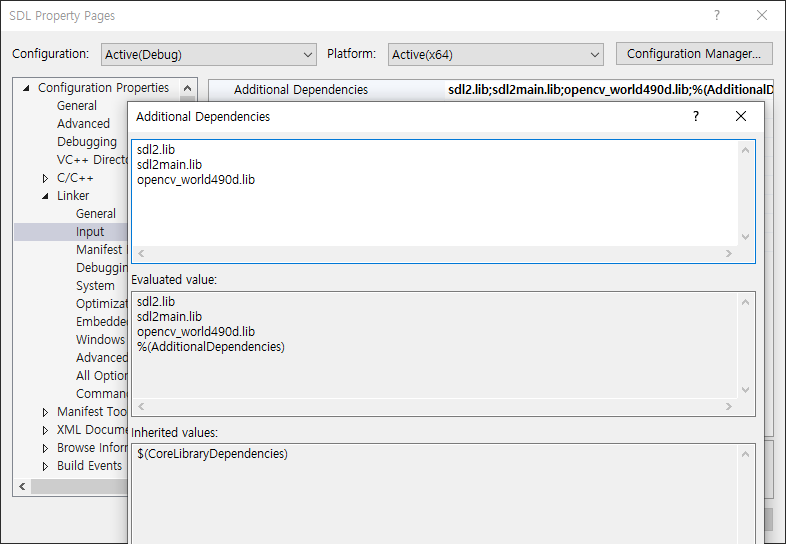
SDL, raylib 2025. 5. 3. 11:16 |raylib와 opencv를 사용해 보자.
|
1
2
3
4
5
6
7
8
9
10
11
12
13
14
15
16
17
18
19
20
21
22
23
24
25
26
27
28
29
30
31
32
33
34
35
36
37
38
39
40
41
42
43
|
#include "raylib.h"
#include "opencv2/opencv.hpp"
using namespace cv;
int main(void)
{
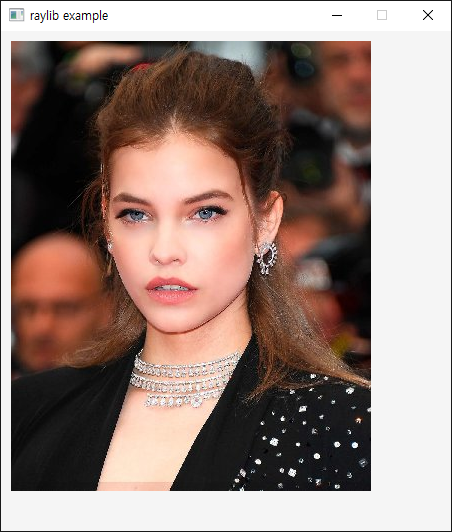
Mat cvimage = imread("palvin.jpg", IMREAD_COLOR_RGB);
Image rayimage{};
rayimage.width = cvimage.cols;
rayimage.height = cvimage.rows;
rayimage.format = PIXELFORMAT_UNCOMPRESSED_R8G8B8;
rayimage.mipmaps = 1;
rayimage.data = cvimage.ptr(); //(void*)(cvimage.data);
const int screenWidth = 450;
const int screenHeight = 500;
InitWindow(screenWidth, screenHeight, "raylib example");
SetTargetFPS(60);
// NOTE: Textures MUST be loaded after Window initialization (OpenGL context is required)
Texture2D texture = LoadTextureFromImage(rayimage);
while (!WindowShouldClose())
{
BeginDrawing();
ClearBackground(RAYWHITE);
DrawTexture(texture, 10, 10, WHITE);
EndDrawing();
}
//UnloadImage(rayimage);
// LoadImage()로 로드한 이미지에만 사용.
UnloadTexture(texture);
CloseWindow();
return 0;
}
|
raylib에서 texture는 윈도우가 생성된 이후 로드되어야 한다.
'SDL, raylib' 카테고리의 다른 글
| [raylib] Particle 파티클 (Snow) (0) | 2025.05.04 |
|---|---|
| [raylib] Transparent Window(Window Flags) (0) | 2025.05.03 |
| [raylib] raylib 설정하고 사용하기 (0) | 2025.05.02 |
| [SDL3] Framerate Per Second FPS (0) | 2025.04.22 |
| [SDL3] Snapshot(Screenshot) 스냅샷 (0) | 2025.04.20 |


