Unity3D - 유니티 3D with OpenCV 1 (C#에서 C++ 라이브러리 사용하기)
Unity 2021. 12. 30. 14:39 |유니티에서 OpenCV를 사용할 수 있도록 라이브러리(DLL)를 만들어 보자.
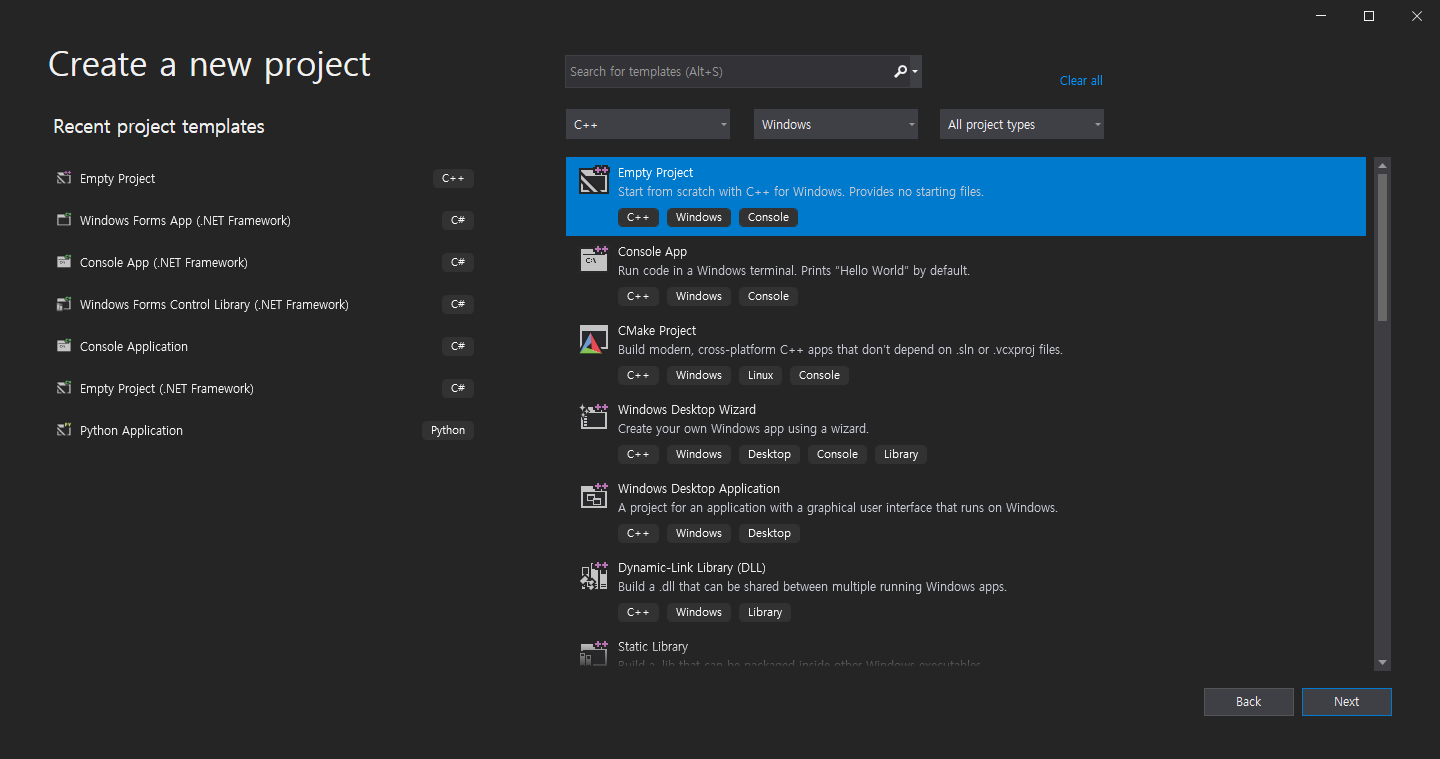


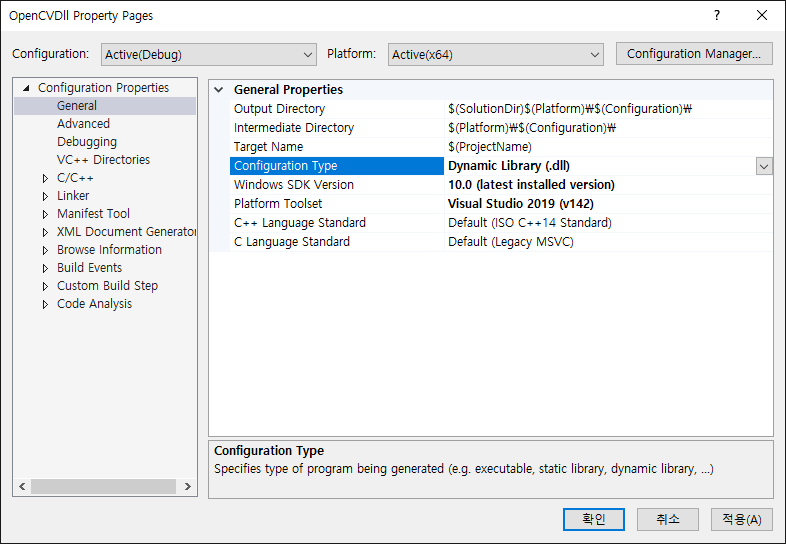
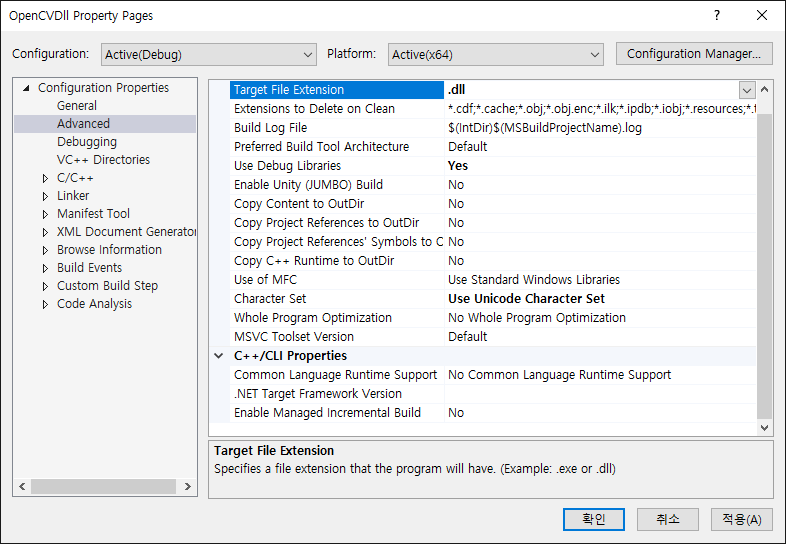


|
1
2
3
4
5
6
7
8
9
10
11
12
13
14
15
16
|
#include <opencv2/opencv.hpp>
struct Color32
{
uchar red;
uchar green;
uchar blue;
uchar alpha;
};
extern "C" __declspec(dllexport) void FlipImage(Color32 **rawImage, int width, int height)
{
using namespace cv;
Mat image(height, width, CV_8UC4, *rawImage);
flip(image, image, -1);
}
|
프로젝트 세팅이 끝나면 이미지의 상하좌우를 반전하는 소스를 입력하고 빌드한다.


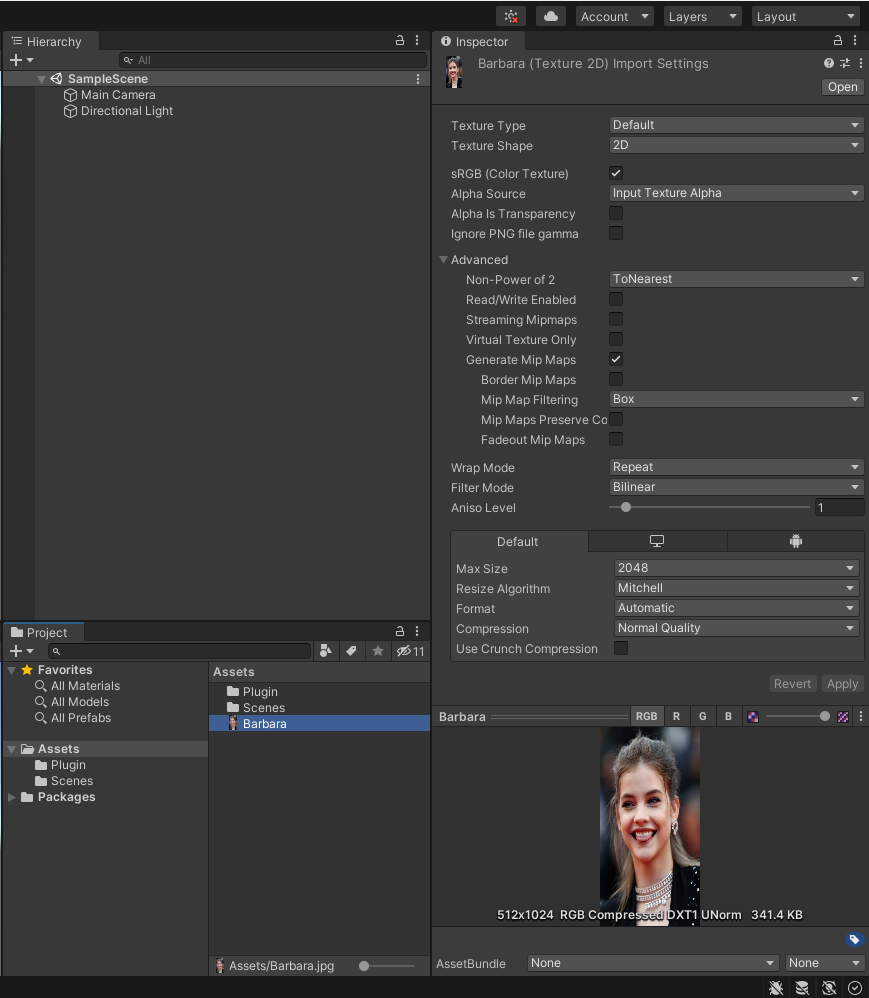

Texture Type - Sprite (2D and UI)
Advanced - Read/Write Enabled - Check
Default - Format - RGBA 32 bit
Apply 클릭


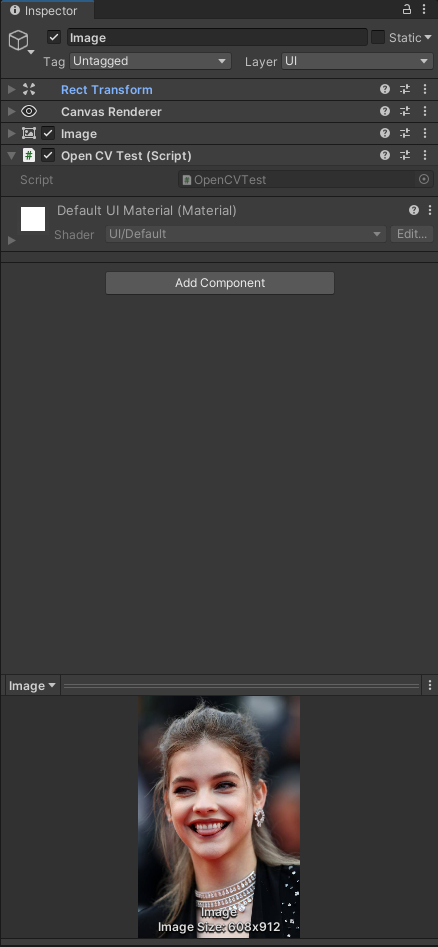
|
1
2
3
4
5
6
7
8
9
10
11
12
13
14
15
16
17
18
19
20
21
22
23
24
25
26
27
|
using System.Collections;
using System.Collections.Generic;
using UnityEngine;
using System.Runtime.InteropServices;
using UnityEngine.UI;
public class OpenCVTest : MonoBehaviour
{
[DllImport("OpenCVDll")]
private static extern void FlipImage(ref Color32[] rawImage, int width, int height);
// Start is called before the first frame update
void Start()
{
Color32[] image = GetComponent<Image>().sprite.texture.GetPixels32();
FlipImage(ref image, 608, 912);
GetComponent<Image>().sprite.texture.SetPixels32(image);
GetComponent<Image>().sprite.texture.Apply();
}
// Update is called once per frame
void Update()
{
}
}
|
OpenCVDll.dll을 사용하는 스크립트를 작성하고 저장한다.


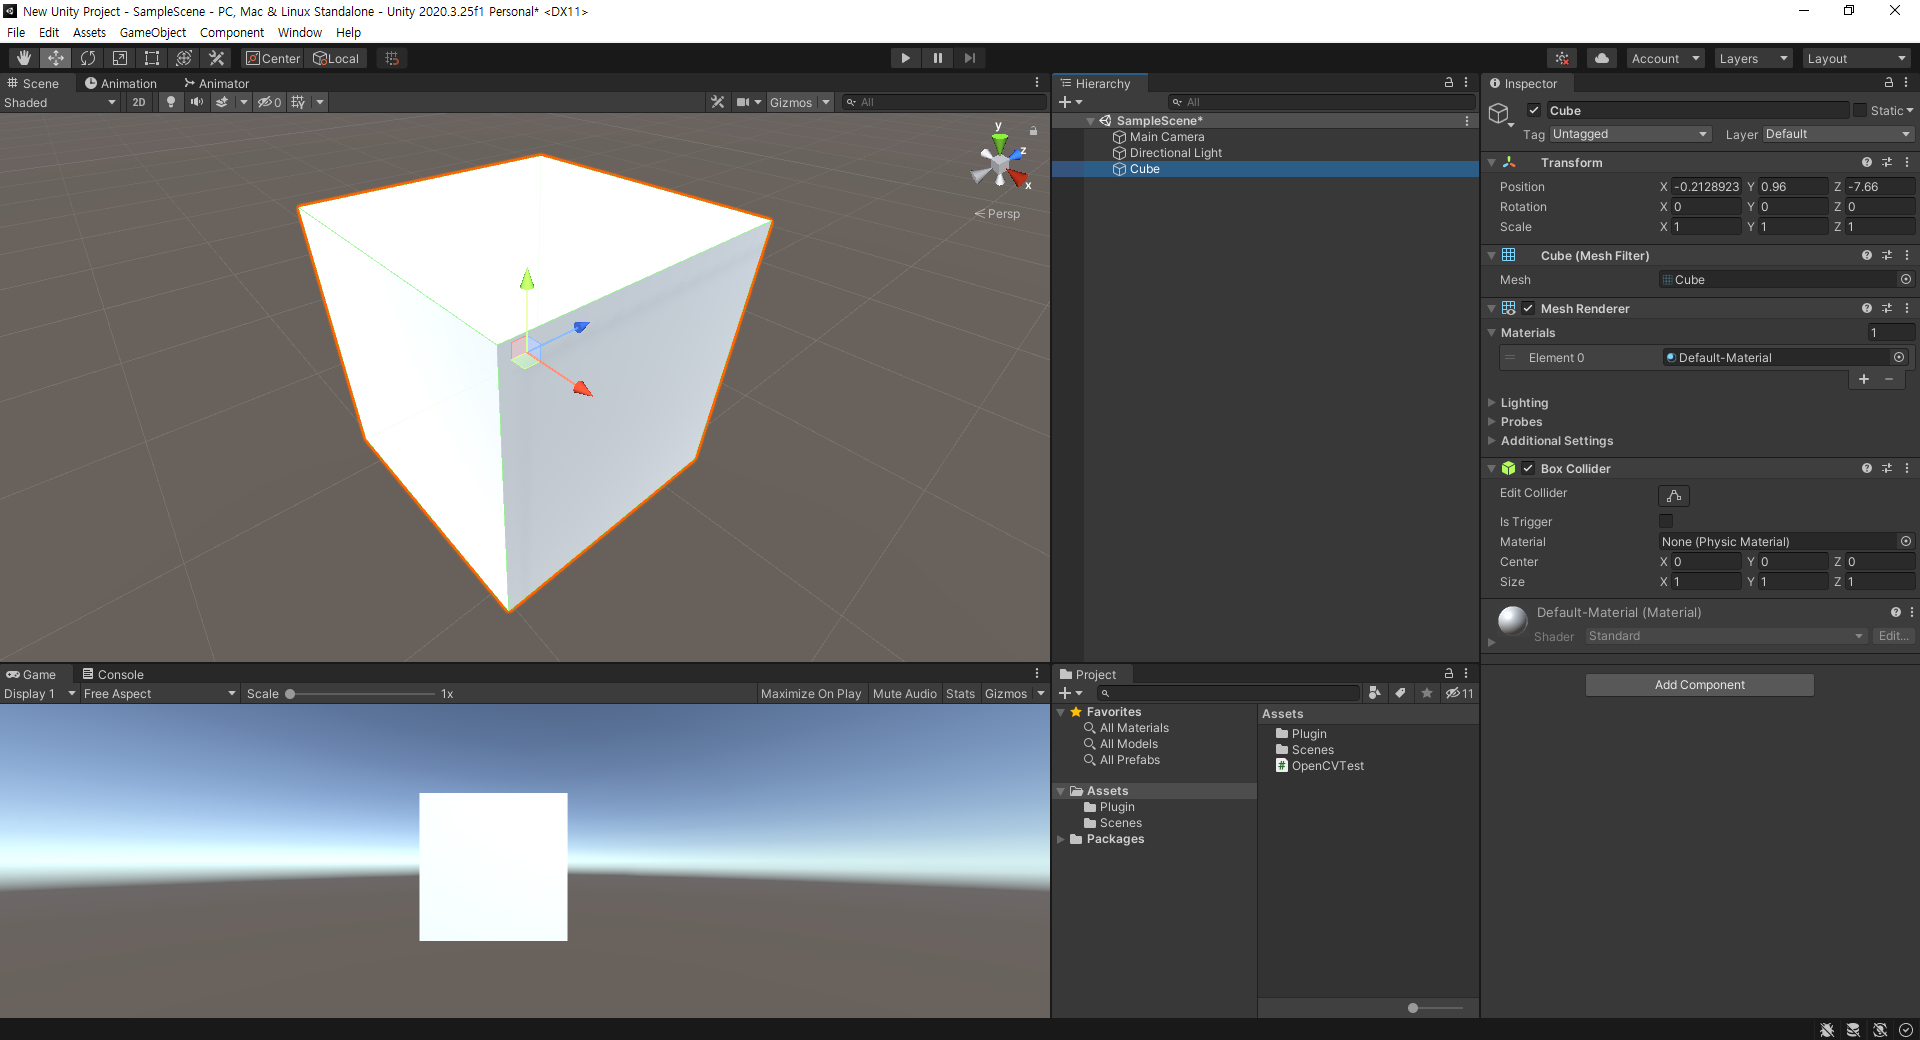
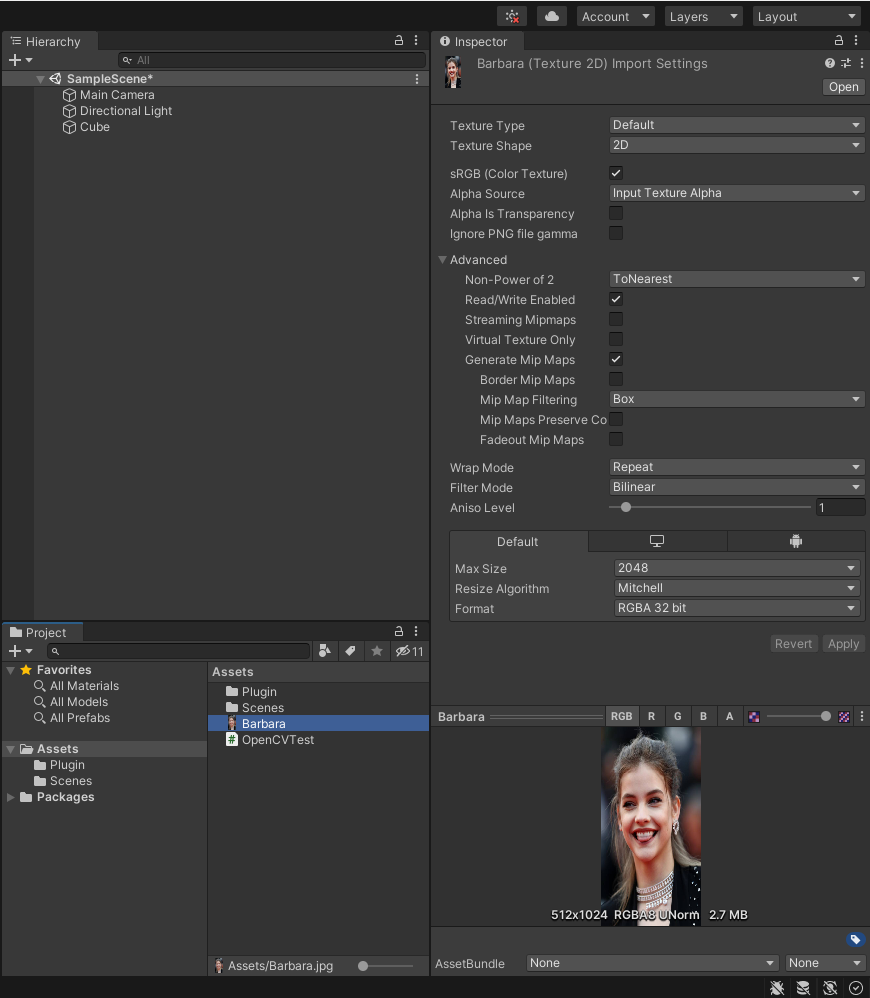
Advanced - Read/Write Enabled - Check
Default - Format - RGBA 32 bit
Apply 클릭
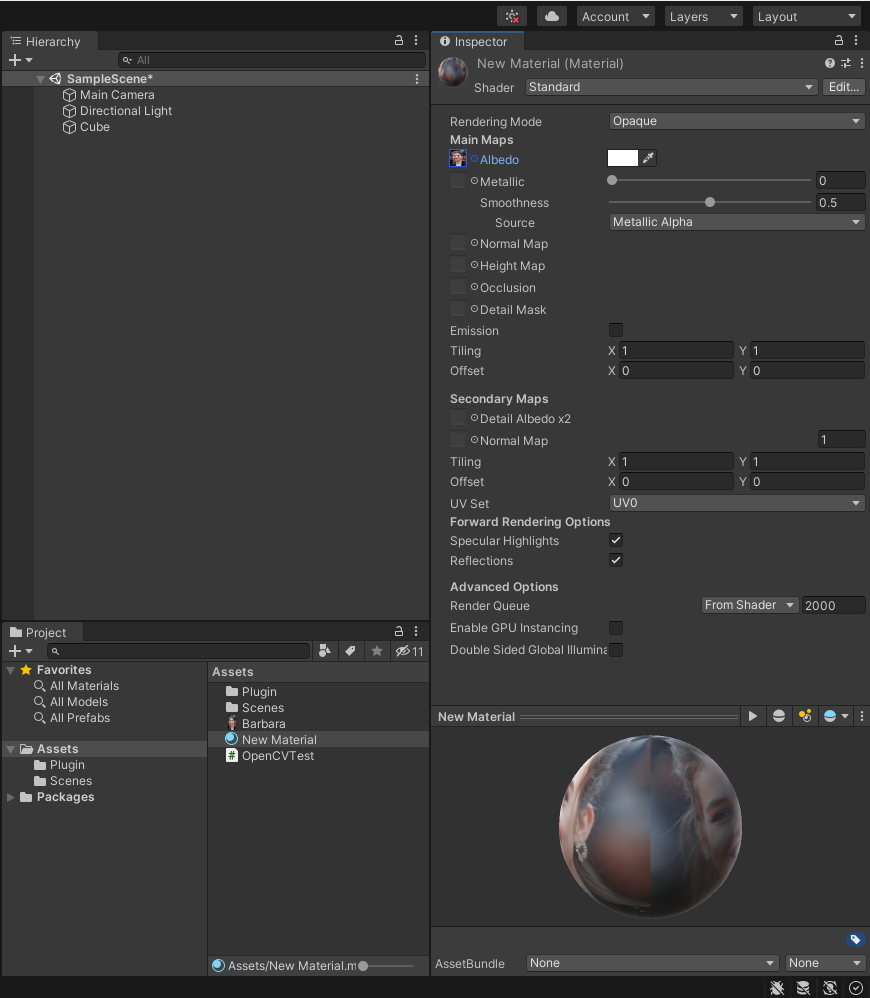

|
1
2
3
4
5
6
7
8
9
10
11
12
13
14
15
16
17
18
19
20
21
22
23
24
25
26
27
28
29
30
31
32
33
34
|
using System.Collections;
using System.Collections.Generic;
using UnityEngine;
using System.Runtime.InteropServices;
public class OpenCVTest : MonoBehaviour
{
[DllImport("OpenCVDll")]
private static extern void FlipImage(ref Color32[] rawImage, int width, int height);
// Start is called before the first frame update
void Start()
{
Color32[] image = (GetComponent<Renderer>().material.mainTexture as Texture2D).GetPixels32();
FlipImage(ref image, 608, 912);
(GetComponent<Renderer>().material.mainTexture as Texture2D).SetPixels32(image);
(GetComponent<Renderer>().material.mainTexture as Texture2D).Apply();
// Assets - Resources 폴더에 이미지를 저장하고 로드해서 텍스쳐로 활용하는 예
//Texture2D texture2D = Resources.Load("Barbara") as Texture2D;
//Color32[] image = texture2D.GetPixels32();
//FlipImage(ref image, 608, 912);
//texture2D.SetPixels32(image);
//texture2D.Apply();
//GetComponent<Renderer>().material.mainTexture = texture2D;
}
// Update is called once per frame
void Update()
{
}
}
|
OpenCVTest 스크립트는 위와 같이 수정하고 저장한다.


'Unity' 카테고리의 다른 글
| Unity3D - 유니티3D with AdMob 광고 (0) | 2022.01.18 |
|---|---|
| Unity3D - 유니티 3D with OpenCV 2 (0) | 2021.12.30 |
| Unity3D - 유니티 3D WebCamTexture 라이브 비디오 텍스쳐 (0) | 2021.12.29 |
| Unity 3D - 유니티 3D 모델 임포트 후 텍스쳐 적용 (0) | 2021.11.10 |
| Unity 3D - 유니티 3D 모델 애니메이션 수정 및 적용 (1) | 2021.11.09 |

