[Godot] Old CRT Monitor Shader 오래된 CRT 모니터 셰이더
Godot 2024. 3. 3. 18:58 |반응형
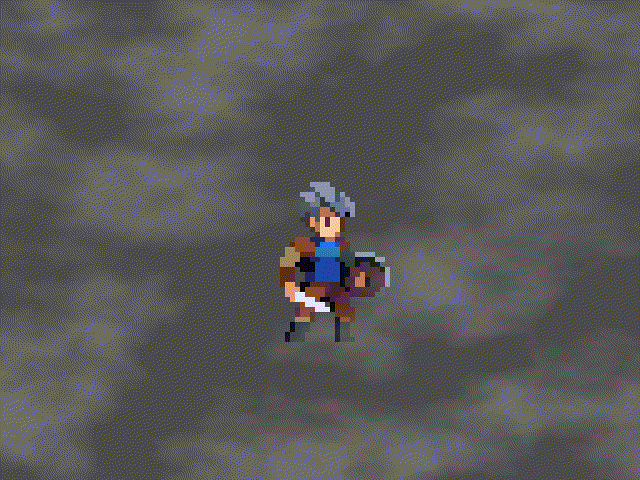
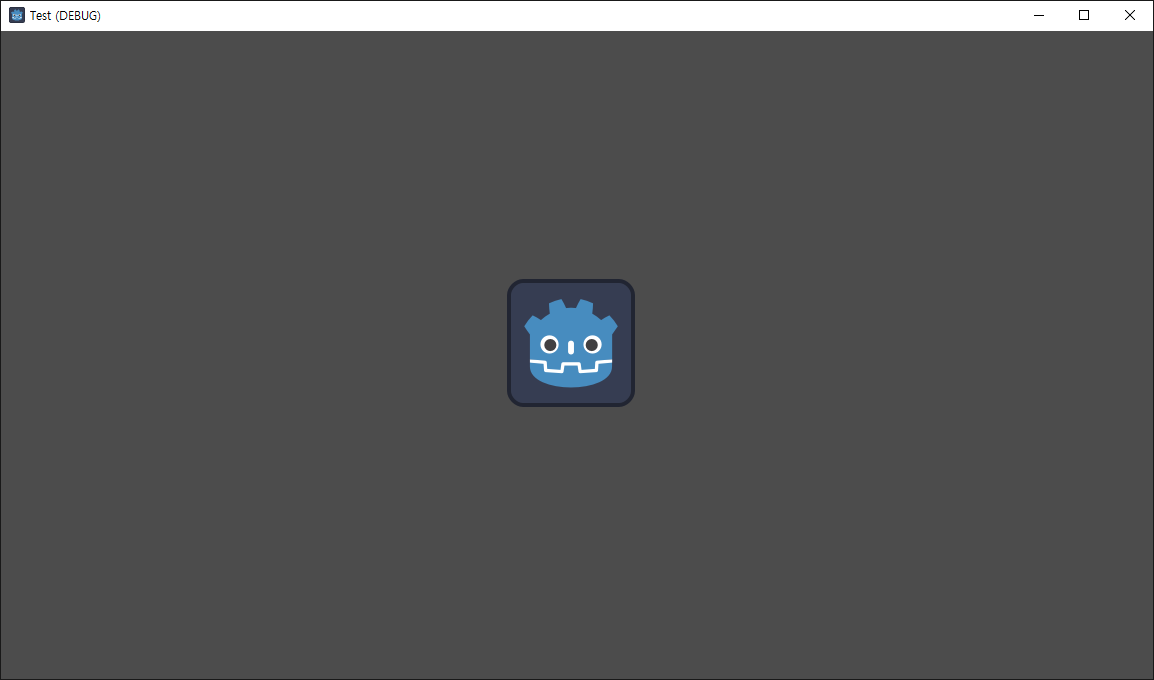
오래된 옛날 CRT 모니터나 VHS 비디오 테이프를 재생하는 효과를 표현해 보자.
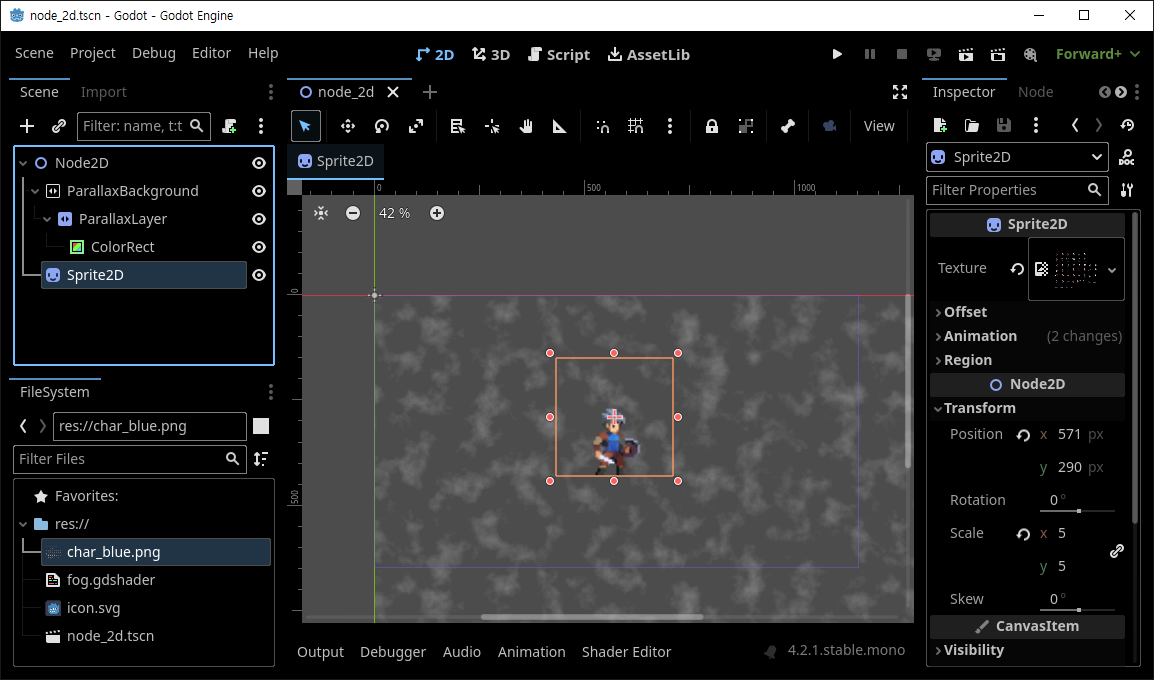
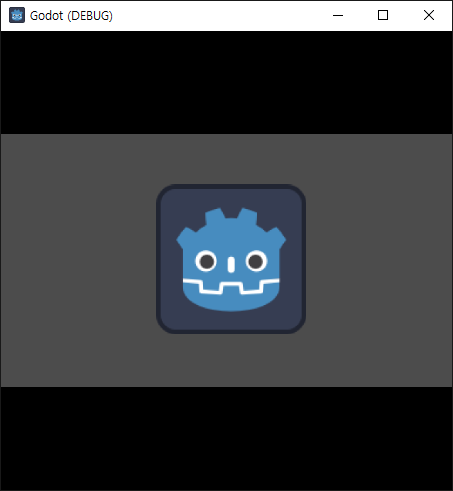
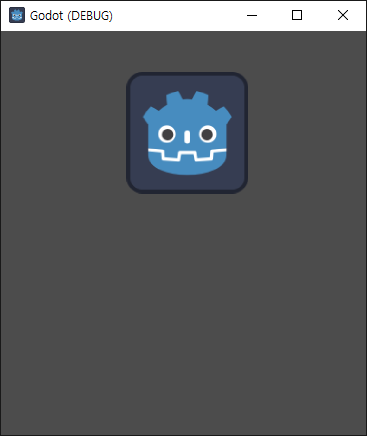
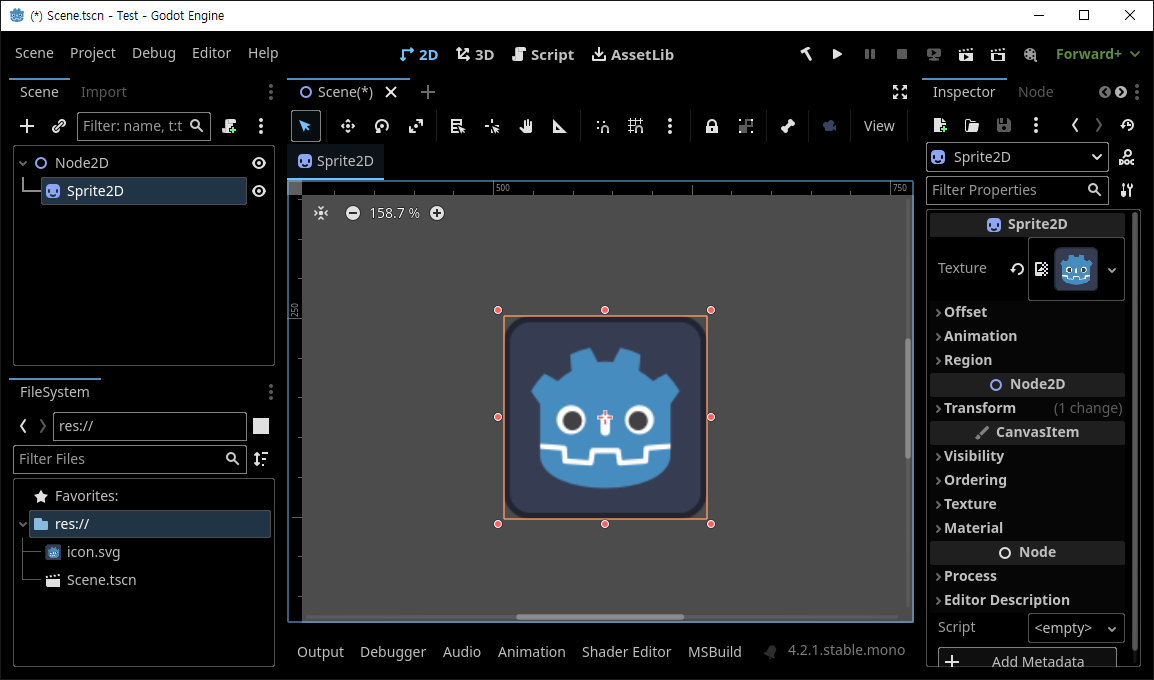
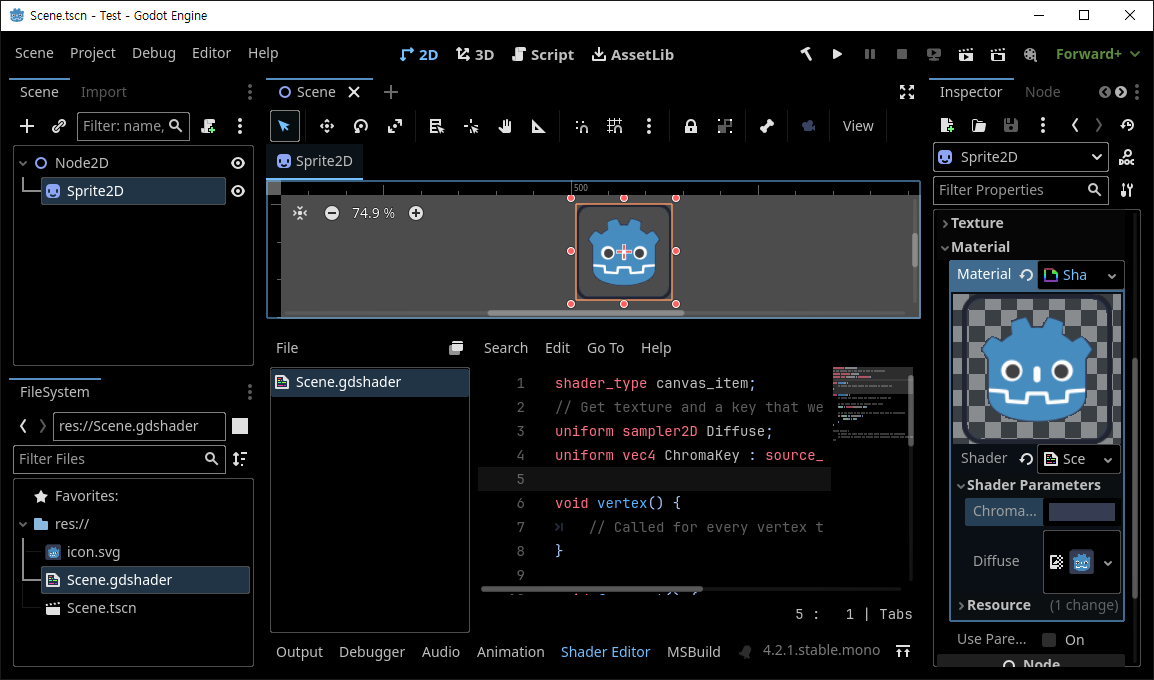
Sprite2D - 캐릭터 스프라이트를 추가하고 화면 중앙에 위치시킨다.
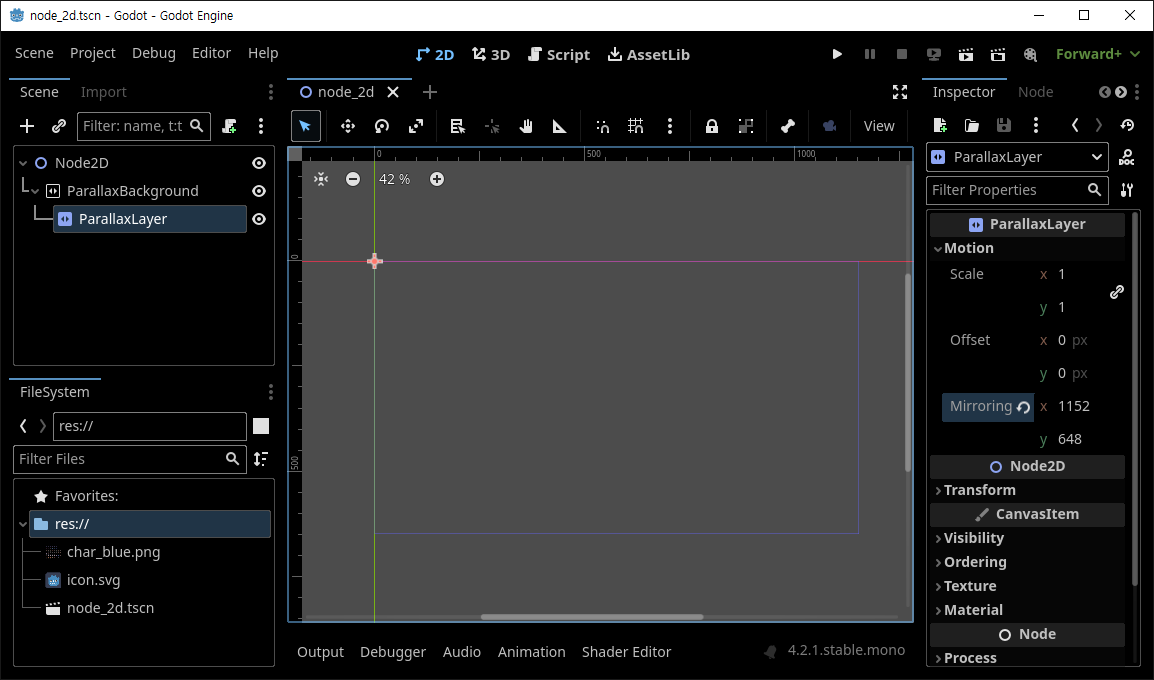
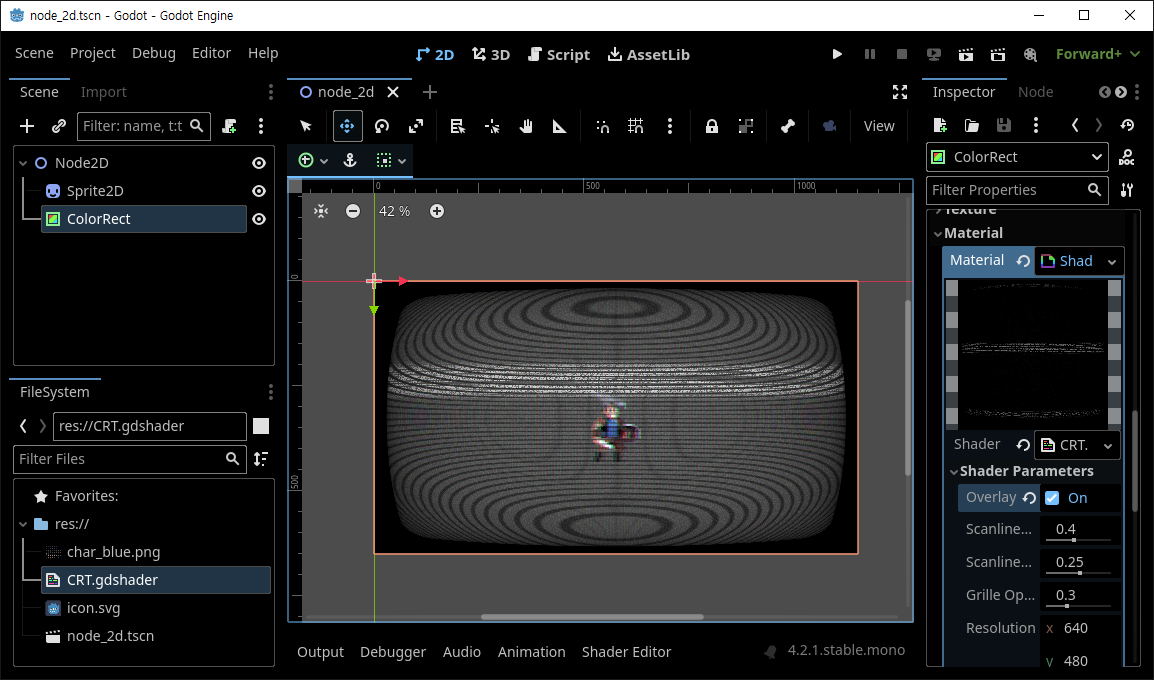
ColorRect - Layout - Transform - Size를 뷰포트와 동일하게 조절한다.
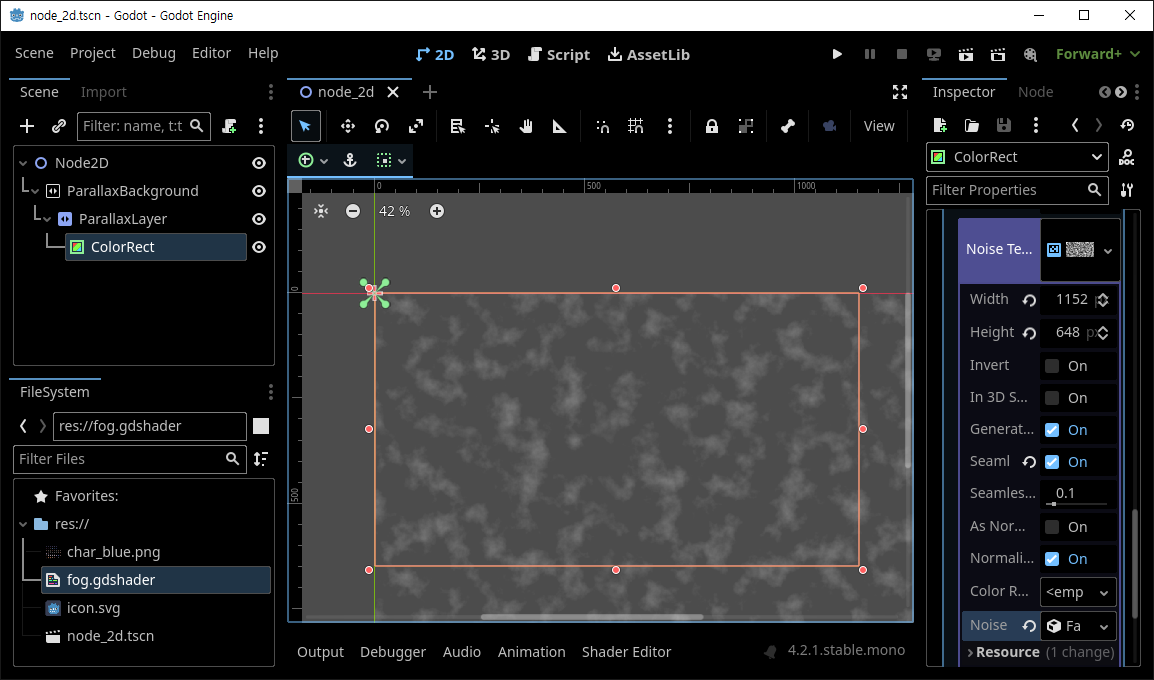
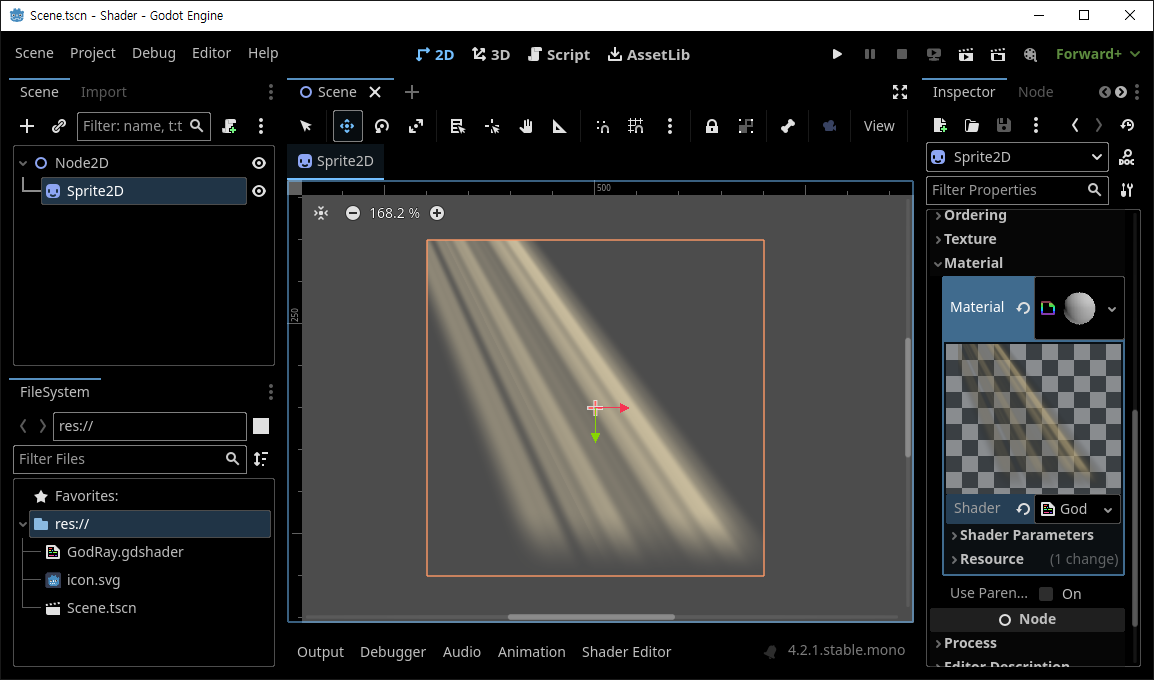
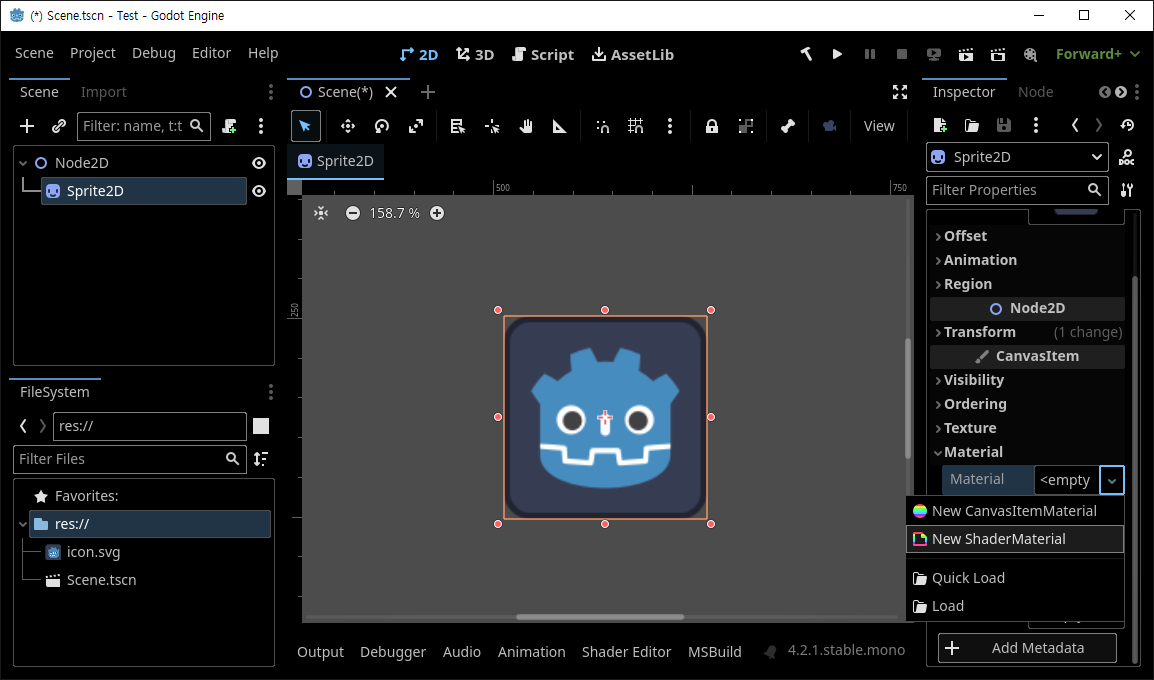
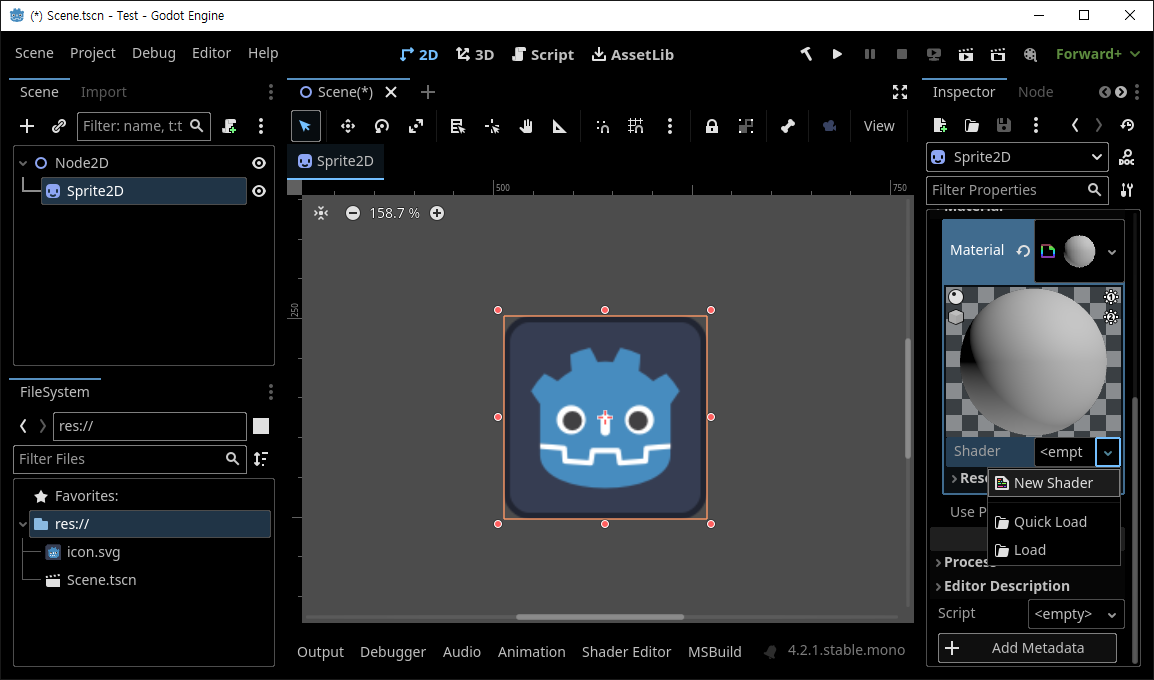
Material에 Shader Material을 추가한다.
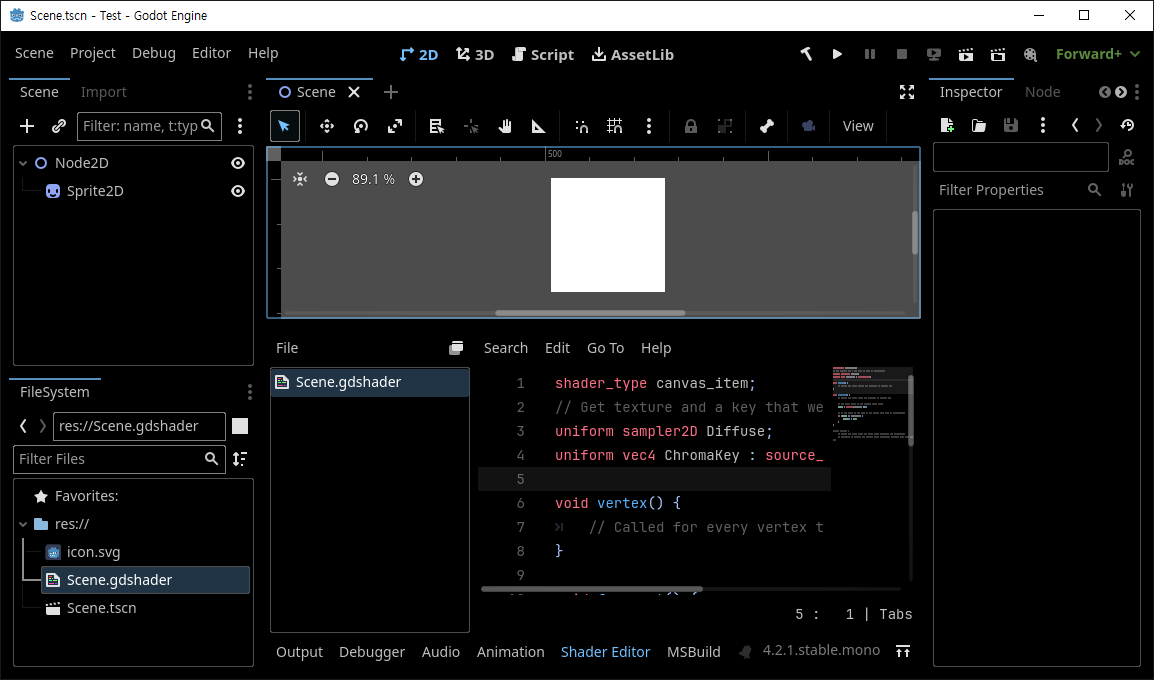
Shader Material을 추가하면 나타나는 Shader에 아래 셰이더 코드를 추가한다.
셰이더 코드를 추가하면 나타나는 Shader Parameters - Overlay 체크 박스를 체크한다.
|
1
2
3
4
5
6
7
8
9
10
11
12
13
14
15
16
17
18
19
20
21
22
23
24
25
26
27
28
29
30
31
32
33
34
35
36
37
38
39
40
41
42
43
44
45
46
47
48
49
50
51
52
53
54
55
56
57
58
59
60
61
62
63
64
65
66
67
68
69
70
71
72
73
74
75
76
77
78
79
80
81
82
83
84
85
86
87
88
89
90
91
92
93
94
95
96
97
98
99
100
101
102
103
104
105
106
107
108
109
110
111
112
113
114
115
116
117
118
119
120
121
122
123
124
125
126
127
128
129
130
131
132
133
134
135
136
137
138
139
140
141
142
143
144
145
146
147
148
149
150
151
152
153
154
155
156
157
158
159
160
161
162
163
164
165
166
167
168
169
170
171
172
173
174
175
176
177
178
179
180
181
182
183
184
185
186
187
188
189
190
191
192
193
194
195
196
197
198
199
200
201
202
203
204
205
206
207
208
209
210
211
212
213
214
215
216
217
218
219
220
221
222
223
224
225
226
227
228
229
230
231
232
233
234
|
/*
Shader from Godot Shaders - the free shader library.
godotshaders.com/shader/VHS-and-CRT-monitor-effect
This shader is under CC0 license. Feel free to use, improve and
change this shader according to your needs and consider sharing
the modified result to godotshaders.com.
*/
shader_type canvas_item;
//*** IMPORTANT! ***/
// - If you are using this shader to affect the node it is applied to set 'overlay' to false (unchecked in the instepctor).
// - If you are using this shader as an overlay, and want the shader to affect the nodes below in the Scene hierarchy,
// set 'overlay' to true (checked in the inspector).
// On Mac there is potentially a bug causing this to not work properly. If that is the case and you want to use the shader as an overlay
// change all "overlay ? SCREEN_TEXTURE : TEXTURE" to only "SCREEN_TEXTURE" on lines 129-140, and "vec2 uv = overlay ? warp(SCREEN_UV) : warp(UV);"
// to "vec2 uv = warp(SCREEN_UV);" on line 98.
uniform bool overlay = false;
uniform float scanlines_opacity : hint_range(0.0, 1.0) = 0.4;
uniform float scanlines_width : hint_range(0.0, 0.5) = 0.25;
uniform float grille_opacity : hint_range(0.0, 1.0) = 0.3;
uniform vec2 resolution = vec2(640.0, 480.0); // Set the number of rows and columns the texture will be divided in. Scanlines and grille will make
// a square based on these values
uniform bool pixelate = true; // Fill each square ("pixel") with a sampled color, creating a pixel look and a more accurate representation of how
// a CRT monitor would work.
uniform bool roll = true;
uniform float roll_speed = 8.0; // Positive values are down, negative are up
uniform float roll_size : hint_range(0.0, 100.0) = 15.0;
uniform float roll_variation : hint_range(0.1, 5.0) = 1.8; // This valie is not an exact science. You have to play around with the value to find
// a look you like. How this works is explained in the code below.
uniform float distort_intensity : hint_range(0.0, 0.2) = 0.05; // The distortion created by the rolling effect.
uniform float noise_opacity : hint_range(0.0, 1.0) = 0.4;
uniform float noise_speed = 5.0; // There is a movement in the noise pattern that can be hard to see first. This sets the speed of that movement.
uniform float static_noise_intensity : hint_range(0.0, 1.0) = 0.06;
uniform float aberration : hint_range(-1.0, 1.0) = 0.03; // Chromatic aberration, a distortion on each color channel.
uniform float brightness = 1.4; // When adding scanline gaps and grille the image can get very dark. Brightness tries to compensate for that.
uniform bool discolor = true; // Add a discolor effect simulating a VHS
uniform float warp_amount :hint_range(0.0, 5.0) = 1.0; // Warp the texture edges simulating the curved glass of a CRT monitor or old TV.
uniform bool clip_warp = false;
uniform float vignette_intensity = 0.4; // Size of the vignette, how far towards the middle it should go.
uniform float vignette_opacity : hint_range(0.0, 1.0) = 0.5;
uniform sampler2D SCREEN_TEXTURE : hint_screen_texture, filter_linear_mipmap;
// Used by the noise functin to generate a pseudo random value between 0.0 and 1.0
vec2 random(vec2 uv){
uv = vec2( dot(uv, vec2(127.1,311.7) ),
dot(uv, vec2(269.5,183.3) ) );
return -1.0 + 2.0 * fract(sin(uv) * 43758.5453123);
}
// Generate a Perlin noise used by the distortion effects
float noise(vec2 uv) {
vec2 uv_index = floor(uv);
vec2 uv_fract = fract(uv);
vec2 blur = smoothstep(0.0, 1.0, uv_fract);
return mix( mix( dot( random(uv_index + vec2(0.0,0.0) ), uv_fract - vec2(0.0,0.0) ),
dot( random(uv_index + vec2(1.0,0.0) ), uv_fract - vec2(1.0,0.0) ), blur.x),
mix( dot( random(uv_index + vec2(0.0,1.0) ), uv_fract - vec2(0.0,1.0) ),
dot( random(uv_index + vec2(1.0,1.0) ), uv_fract - vec2(1.0,1.0) ), blur.x), blur.y) * 0.5 + 0.5;
}
// Takes in the UV and warps the edges, creating the spherized effect
vec2 warp(vec2 uv){
vec2 delta = uv - 0.5;
float delta2 = dot(delta.xy, delta.xy);
float delta4 = delta2 * delta2;
float delta_offset = delta4 * warp_amount;
return uv + delta * delta_offset;
}
// Adds a black border to hide stretched pixel created by the warp effect
float border (vec2 uv){
float radius = min(warp_amount, 0.08);
radius = max(min(min(abs(radius * 2.0), abs(1.0)), abs(1.0)), 1e-5);
vec2 abs_uv = abs(uv * 2.0 - 1.0) - vec2(1.0, 1.0) + radius;
float dist = length(max(vec2(0.0), abs_uv)) / radius;
float square = smoothstep(0.96, 1.0, dist);
return clamp(1.0 - square, 0.0, 1.0);
}
// Adds a vignette shadow to the edges of the image
float vignette(vec2 uv){
uv *= 1.0 - uv.xy;
float vignette = uv.x * uv.y * 15.0;
return pow(vignette, vignette_intensity * vignette_opacity);
}
void fragment()
{
vec2 uv = overlay ? warp(SCREEN_UV) : warp(UV); // Warp the uv. uv will be used in most cases instead of UV to keep the warping
vec2 text_uv = uv;
vec2 roll_uv = vec2(0.0);
float time = roll ? TIME : 0.0;
// Pixelate the texture based on the given resolution.
if (pixelate)
{
text_uv = ceil(uv * resolution) / resolution;
}
// Create the rolling effect. We need roll_line a bit later to make the noise effect.
// That is why this runs if roll is true OR noise_opacity is over 0.
float roll_line = 0.0;
if (roll || noise_opacity > 0.0)
{
// Create the areas/lines where the texture will be distorted.
roll_line = smoothstep(0.3, 0.9, sin(uv.y * roll_size - (time * roll_speed) ) );
// Create more lines of a different size and apply to the first set of lines. This creates a bit of variation.
roll_line *= roll_line * smoothstep(0.3, 0.9, sin(uv.y * roll_size * roll_variation - (time * roll_speed * roll_variation) ) );
// Distort the UV where where the lines are
roll_uv = vec2(( roll_line * distort_intensity * (1.-UV.x)), 0.0);
}
vec4 text;
if (roll)
{
// If roll is true distort the texture with roll_uv. The texture is split up into RGB to
// make some chromatic aberration. We apply the aberration to the red and green channels accorging to the aberration parameter
// and intensify it a bit in the roll distortion.
text.r = texture(SCREEN_TEXTURE, text_uv + roll_uv * 0.8 + vec2(aberration, 0.0) * .1).r;
text.g = texture(SCREEN_TEXTURE, text_uv + roll_uv * 1.2 - vec2(aberration, 0.0) * .1 ).g;
text.b = texture(SCREEN_TEXTURE, text_uv + roll_uv).b;
text.a = 1.0;
}
else
{
// If roll is false only apply the aberration without any distorion. The aberration values are very small so the .1 is only
// to make the slider in the Inspector less sensitive.
text.r = texture(SCREEN_TEXTURE, text_uv + vec2(aberration, 0.0) * .1).r;
text.g = texture(SCREEN_TEXTURE, text_uv - vec2(aberration, 0.0) * .1).g;
text.b = texture(SCREEN_TEXTURE, text_uv).b;
text.a = 1.0;
}
float r = text.r;
float g = text.g;
float b = text.b;
uv = warp(UV);
// CRT monitors don't have pixels but groups of red, green and blue dots or lines, called grille. We isolate the texture's color channels
// and divide it up in 3 offsetted lines to show the red, green and blue colors next to each other, with a small black gap between.
if (grille_opacity > 0.0){
float g_r = smoothstep(0.85, 0.95, abs(sin(uv.x * (resolution.x * 3.14159265))));
r = mix(r, r * g_r, grille_opacity);
float g_g = smoothstep(0.85, 0.95, abs(sin(1.05 + uv.x * (resolution.x * 3.14159265))));
g = mix(g, g * g_g, grille_opacity);
float b_b = smoothstep(0.85, 0.95, abs(sin(2.1 + uv.x * (resolution.x * 3.14159265))));
b = mix(b, b * b_b, grille_opacity);
}
// Apply the grille to the texture's color channels and apply Brightness. Since the grille and the scanlines (below) make the image very dark you
// can compensate by increasing the brightness.
text.r = clamp(r * brightness, 0.0, 1.0);
text.g = clamp(g * brightness, 0.0, 1.0);
text.b = clamp(b * brightness, 0.0, 1.0);
// Scanlines are the horizontal lines that make up the image on a CRT monitor.
// Here we are actual setting the black gap between each line, which I guess is not the right definition of the word, but you get the idea
float scanlines = 0.5;
if (scanlines_opacity > 0.0)
{
// Same technique as above, create lines with sine and applying it to the texture. Smoothstep to allow setting the line size.
scanlines = smoothstep(scanlines_width, scanlines_width + 0.5, abs(sin(uv.y * (resolution.y * 3.14159265))));
text.rgb = mix(text.rgb, text.rgb * vec3(scanlines), scanlines_opacity);
}
// Apply the banded noise.
if (noise_opacity > 0.0)
{
// Generate a noise pattern that is very stretched horizontally, and animate it with noise_speed
float noise = smoothstep(0.4, 0.5, noise(uv * vec2(2.0, 200.0) + vec2(10.0, (TIME * (noise_speed))) ) );
// We use roll_line (set above) to define how big the noise should be vertically (multiplying cuts off all black parts).
// We also add in some basic noise with random() to break up the noise pattern above. The noise is sized according to
// the resolution value set in the inspector. If you don't like this look you can
// change "ceil(uv * resolution) / resolution" to only "uv" to make it less pixelated. Or multiply resolution with som value
// greater than 1.0 to make them smaller.
roll_line *= noise * scanlines * clamp(random((ceil(uv * resolution) / resolution) + vec2(TIME * 0.8, 0.0)).x + 0.8, 0.0, 1.0);
// Add it to the texture based on noise_opacity
text.rgb = clamp(mix(text.rgb, text.rgb + roll_line, noise_opacity), vec3(0.0), vec3(1.0));
}
// Apply static noise by generating it over the whole screen in the same way as above
if (static_noise_intensity > 0.0)
{
text.rgb += clamp(random((ceil(uv * resolution) / resolution) + fract(TIME)).x, 0.0, 1.0) * static_noise_intensity;
}
// Apply a black border to hide imperfections caused by the warping.
// Also apply the vignette
text.rgb *= border(uv);
text.rgb *= vignette(uv);
// Hides the black border and make that area transparent. Good if you want to add the the texture on top an image of a TV or monitor.
if (clip_warp)
{
text.a = border(uv);
}
// Apply discoloration to get a VHS look (lower saturation and higher contrast)
// You can play with the values below or expose them in the Inspector.
float saturation = 0.5;
float contrast = 1.2;
if (discolor)
{
// Saturation
vec3 greyscale = vec3(text.r + text.g + text.b) / 3.;
text.rgb = mix(text.rgb, greyscale, saturation);
// Contrast
float midpoint = pow(0.5, 2.2);
text.rgb = (text.rgb - vec3(midpoint)) * contrast + midpoint;
}
COLOR = text;
}
|

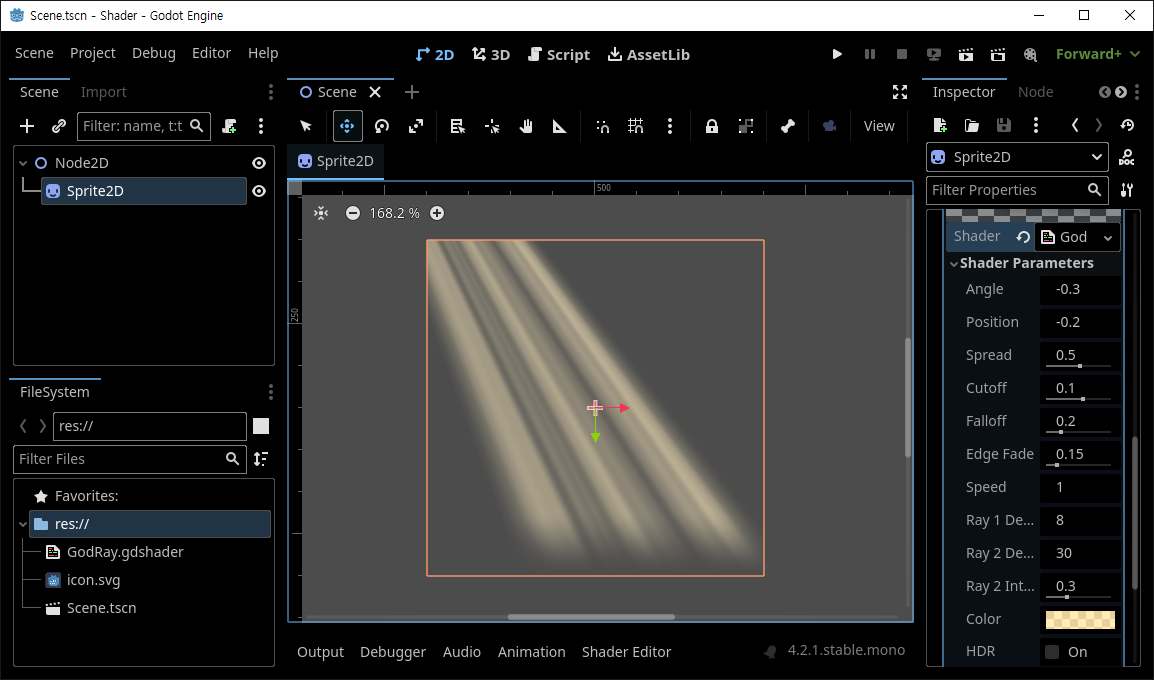
Shader Parameters의 옵션을 바꿔가며 여러가지 효과를 적용해 보자.
※ 참고
반응형
'Godot' 카테고리의 다른 글
| [Godot] 2D Fog Shader 안개 셰이더 (0) | 2024.03.03 |
|---|---|
| [Godot] Window Stretch Mode and Aspect Ratio 디스플레이 윈도우 모드 비율 (0) | 2024.02.29 |
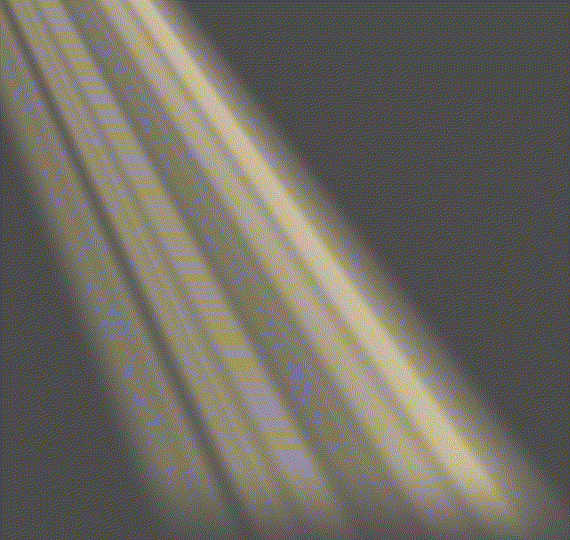
| [Godot] Shader God Rays 셰이더 (1) | 2024.02.24 |
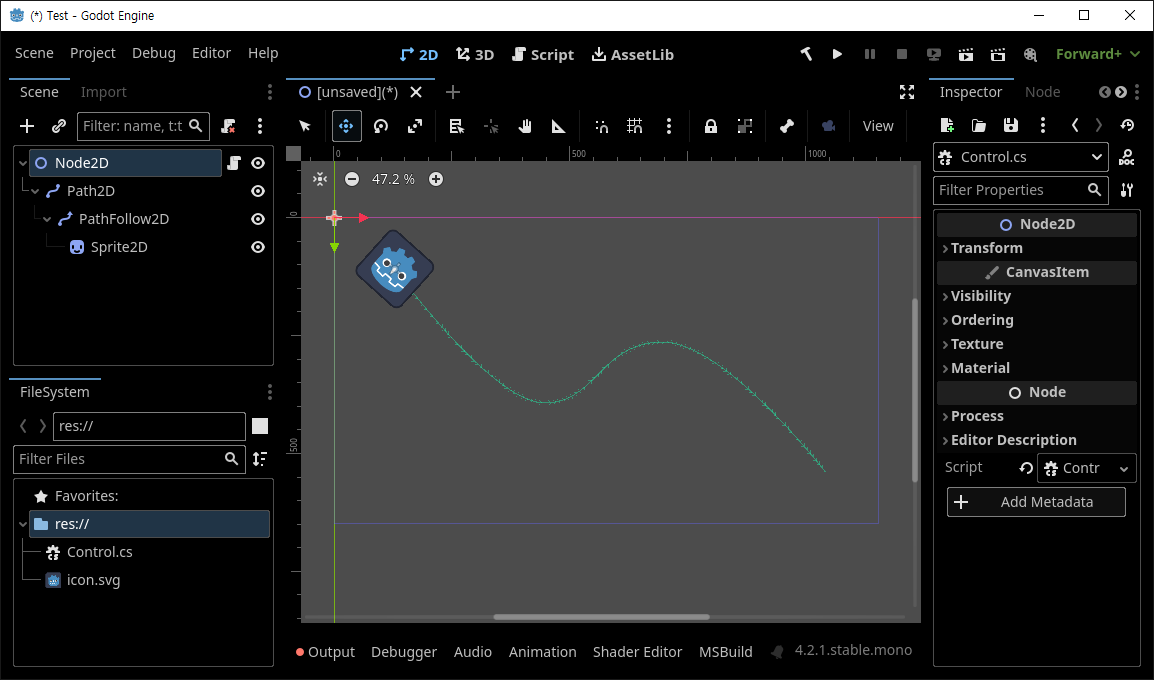
| [Godot] Path2D PathFollow2D (0) | 2024.02.22 |
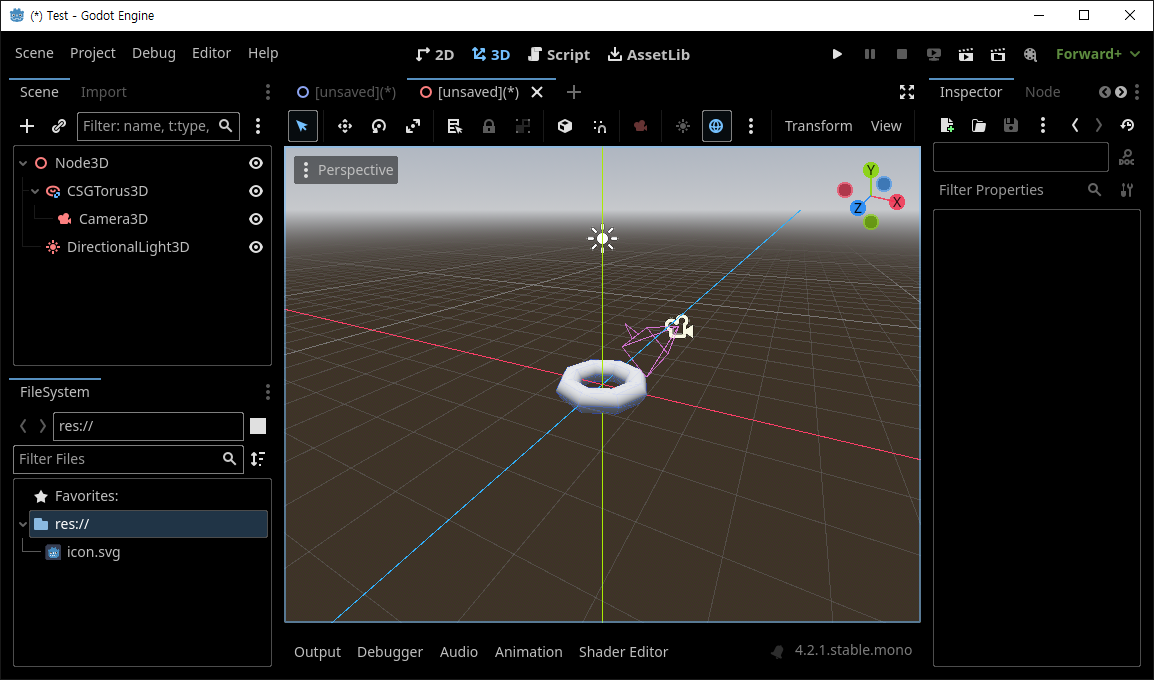
| [Godot] 3D Object Sprite in 2D Scene (0) | 2024.02.22 |