

[Godot] Shader God Rays 셰이더
Godot 2024. 2. 24. 21:46 |반응형
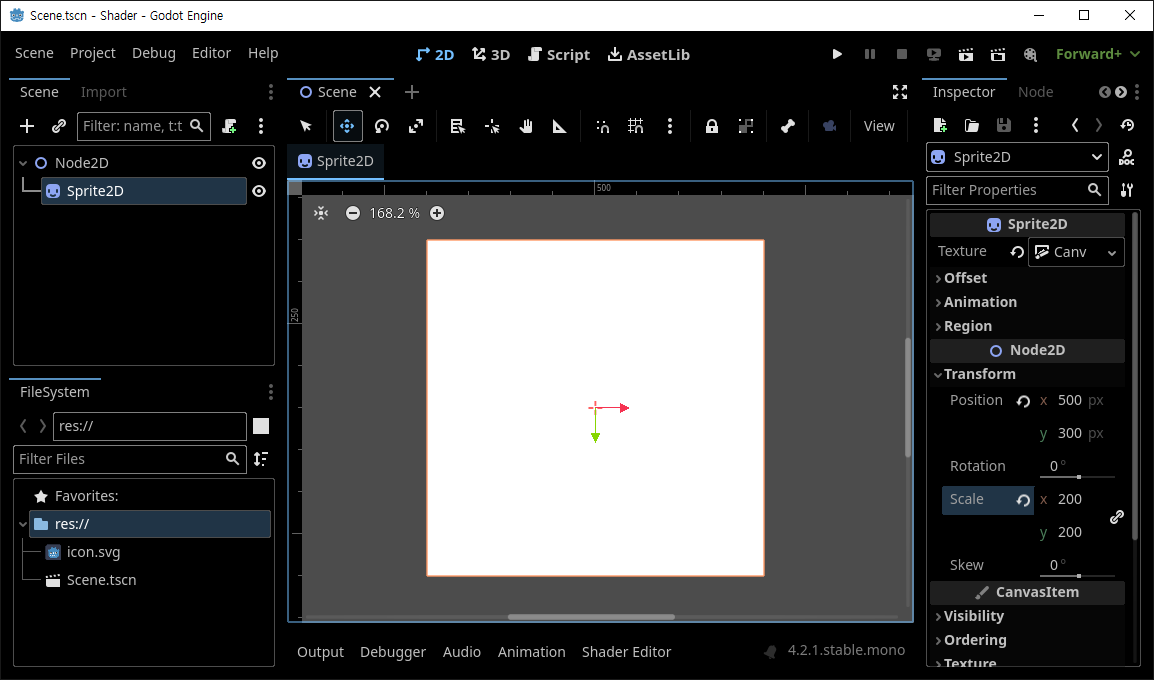
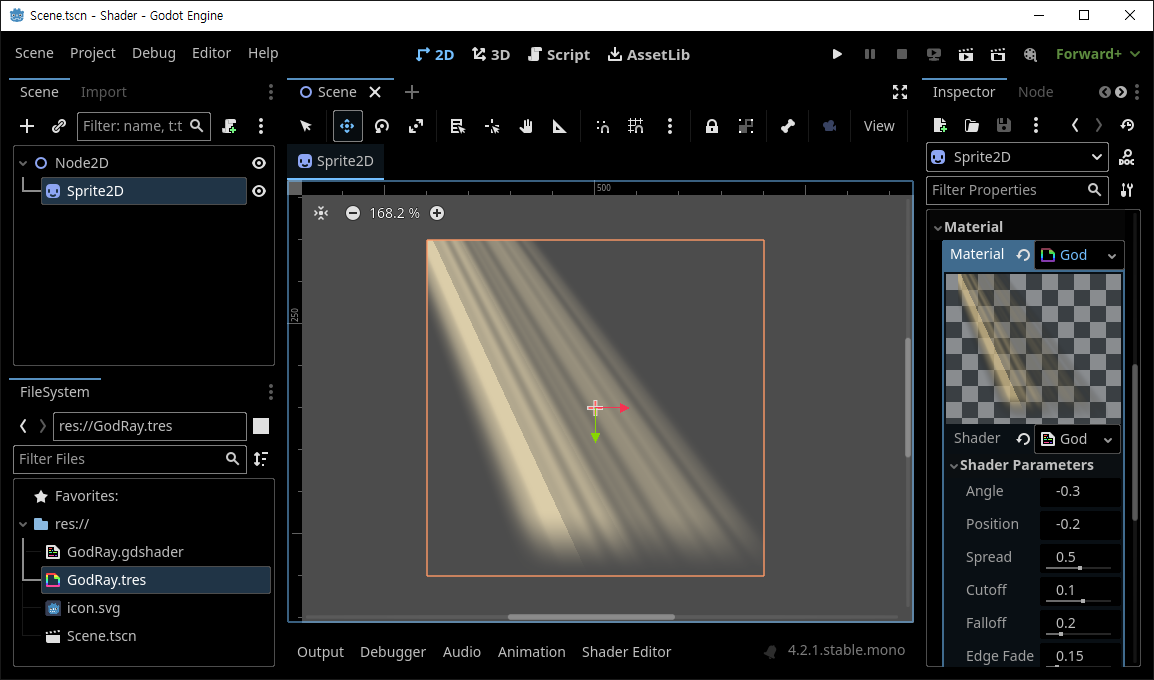
셰이더를 이용해 멋진 빛 효과를 만들어 보자.
|
1
2
3
4
5
6
7
8
9
10
11
12
13
14
15
16
17
18
19
20
21
22
23
24
25
26
27
28
29
30
31
32
33
34
35
36
37
38
39
40
41
42
43
44
45
46
47
48
49
50
51
52
53
54
55
56
57
58
59
60
61
62
63
64
65
66
67
68
69
70
71
72
73
74
75
76
77
78
79
80
81
82
83
84
85
86
87
88
89
90
91
92
93
94
95
96
97
98
99
100
101
102
|
/*
Shader from Godot Shaders - the free shader library.
godotshaders.com/shader/god-rays
Feel free to use, improve and change this shader according to your needs
and consider sharing the modified result on godotshaders.com.
*/
shader_type canvas_item;
uniform float angle = -0.3;
uniform float position = -0.2;
uniform float spread : hint_range(0.0, 1.0) = 0.5;
uniform float cutoff : hint_range(-1.0, 1.0) = 0.1;
uniform float falloff : hint_range(0.0, 1.0) = 0.2;
uniform float edge_fade : hint_range(0.0, 1.0) = 0.15;
uniform float speed = 1.0;
uniform float ray1_density = 8.0;
uniform float ray2_density = 30.0;
uniform float ray2_intensity : hint_range(0.0, 1.0) = 0.3;
uniform vec4 color : source_color = vec4(1.0, 0.9, 0.65, 0.8);
uniform bool hdr = false;
uniform float seed = 5.0;
uniform sampler2D SCREEN_TEXTURE : hint_screen_texture, filter_linear_mipmap;
// Random and noise functions from Book of Shader's chapter on Noise.
float random(vec2 _uv) {
return fract(sin(dot(_uv.xy, vec2(12.9898, 78.233))) * 43758.5453123);
}
float noise (in vec2 uv) {
vec2 i = floor(uv);
vec2 f = fract(uv);
// Four corners in 2D of a tile
float a = random(i);
float b = random(i + vec2(1.0, 0.0));
float c = random(i + vec2(0.0, 1.0));
float d = random(i + vec2(1.0, 1.0));
// Smooth Interpolation
// Cubic Hermine Curve. Same as SmoothStep()
vec2 u = f * f * (3.0-2.0 * f);
// Mix 4 coorners percentages
return mix(a, b, u.x) + (c - a)* u.y * (1.0 - u.x) + (d - b) * u.x * u.y;
}
mat2 rotate(float _angle){
return mat2(vec2(cos(_angle), -sin(_angle)), vec2(sin(_angle), cos(_angle)));
}
vec4 screen(vec4 base, vec4 blend){
return 1.0 - (1.0 - base) * (1.0 - blend);
}
void fragment()
{
// Rotate, skew and move the UVs
vec2 transformed_uv = (rotate(angle) * (UV - position)) / ((UV.y + spread) - (UV.y * spread));
// Animate the ray according the the new transformed UVs
vec2 ray1 = vec2(transformed_uv.x * ray1_density + sin(TIME * 0.1 * speed) * (ray1_density * 0.2) + seed, 1.0);
vec2 ray2 = vec2(transformed_uv.x * ray2_density + sin(TIME * 0.2 * speed) * (ray1_density * 0.2) + seed, 1.0);
// Cut off the ray's edges
float cut = step(cutoff, transformed_uv.x) * step(cutoff, 1.0 - transformed_uv.x);
ray1 *= cut;
ray2 *= cut;
// Apply the noise pattern (i.e. create the rays)
float rays;
if (hdr){
// This is not really HDR, but check this to not clamp the two merged rays making
// their values go over 1.0. Can make for some nice effect
rays = noise(ray1) + (noise(ray2) * ray2_intensity);
}
else{
rays = clamp(noise(ray1) + (noise(ray2) * ray2_intensity), 0.0, 1.0);
}
// Fade out edges
rays *= smoothstep(0.0, falloff, (1.0 - UV.y)); // Bottom
rays *= smoothstep(0.0 + cutoff, edge_fade + cutoff, transformed_uv.x); // Left
rays *= smoothstep(0.0 + cutoff, edge_fade + cutoff, 1.0 - transformed_uv.x); // Right
// Color to the rays
vec3 shine = vec3(rays) * color.rgb;
// Try different blending modes for a nicer effect. "Screen" is included in the code,
// but take a look at https://godotshaders.com/snippet/blending-modes/ for more.
// With "Screen" blend mode:
shine = screen(texture(SCREEN_TEXTURE, SCREEN_UV), vec4(color)).rgb;
COLOR = vec4(shine, rays * color.a);
}
|
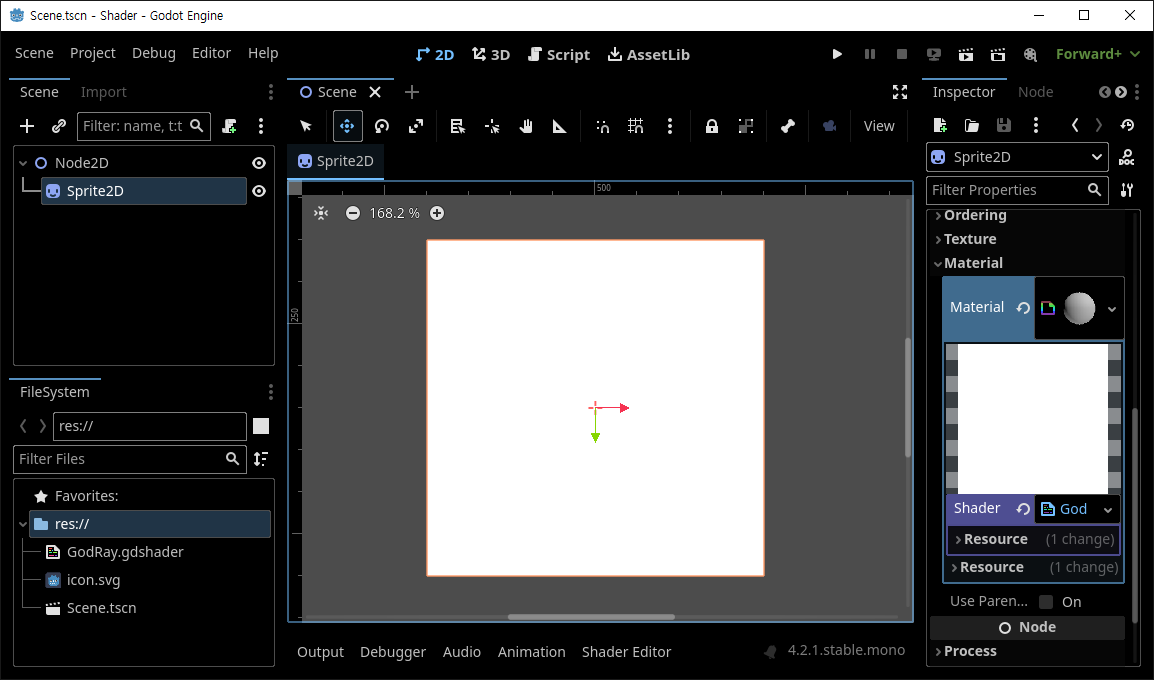
Shader 파일(GodRay.gdshader)에 위와 같은 코드를 작성한다.


|
1
2
3
4
5
6
7
8
9
10
11
12
13
14
15
16
17
18
19
20
21
22
23
24
25
|
using Godot;
public partial class Control : Sprite2D
{
//[Export] public ShaderMaterial myShaderMaterial;
// 위 주석을 해제하고 빌드하면 Editor에 My Shader Material이 표시된다.
// 여기에 사용하는 Material(GodRay.tres)을 넣고 직접 접근할 수도 있다.
public int speed;
// Called when the node enters the scene tree for the first time.
public override void _Ready()
{
speed = 1;
}
// Called every frame. 'delta' is the elapsed time since the previous frame.
public override void _Process(double delta)
{
if (Input.IsActionJustPressed("ui_up"))
(Material as ShaderMaterial).SetShaderParameter("speed", ++speed);
if (Input.IsActionJustPressed("ui_down"))
(Material as ShaderMaterial).SetShaderParameter("speed", --speed);
}
}
|
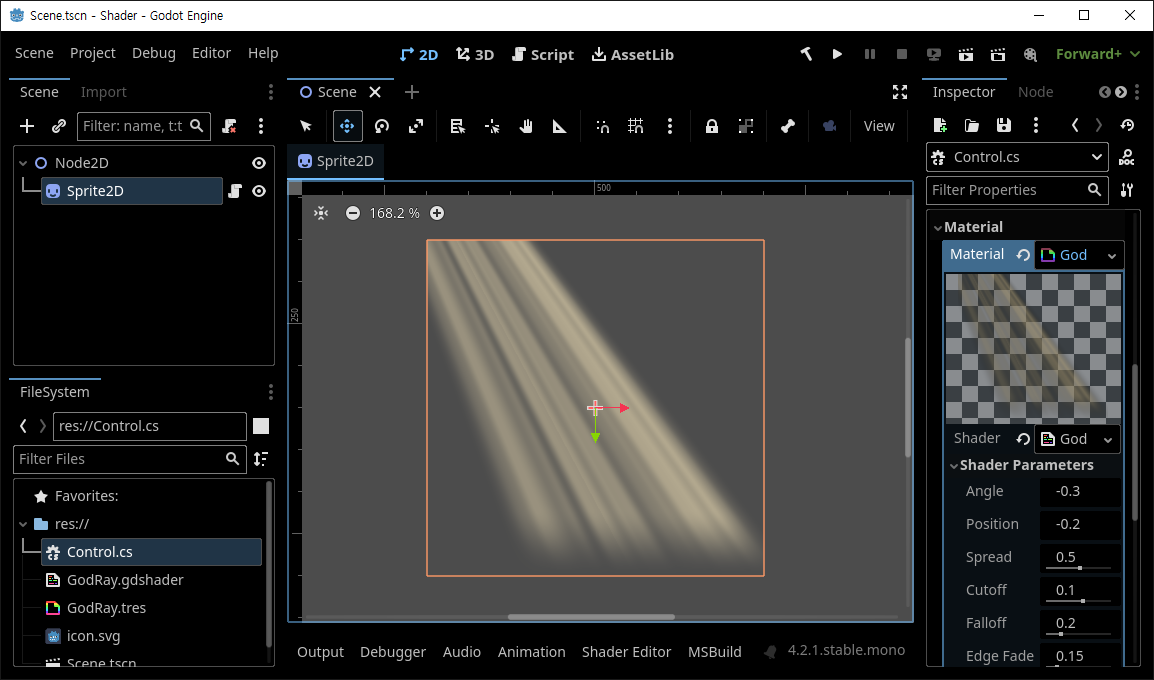
위와 같이 코드를 작성하면 Shader Material의 파라미터를 언제든 변경할 수 있다.
※ 참고
반응형
'Godot' 카테고리의 다른 글
| [Godot] 2D Fog Shader 안개 셰이더 (0) | 2024.03.03 |
|---|---|
| [Godot] Window Stretch Mode and Aspect Ratio 디스플레이 윈도우 모드 비율 (0) | 2024.02.29 |
| [Godot] Path2D PathFollow2D (0) | 2024.02.22 |
| [Godot] 3D Object Sprite in 2D Scene (0) | 2024.02.22 |
| [Godot] Line2D 선 그리기 (0) | 2024.02.21 |