[Godot] 2D Fog Shader 안개 셰이더
Godot 2024. 3. 3. 11:39 |반응형
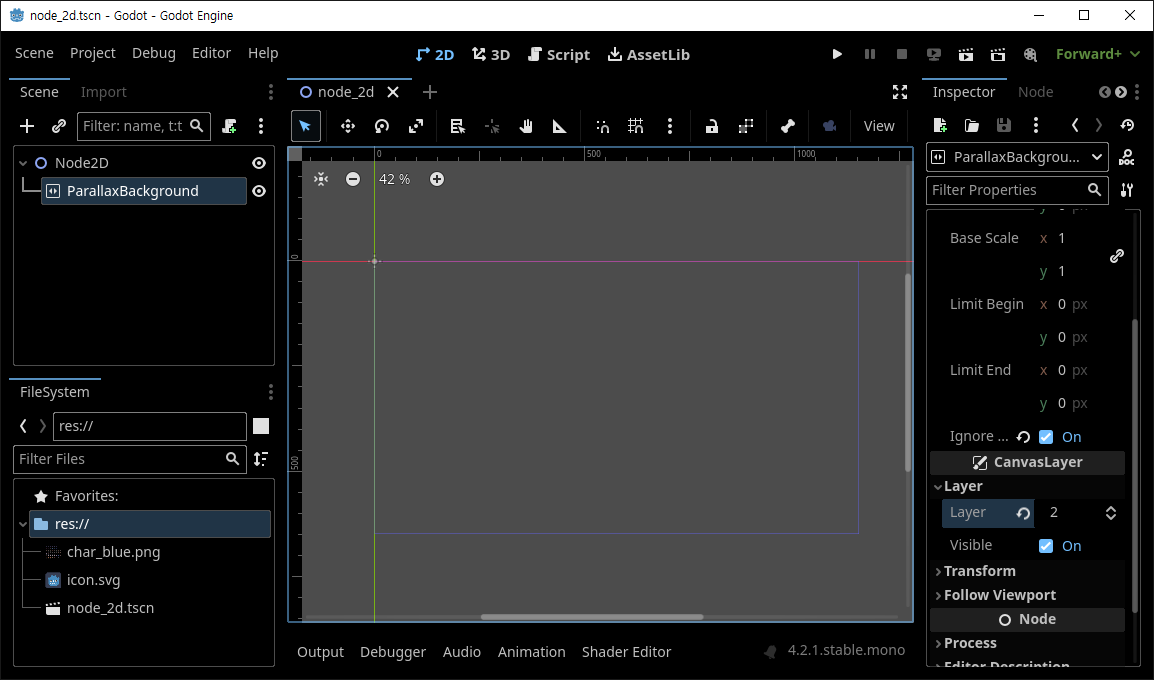
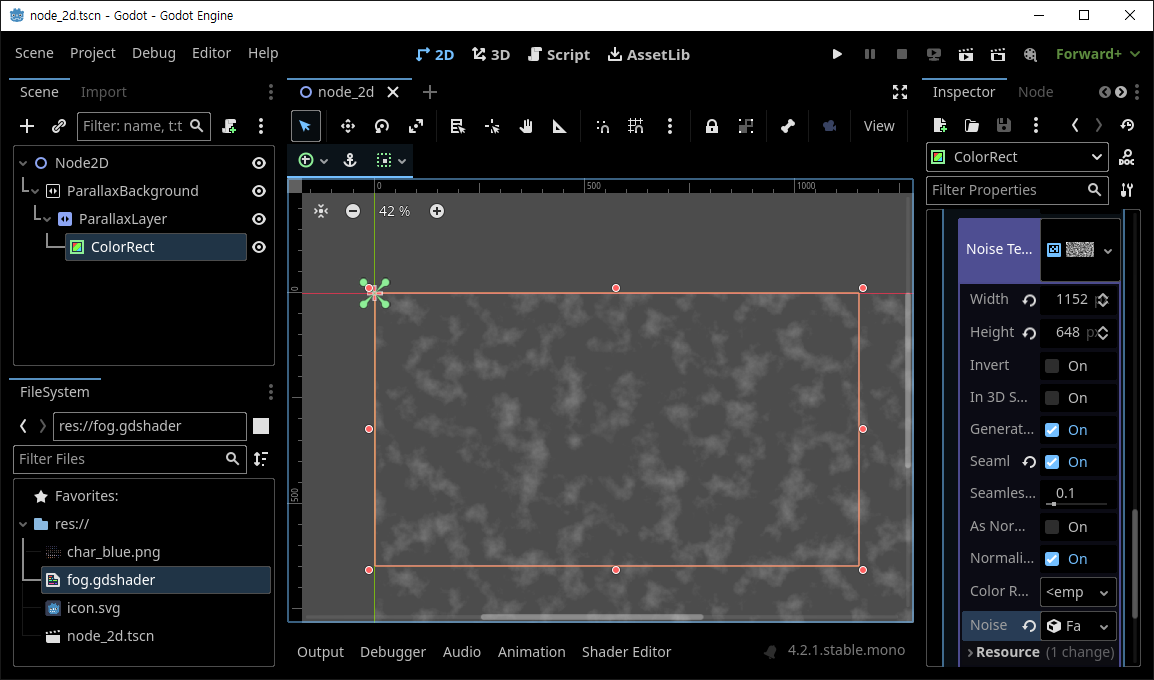
2D 안개 효과를 만들어 보자.


|
1
2
3
4
5
6
7
8
9
10
11
12
13
14
15
16
17
18
19
20
21
22
|
shader_type canvas_item;
//render_mode unshaded; // optional
// Noise texture
uniform sampler2D noise_texture: repeat_enable, filter_nearest;
// Fog density
uniform float density: hint_range(0.0, 1.0) = 0.25;
// Fog speed
uniform vec2 speed = vec2(0.02, 0.01);
// Called for every pixel the material is visible on
void fragment() {
// Make the fog slowly move
vec2 uv = UV + speed * TIME;
// Sample the noise texture
float noise = texture(noise_texture, uv).r;
// Convert the noise from the (0.0, 1.0) range to the (-1.0, 1.0) range
// and clamp it between 0.0 and 1.0 again
float fog = clamp(noise * 2.0 - 1.0, 0.0, 1.0);
// Apply the fog effect
COLOR.a *= fog * density;
}
|
셰이더는 위와 같이 작성한다.


float fog = clamp(noise * 2.0 - 1.0, 0.0, 1.0);
필요하다면 셰이더 코드에서 2.0 이라는 수치를 적당히 변경해 보자.
※ 참고
반응형
'Godot' 카테고리의 다른 글
| [Godot] Old CRT Monitor Shader 오래된 CRT 모니터 셰이더 (0) | 2024.03.03 |
|---|---|
| [Godot] Window Stretch Mode and Aspect Ratio 디스플레이 윈도우 모드 비율 (0) | 2024.02.29 |
| [Godot] Shader God Rays 셰이더 (1) | 2024.02.24 |
| [Godot] Path2D PathFollow2D (0) | 2024.02.22 |
| [Godot] 3D Object Sprite in 2D Scene (0) | 2024.02.22 |

