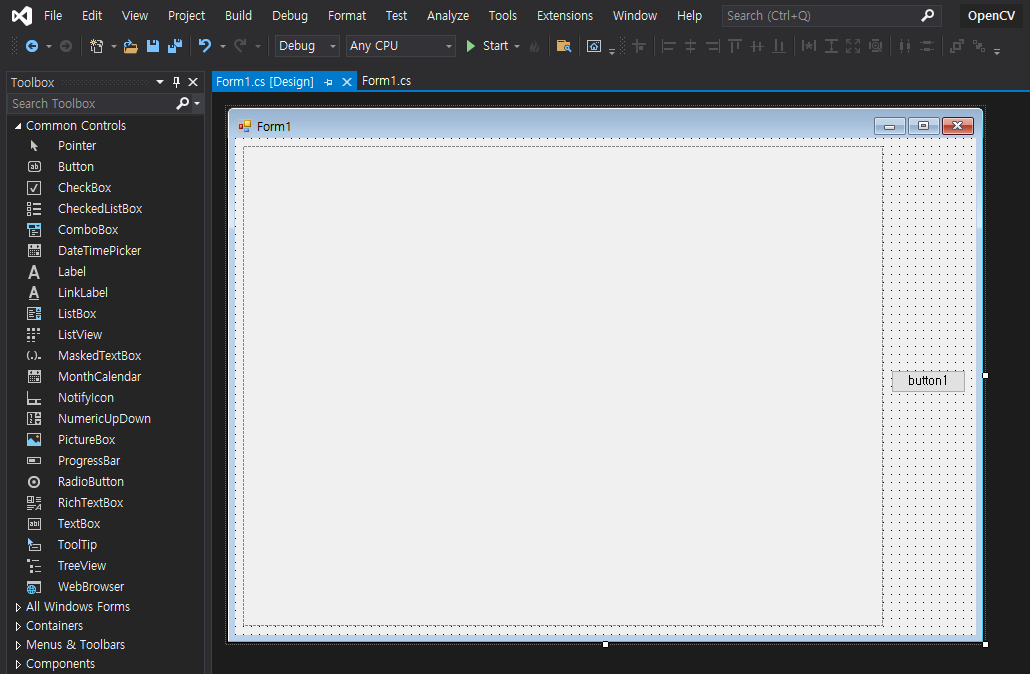
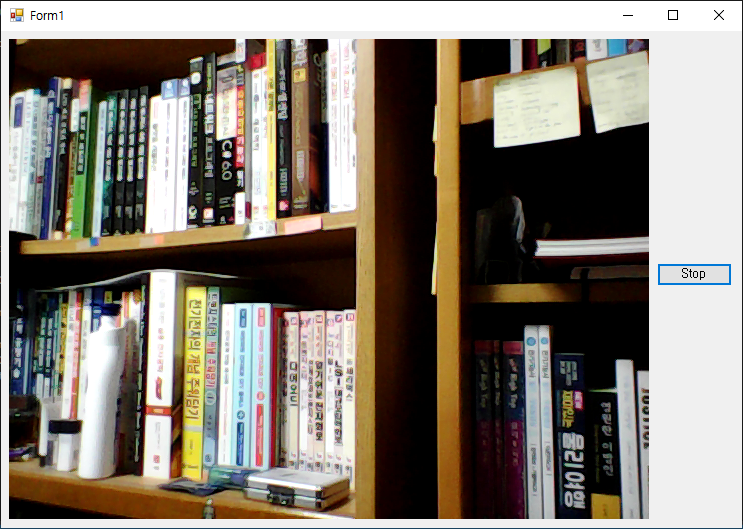
OpenCV with C# and Camera
OpenCV 2021. 12. 29. 17:32 |반응형
C#으로 OpenCV와 카메라를 사용해 보자.
C#에서 OpenCV를 사용하기 위한 준비는 아래 링크를 참고 한다.
2021.11.20 - [OpenCV] - OpenCV with C#
하지만 링크와 같이 OpenCvSharp4.Windows만 설치하면 Extensions가 설치 되지 않으므로 마찬가지로 NuGet Package Manager에서 검색하고 설치한다. (BitmapConverter.ToBitmap()을 사용하기 위해)


|
1
2
3
4
5
6
7
8
9
10
11
12
13
14
15
16
17
18
19
20
21
22
23
24
25
26
27
28
29
30
31
32
33
34
35
36
37
38
39
40
41
42
43
44
45
46
47
48
49
50
51
52
53
54
55
56
57
58
59
60
61
62
63
64
65
66
67
68
69
70
71
72
73
74
75
76
77
78
79
80
81
82
83
84
85
86
87
88
89
90
91
92
|
using System;
using System.Collections.Generic;
using System.ComponentModel;
using System.Data;
using System.Drawing;
using System.Linq;
using System.Text;
using System.Threading.Tasks;
using System.Windows.Forms;
using System.Threading;
using OpenCvSharp;
using OpenCvSharp.Extensions;
namespace OpenCV
{
public partial class Form1 : Form
{
bool isCameraOn;
Thread thread;
Mat mat;
VideoCapture videoCapture;
public Form1()
{
InitializeComponent();
pictureBox1.SizeMode = PictureBoxSizeMode.StretchImage;
button1.Text = "Start";
isCameraOn = false;
}
private void CameraCallback()
{
mat = new Mat();
videoCapture = new VideoCapture(0);
if (!videoCapture.IsOpened())
{
Text = "Camera open failed!";
return;
}
while (true)
{
videoCapture.Read(mat);
if (!mat.Empty())
{
pictureBox1.Image = BitmapConverter.ToBitmap(mat);
//System.IO.MemoryStream memoryStream = new System.IO.MemoryStream(mat.ToBytes());
//pictureBox1.Image = new Bitmap(memoryStream);
}
}
}
private void button1_Click(object sender, EventArgs e)
{
if (isCameraOn == false)
{
thread = new Thread(new ThreadStart(CameraCallback));
thread.Start();
isCameraOn = true;
button1.Text = "Stop";
}
else
{
if (videoCapture.IsOpened())
{
thread.Abort();
videoCapture.Release();
mat.Release();
}
isCameraOn = false;
button1.Text = "Start";
}
}
private void Form1_FormClosing(object sender, FormClosingEventArgs e)
{
if (thread != null && thread.IsAlive && videoCapture.IsOpened())
{
thread.Abort();
videoCapture.Release();
mat.Release();
}
}
}
}
|
소스를 입력하고 빌드한다. (주석에 있는 내용을 사용하면 BitmapConverter.ToBitmap()을 사용하지 않아도 되므로 OpenCvSharp.Extensions도 설치할 필요가 없다)


※ 참고
아래 링크는 IP Camera를 이용한다. FFMpeg는 없어도 될거 같은데 사용한다. 나중에 IP Camera 생기면 확인해 보자.
반응형
'OpenCV' 카테고리의 다른 글
| Compiling and Running OpenPose from Source (2) | 2022.05.15 |
|---|---|
| GDI+ and OpenCV - Bitmap to Mat & Mat to Bitmap Conversion (0) | 2022.01.02 |
| OpenCvSharp for Network (0) | 2021.12.28 |
| OpenCV with C# (0) | 2021.11.20 |
| OpenCV with Qt and MSVC in Windows (0) | 2021.09.26 |

