MySQL(MariaDB) Connector
Python 2022. 5. 5. 00:15 |반응형
2018.11.19 - [Python] - PyMySQL
Python에서 원격으로 MySQL(MariaDB)을 사용해 보자.
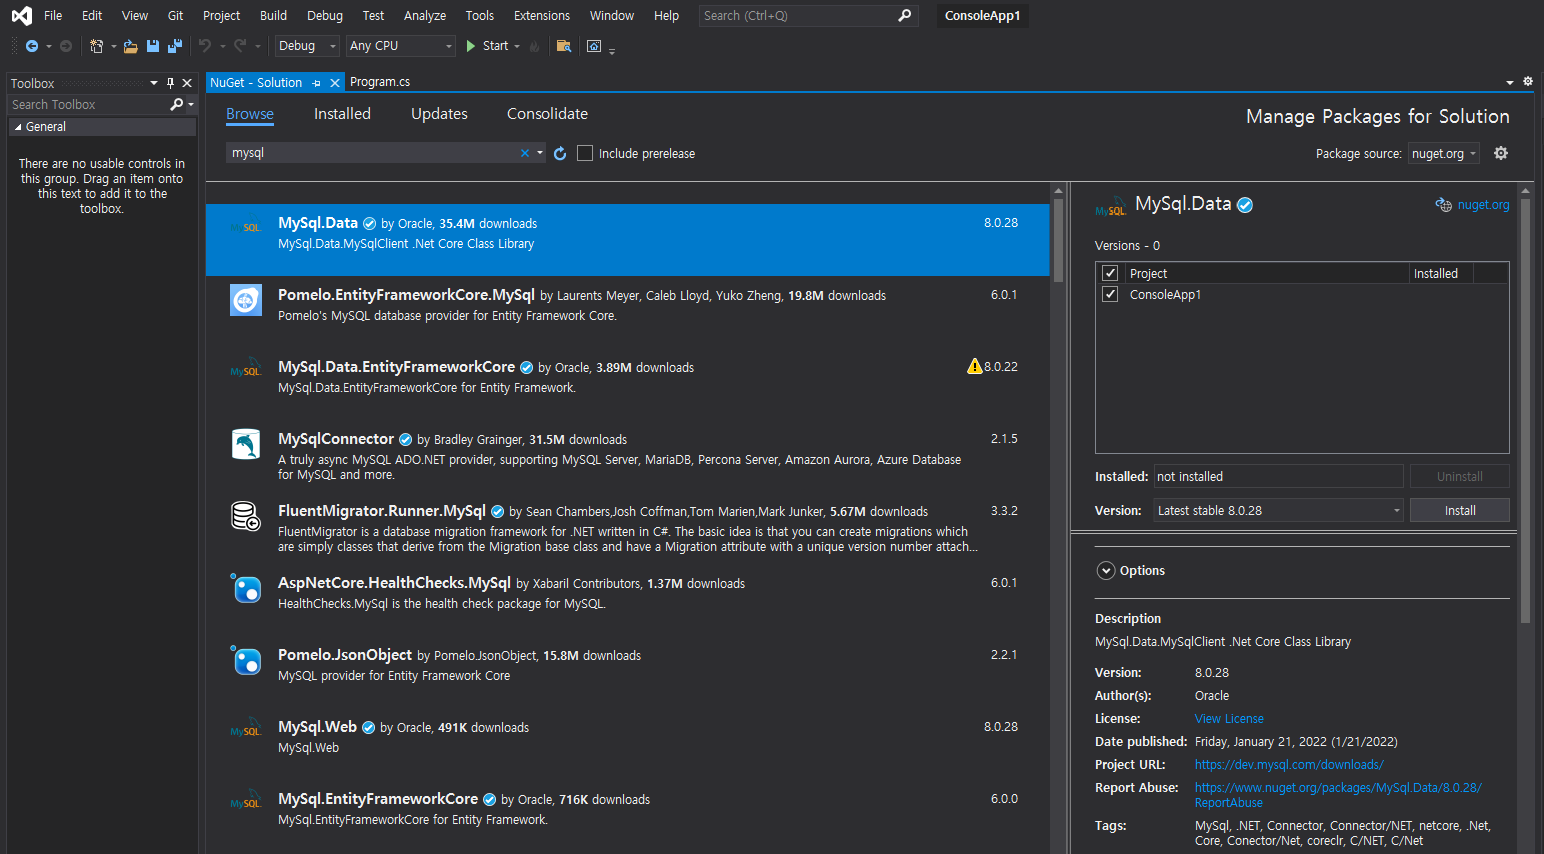
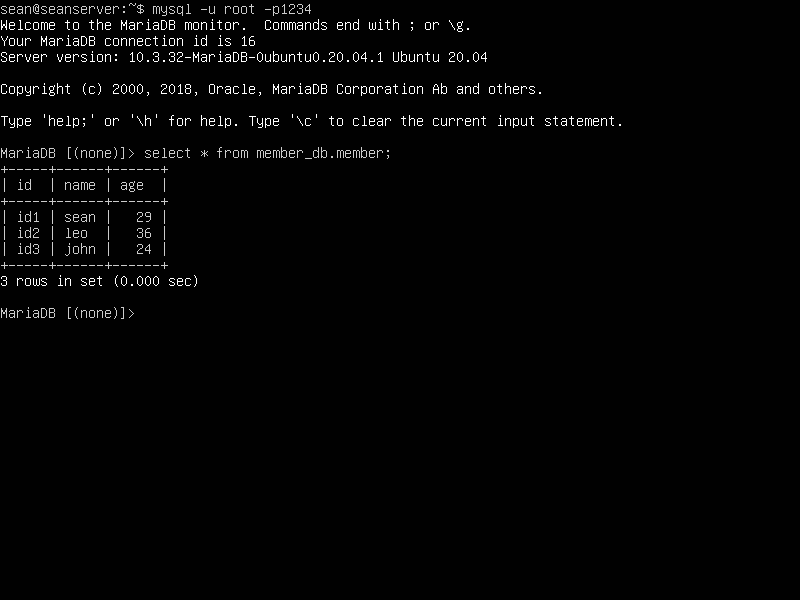
아래 링크를 참고해 데이터베이스를 준비한다.
2021.08.28 - [Linux] - Linux(Ubuntu) MariaDB(MySQL) Server Remote Access - 데이터베이스 원격 접속

|
1
2
3
4
5
6
7
8
9
10
11
12
13
14
15
16
17
18
19
20
21
22
23
24
25
26
27
28
29
|
import mysql.connector
from mysql.connector import errorcode
try:
cnx = mysql.connector.connect(host="192.168.171.20", user="root",
passwd="1234", database="test_db",
connection_timeout=5)
except mysql.connector.Error as err:
if err.errno == errorcode.ER_ACCESS_DENIED_ERROR:
print("Something is wrong with your user name or password")
elif err.errno == errorcode.ER_BAD_DB_ERROR:
print("Database does not exist")
elif err.errno == 2003: # 호스트 주소가 틀리거나 문제가 있다면
print("Connection error(Timeout)")
else:
print(err)
else: # 데이터베이스 접속 오류가 없다면
cursor = cnx.cursor()
query = ("SELECT * FROM test_tb")
cursor.execute(query)
for (id, name, age) in cursor:
print("id: {}, name: {}, age: {}".format(id, name, age))
#for row in cursor:
# print(row)
cursor.close()
cnx.close()
|
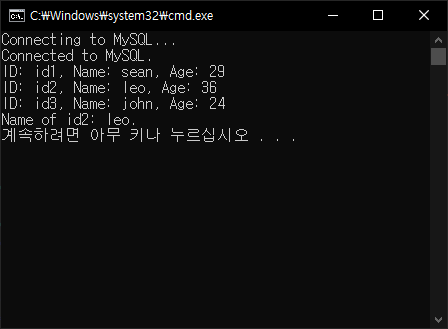
소스를 입력하고 실행한다.

※ 참고
반응형
'Python' 카테고리의 다른 글
| Speech to Text - Speech Recognition (0) | 2023.05.01 |
|---|---|
| Text To Speech - gTTS (0) | 2023.04.30 |
| Numpy Mean Axis - 넘파이 평균 기준(축) (0) | 2021.07.24 |
| How to send an email(Gmail) with Python - 파이썬 이메일(Gmail) 보내기 (0) | 2021.01.15 |
| YouTube Ads Auto Skipper with Python - 유튜브 광고 자동 클릭 (with 파이썬) (11) | 2020.08.17 |