반응형

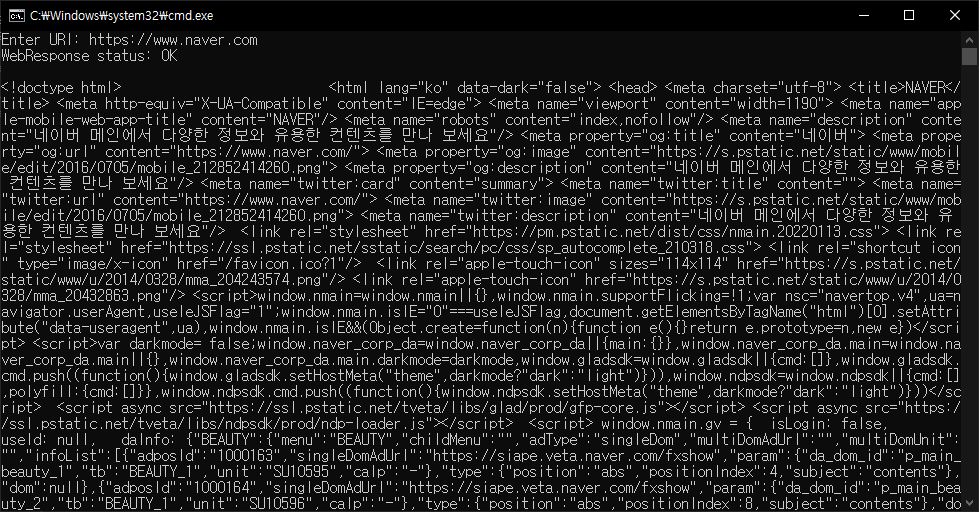
HTTP 요청을 보내고 응답을 받아 보자.


1
2
3
4
5
6
7
8
9
10
11
12
13
14
15
16
17
18
19
20
21
22
23
24
25
26
27
28
29
30
31
32
33
34
35
36
37
38
using System;
using System.Collections.Generic;
using System.Linq;
using System.Text;
using System.Threading.Tasks;
 
using System.Net.Http;
 
namespace ConsoleApp1
{
    class Program
    {
        // HttpClient is intended to be instantiated once per application, rather than per-use.
        static readonly HttpClient httpClient = new HttpClient();
 
        static async Task Main(string[] args)
        {
            try
            {
                Console.Write("Enter URI: ");
                string uriString = Console.ReadLine();
 
                HttpResponseMessage httpResponseMessage = await httpClient.GetAsync(uriString.Trim());
                httpResponseMessage.EnsureSuccessStatusCode();
                // Throws an exception if the IsSuccessStatusCode property for the HTTP response is false.
                string responseBody = await httpResponseMessage.Content.ReadAsStringAsync();
                // Above three lines can be replaced with new helper method below
                //string responseBody = await httpClient.GetStringAsync(uriString.Trim());
 
                Console.WriteLine(responseBody);
            }
            catch (HttpRequestException e)
            {
                Console.WriteLine(e.Message);
            }
        }
    }
}


소스를 입력하고 빌드한다.


원하는 URI를 입력하면 데이터가 출력된다.


반응형
Posted by J-sean
:
반응형

WebRequest 클래스를 이용해 웹페이지 데이터(내용)를 요청해 보자.


1
2
3
4
5
6
7
8
9
10
11
12
13
14
15
16
17
18
19
20
21
22
23
24
25
26
27
28
29
30
31
32
33
34
35
36
37
38
39
40
41
42
43
44
45
46
47
48
49
50
51
52
53
54
55
using System;
using System.Collections.Generic;
using System.Linq;
using System.Text;
using System.Threading.Tasks;
 
using System.Net;
using System.IO;
 
namespace ConsoleApp1
{
    class Program
    {
        static void Main(string[] args)
        {
            WebRequest webRequest = null;
            WebResponse webResponse = null;
 
            Stream stream = null;
            StreamReader streamReader = null;
 
            try
            {
                Console.Write("Enter URI: ");
                string uriString = Console.ReadLine();
 
                webRequest = WebRequest.Create(uriString.Trim());
                // If required by the server, set the credentials.
                webRequest.Credentials = CredentialCache.DefaultCredentials;
 
                webResponse = webRequest.GetResponse();
                Console.WriteLine("WebResponse status: " + ((HttpWebResponse)webResponse).StatusDescription);
 
                stream = webResponse.GetResponseStream();
                streamReader = new StreamReader(stream);
 
                string readString = streamReader.ReadToEnd();
                Console.WriteLine(readString);
            }
            catch (Exception exc)
            {
                Console.WriteLine(exc.Message);
            }
            finally
            {
                if (webResponse != null)
                    webResponse.Close();
                if (streamReader != null)
                    streamReader.Close();
                if (stream != null)
                    stream.Close();
            }
        }
    }
}


소스를 작성하고 빌드한다.


원하는 URI를 입력하면 데이터가 출력된다.


반응형
Posted by J-sean
:
반응형

간단한 웹서버용 HTML 문서 작성 예제


2019/10/08 - [Linux] - Build your own web server with Fedora linux - 페도라 리눅스로 간단한 웹서버 만들기


아래 내용으로 index.html 파일을 작성 하고 /var/www/html에 저장 한다.

1
2
3
4
5
6
7
8
9
10
11
12
13
14
15
16
17
18
19
20
21
22
23
24
25
26
27
28
29
30
31
32
33
34
35
36
<!doctype html>
<html lang="ko">
    <head>
        <meta charset="utf-8">
        <title>J.Sean's simple web server</title>
        <style>
            a{
                text-decoration:none;
                color:black;
            }
 
        </style>
    </head>
 
    <body>
        <h1>
        <br>--- J.sean's simple web server ---
        <br>OS: Fedora
        <br>HTTP Server: Apache
        <br>
        <a href="https://s-engineer.tistory.com/" target="_blank">Click me to visit J.Sean's blog</a><br><br>
 
        Alien 3<br>
        <video src="./data/Alien.mp4" width="960" height="520" autoplay controls>
        <track label="Korean" kind="subtitles" srclang="ko" src="./data/Alien.vtt" default></video><br><br>
        
        <a href="https://s-engineer.tistory.com/" target="_blank">
        <img src="./download/animal.jpg">
        </a>
 
        <br>
        <a href="./download/file.zip" download>File (file.zip)</a><br>
 
        </h1>
    </body>
</html>


./data, ./download 디렉토리를 만들고 index.html 내용에 필요한 데이터를 저장 한다.


서버에 접속하면 비디오 플레이어, 웹링크, 파일링크, 사진등이 표시된 웹 페이지가 열린다.


반응형
Posted by J-sean
: