C# Google Cloud Vision API - 구글 클라우드 비전 API 3
C# 2022. 2. 11. 15:06 |반응형
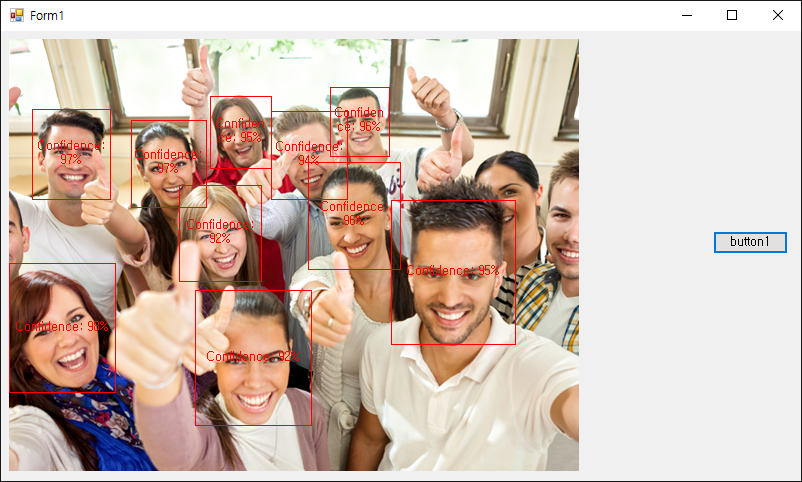
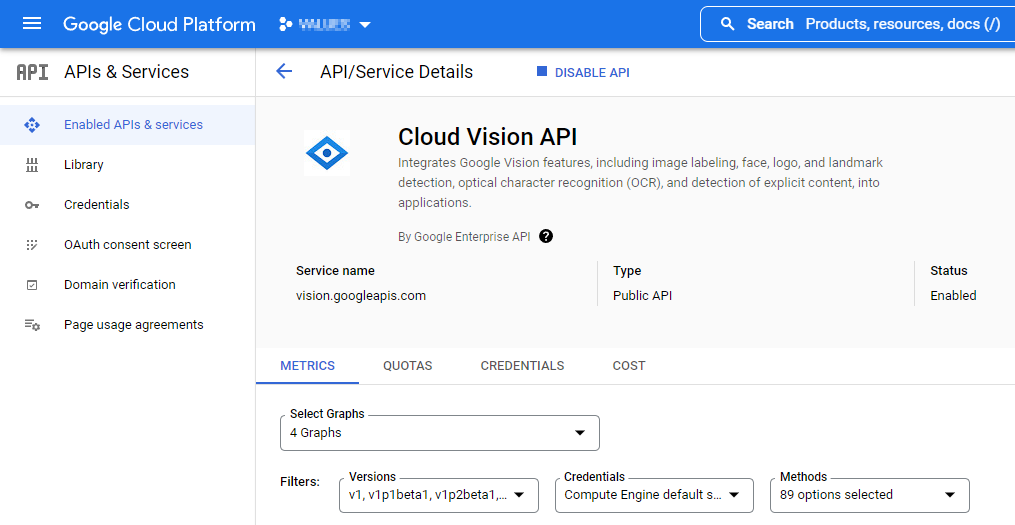
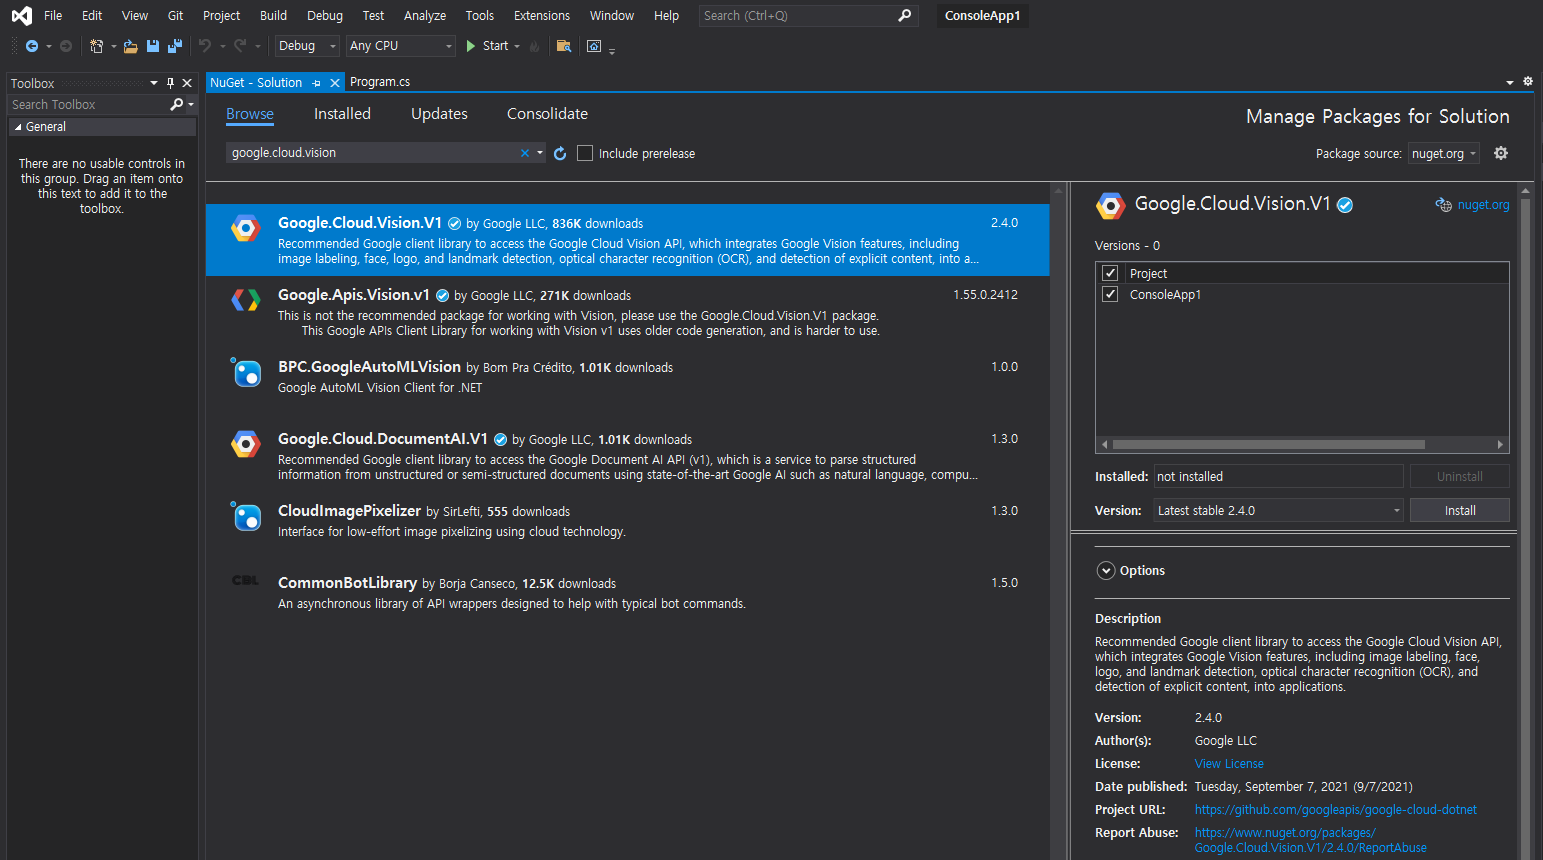
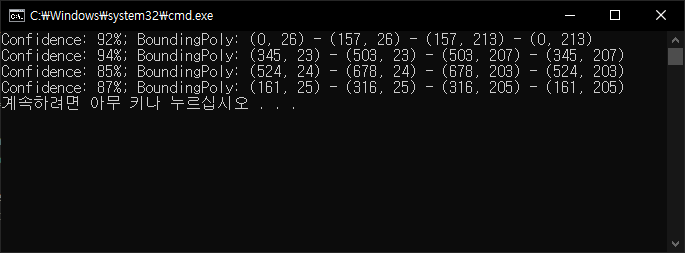
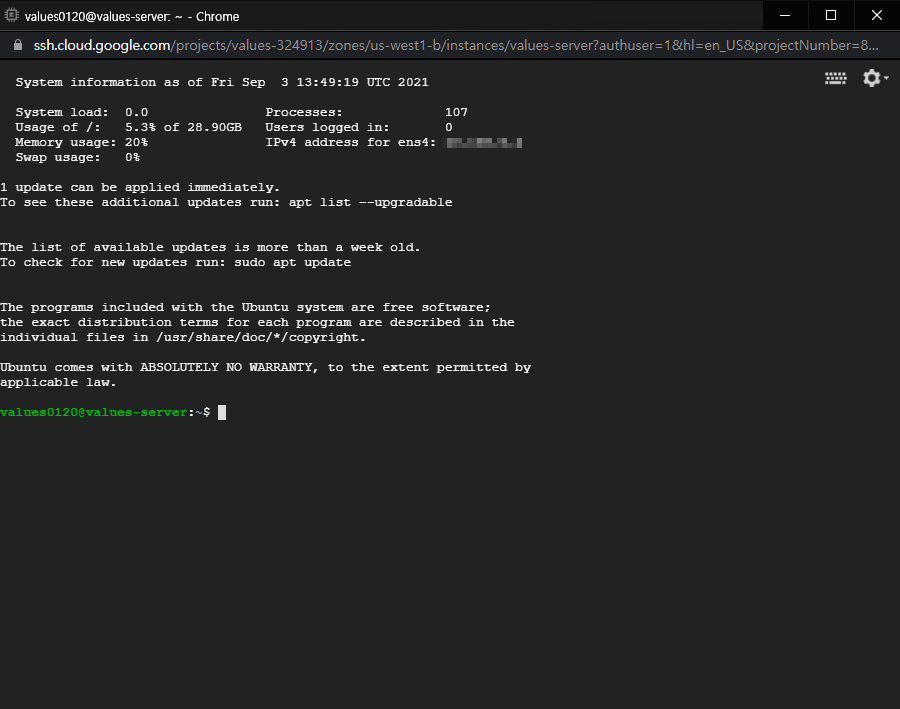
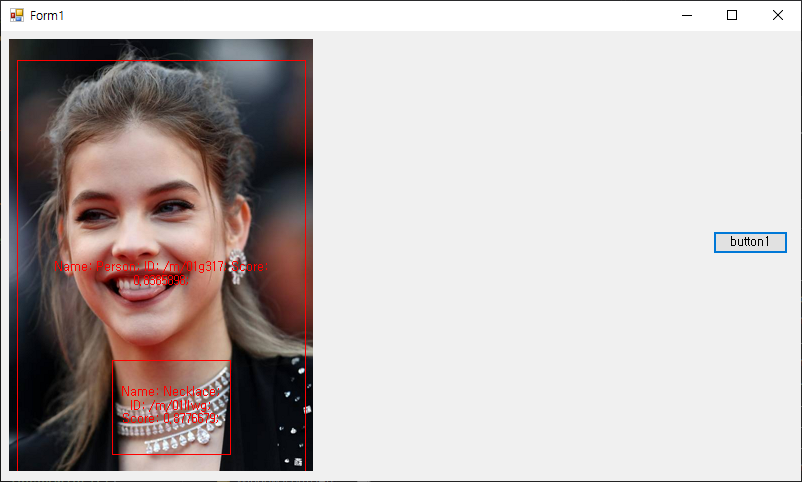
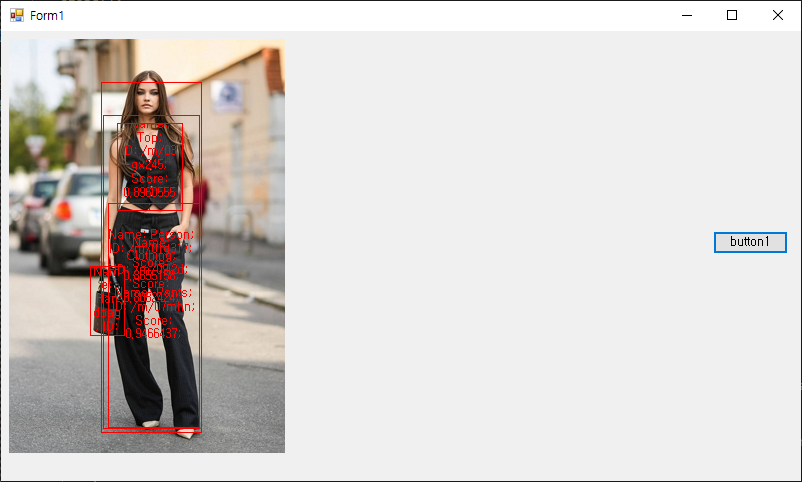
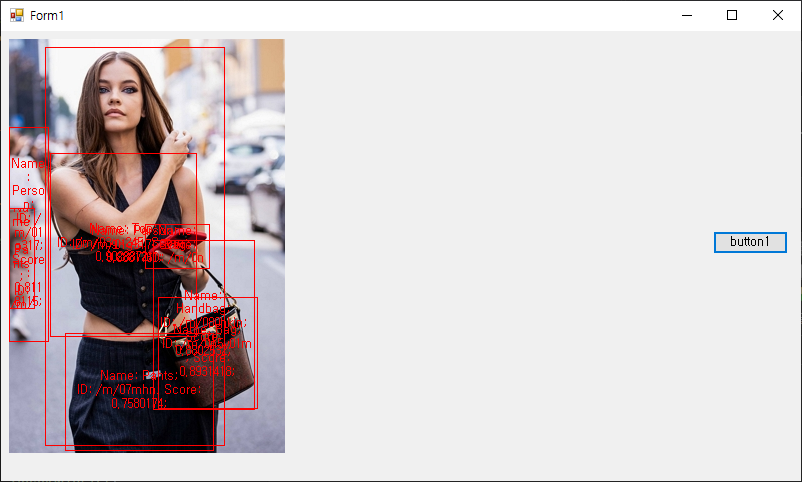
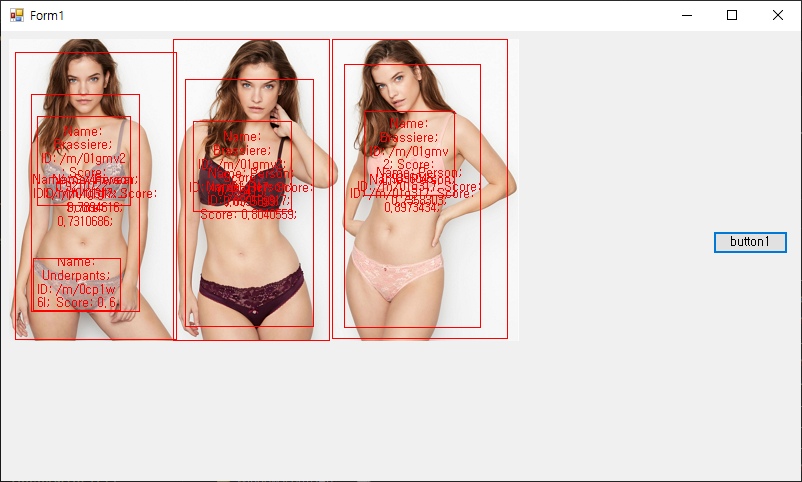
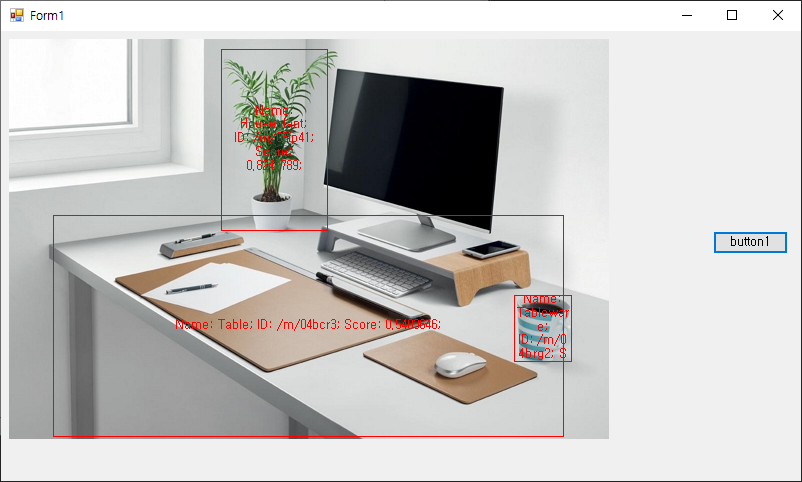
C# WinForm 으로 구글 클라우드 비전 API를 이용해 Detect localized objects in a single image 를 진행해 보자. 아래 링크를 참고해 기본 준비를 한다.
2022.02.11 - [C#] - C# Google Cloud Vision API - 구글 클라우드 비전 API 2
|
1
2
3
4
5
6
7
8
9
10
11
12
13
14
15
16
17
18
19
20
21
22
23
24
25
26
27
28
29
30
31
32
33
34
35
36
37
38
39
40
41
42
43
44
45
46
47
48
49
50
51
52
53
54
55
56
57
58
59
60
61
62
63
64
65
66
67
68
69
70
71
72
73
74
75
76
77
78
79
80
81
82
83
84
85
86
87
88
89
90
91
92
93
|
using System;
using System.Collections.Generic;
using System.ComponentModel;
using System.Data;
using System.Drawing;
using System.Linq;
using System.Text;
using System.Threading.Tasks;
using System.Windows.Forms;
using Google.Cloud.Vision.V1;
namespace WindowsFormsApp1
{
public partial class Form1 : Form
{
ImageAnnotatorClient client;
public Form1()
{
InitializeComponent();
try
{
client = new ImageAnnotatorClientBuilder
{
CredentialsPath = "your_credentials.json"
}.Build();
}
catch (Exception exc)
{
MessageBox.Show(exc.Message);
Close();
}
}
private void button1_Click(object sender, EventArgs e)
{
try
{
System.Drawing.Image systemImage;
OpenFileDialog dlg = new OpenFileDialog();
if (dlg.ShowDialog() == DialogResult.OK)
{
systemImage = System.Drawing.Image.FromFile(dlg.FileName);
pictureBox1.Image = systemImage;
pictureBox1.Refresh();
Graphics graphics = pictureBox1.CreateGraphics();
Google.Cloud.Vision.V1.Image visionImage = Google.Cloud.Vision.V1.Image.FromFile(dlg.FileName);
IReadOnlyList<LocalizedObjectAnnotation> annotations = client.DetectLocalizedObjects(visionImage);
foreach (LocalizedObjectAnnotation annotation in annotations)
{
Google.Protobuf.Collections.RepeatedField<NormalizedVertex> normalizedVertices =
annotation.BoundingPoly.NormalizedVertices;
int imageWidth = systemImage.Width;
int imageHeight = systemImage.Height;
// Google.Cloud.Vision.V1.Image 는 Width, Height 필드가 없다.
Rectangle rectangle = new Rectangle(
(int)(normalizedVertices[0].X * imageWidth),
(int)(normalizedVertices[0].Y * imageHeight),
(int)((normalizedVertices[2].X - normalizedVertices[0].X) * imageWidth),
(int)((normalizedVertices[2].Y - normalizedVertices[0].Y) * imageHeight)
);
// BoundingPoly.NormalizedVertices 는 0~1의 범위를 가지는 값이다.
StringFormat stringFormat = new StringFormat
{
Alignment = StringAlignment.Center,
LineAlignment = StringAlignment.Center
};
graphics.DrawRectangle(System.Drawing.Pens.Red, rectangle);
graphics.DrawString($"Name: {annotation.Name}\n ID: {annotation.Mid}\n Score: {annotation.Score}",
Font, Brushes.Red, rectangle, stringFormat);
}
graphics.Dispose();
}
}
catch (Exception exc)
{
MessageBox.Show(exc.Message);
}
}
}
}
|
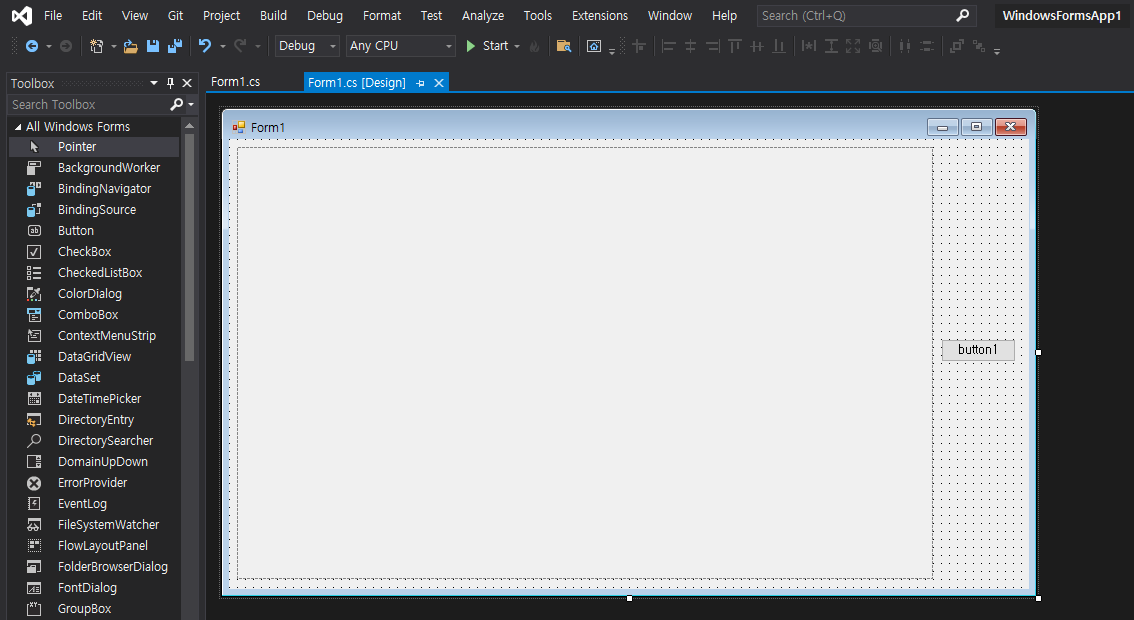
소스를 입력하고 빌드한다.
반응형
'C#' 카테고리의 다른 글
| C# with SQLite - 데이터베이스 연동 2 (0) | 2022.02.18 |
|---|---|
| C# with SQLite - 데이터베이스 연동 1 (0) | 2022.02.18 |
| C# Google Cloud Vision API - 구글 클라우드 비전 API 2 (0) | 2022.02.11 |
| C# Google Cloud Vision API - 구글 클라우드 비전 API 1 (0) | 2022.02.11 |
| C# with MariaDB(MySQL) - 데이터베이스 연동 (0) | 2022.02.08 |