

[YOLO] Multi-Object Tracking 물체 추적
AI, ML, DL 2026. 2. 10. 14:32 |반응형
OpenCV와 함께 다수의 물체를 추적해 보자.
import cv2
from ultralytics import YOLO

# Load the YOLO26 model
model = YOLO("yolo26n.pt")

# Open the webcam
# cap = cv2.VideoCapture(0)
# cap.set(cv2.CAP_PROP_FRAME_WIDTH, 640)
# cap.set(cv2.CAP_PROP_FRAME_HEIGHT, 480)
# if cap.set(cv2.CAP_PROP_FPS, 30):
# 	print("FPS set")
# else:
# 	print("FPS setting failed")

cap = cv2.VideoCapture("Cars_On_Highway.mp4")

# Loop through the video frames
while cap.isOpened():
    # Read a frame from the video
    success, frame = cap.read()

    if success:
        # Run YOLO26 tracking on the frame, persisting tracks between frames
        results = model.track(frame, persist=True, verbose=False)

        # Visualize the results on the frame
        annotated_frame = results[0].plot()

        print(f"Number of objects: {len(results[0])}")
        #print(results[0].boxes.id) # (tensor) 바운딩 박스의 track ID를 반환합니다 (사용 가능한 경우).
        #print(results[0].names) # (dict) 클래스 인덱스를 클래스 이름에 매핑하는 사전입니다.
        #print(results[0].boxes.cls) # (tensor) bounding box의 클래스 값을 반환합니다.

        # ID와 각 물체의 클래스 출력
        for id, cls in zip(results[0].boxes.id, results[0].boxes.cls):
            print(f"ID: {id.int()} Class: {results[0].names[cls.int().item()]}", end=', ')
        print()

        # Display the annotated frame
        cv2.imshow("YOLO26 Tracking", annotated_frame)

        # Break the loop if 'q' is pressed
        if cv2.waitKey(1) & 0xFF == ord("q"):
            break
    else:
        # Break the loop if the end of the video is reached
        break

# Release the video capture object and close the display window
cap.release()
cv2.destroyAllWindows()
웹캠을 사용하거나 원하는 영상을 준비하고 실행한다.
video1.avi
2.41MB
video2.avi
2.15MB

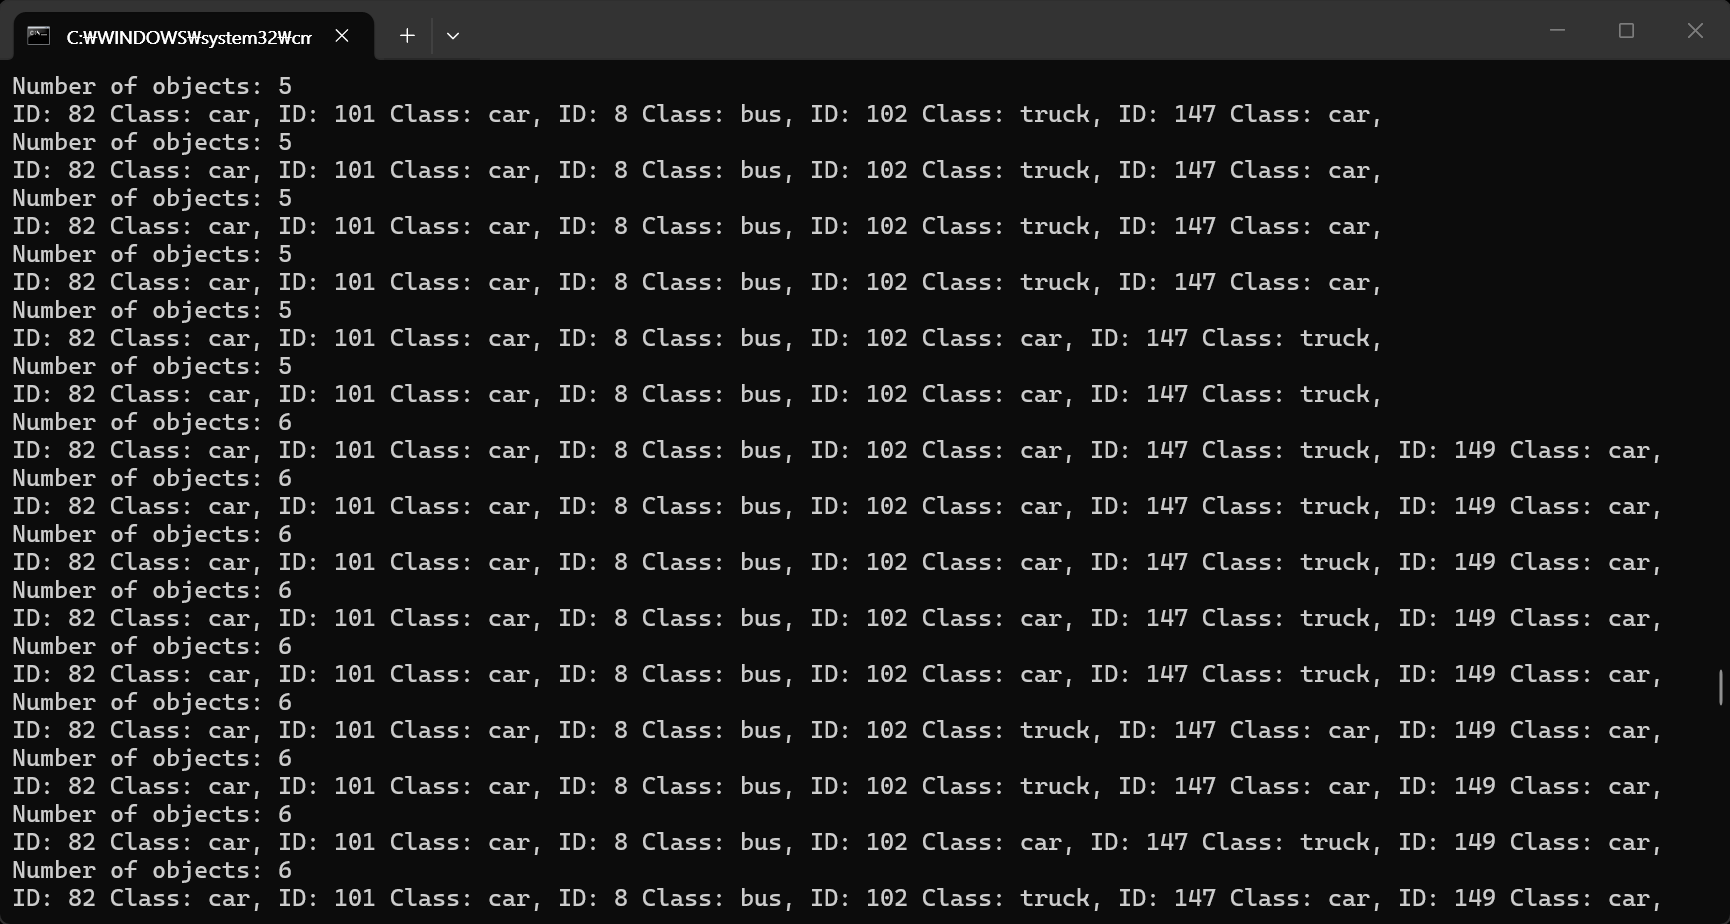
캡처하는 시간차 때문에 영상과 콘솔 화면의 출력이 일치하지는 않는다.
반응형
'AI, ML, DL' 카테고리의 다른 글
| [YOLO] YOLOE Real-Time Seeing Anything Zero-shot 실시간 객체 탐지 (2) | 2026.02.12 |
|---|---|
| [YOLO] Instance Segmentation 객체 분할 (0) | 2026.02.10 |
| [YOLO] Model Training 모델 훈련 (0) | 2026.02.09 |
| [YOLO] with OpenCV (0) | 2026.02.08 |
| [YOLO] YOLO models to ONNX 파일 변환 (0) | 2026.02.08 |