

[MediaPipe] Object Detection 객체 감지
AI, ML, DL 2025. 2. 11. 15:36 |반응형
MediaPipe를 이용해 객체를 감지해 보자.
|
1
2
3
4
5
6
7
8
9
10
11
12
13
14
15
16
17
18
19
20
21
22
23
24
25
26
27
28
29
30
31
32
33
34
35
36
37
38
39
40
41
42
43
44
45
46
47
48
49
50
51
52
53
54
55
56
57
58
59
60
61
|
import numpy as np
import cv2
import mediapipe as mp
from mediapipe.tasks import python
from mediapipe.tasks.python import vision
MARGIN = 10 # pixels
ROW_SIZE = 10 # pixels
FONT_SIZE = 1
FONT_THICKNESS = 1
TEXT_COLOR = (255, 0, 0) # red
def visualize(image, detection_result) -> np.ndarray:
"""Draws bounding boxes on the input image and return it.
Args:
image: The input RGB image.
detection_result: The list of all "Detection" entities to be visualize.
Returns:
Image with bounding boxes.
"""
for detection in detection_result.detections:
# Draw bounding_box
bbox = detection.bounding_box
start_point = bbox.origin_x, bbox.origin_y
end_point = bbox.origin_x + bbox.width, bbox.origin_y + bbox.height
cv2.rectangle(image, start_point, end_point, TEXT_COLOR, 3)
# Draw label and score
category = detection.categories[0]
category_name = category.category_name
probability = round(category.score, 2)
result_text = category_name + ' (' + str(probability) + ')'
text_location = (MARGIN + bbox.origin_x, MARGIN + ROW_SIZE + bbox.origin_y)
cv2.putText(image, result_text, text_location, cv2.FONT_HERSHEY_PLAIN,
FONT_SIZE, TEXT_COLOR, FONT_THICKNESS)
return image
# Create an ObjectDetector object.
base_options = python.BaseOptions(model_asset_path='efficientdet_lite2.tflite')
# https://ai.google.dev/edge/mediapipe/solutions/vision/object_detector
options = vision.ObjectDetectorOptions(base_options=base_options, score_threshold=0.5)
detector = vision.ObjectDetector.create_from_options(options)
# Load the input image.
image = mp.Image.create_from_file('image.jpg')
#cv_image = cv2.imread('image.jpg')
#image = mp.Image(image_format = mp.ImageFormat.SRGB,
# data = cv2.cvtColor(cv_image, cv2.COLOR_BGR2RGB))
# https://ai.google.dev/edge/api/mediapipe/python/mp/Image
# Detect objects in the input image.
detection_result = detector.detect(image)
# Process the detection result. In this case, visualize it.
image_copy = np.copy(image.numpy_view())
annotated_image = visualize(image_copy, detection_result)
rgb_annotated_image = cv2.cvtColor(annotated_image, cv2.COLOR_BGR2RGB)
cv2.imshow('sean', rgb_annotated_image)
cv2.waitKey(0)
|
efficientdet_lite0.tflite
4.39MB
efficientdet_lite2.tflite
7.17MB
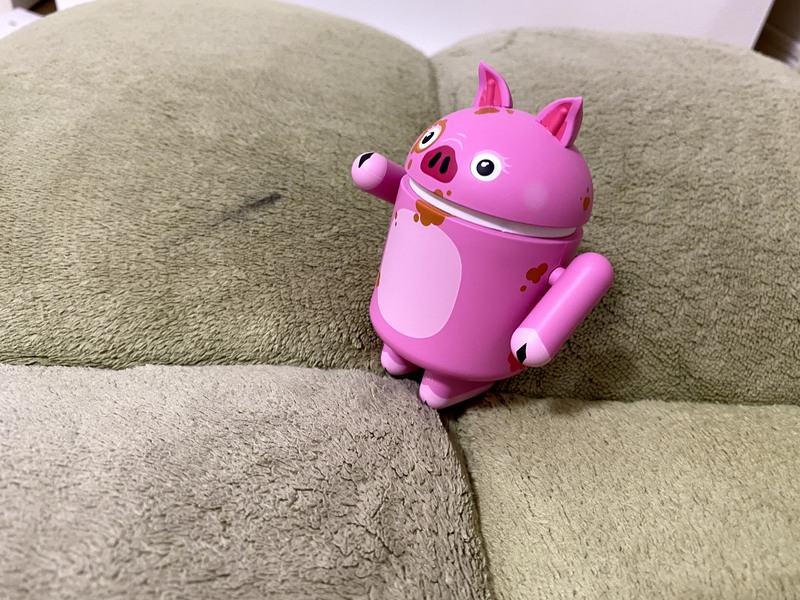
여러가지 이미지 파일을 준비해서 소스를 입력하고 실행한다.


이제 내가 감지하고 싶은 오브젝트로 감지 모델을 만들어 보자.
Object detection model customization guide
전체적으로 위 링크를 참고하면 된다. 여기서는 데이터셋을 준비하는 과정에 대해 조금 더 자세히 알아보자.
labels.json 파일은 아래와 같은 구조로 되어 있다.
{
"categories":[
{"id":1, "name":<cat1_name>},
...
],
"images":[
{"id":0, "file_name":"<img0>.<jpg/jpeg>"},
...
],
"annotations":[
{"id":0, "image_id":0, "category_id":1, "bbox":[x-top left, y-top left, width, height]},
...
]
}
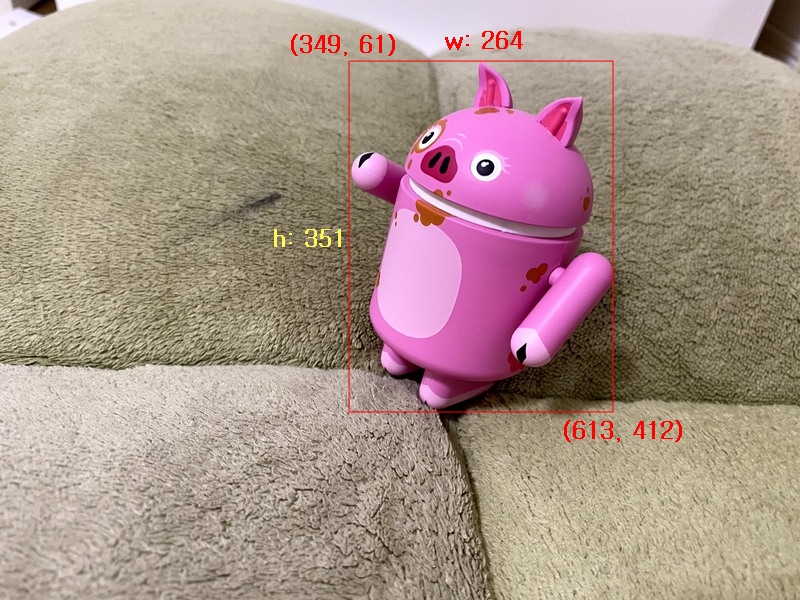
실제 labels.json 파일에서 첫 번째(0) 이미지에 대한 내용을 살펴보자.
{
"images": [{"id": 0, "file_name": "IMG_0525.jpg"}, ...],
"annotations": [{"image_id": 0, "bbox": [349, 61, 264, 351], "category_id": 2}, ...],
"categories": [{"id": 0, "name": "background"}, {"id": 1, "name": "android"}, {"id": 2, "name": "pig_android"}]
}
첫 번째 파일이므로 image_id는 0으로, '돼지 안드로이드' 인형이므로 category_id는 2로 세팅 되었다.
bbox는 bounding box이고 [왼쪽 x좌표, 왼쪽 y좌표, 폭, 높이]를 의미한다.
categories에서 첫 번째 0번 id는 실제 쓰이지 않더라도 무조건 background로 지정되어야 한다.
반응형
'AI, ML, DL' 카테고리의 다른 글
| [MediaPipe] Face Detection 얼굴 감지 (0) | 2025.02.11 |
|---|---|
| [MediaPipe] Hand Landmark Detection 손 특징 감지 (0) | 2025.02.11 |
| [DL] Keras(TensorFlow) 관련 에러 해결 (0) | 2025.01.15 |
| [ML] MNIST pandas (0) | 2024.12.21 |
| [Scraping] 환율 정보를 SMS로 보내기 (3) | 2024.01.02 |