[DL] Keras(TensorFlow) 관련 에러 해결
Machine Learning 2025. 1. 15. 11:40 |Keras 관련 에러를 몇 가지 확인하고 해결해 보자.
1)
dense = keras.layers.Dense(10, activation='softmax', input_shape=(784, ))
위 명령을 실행하면 아래와 같은 경고가 출력된다.
UserWarning: Do not pass an `input_shape`/`input_dim` argument to a layer. When using Sequential models, prefer using an `Input(shape)` object as the first layer in the model instead.
경고이므로 무시하고 넘어간다.
model = keras.Sequential(dense)
이어서 위 명령은 아래와 같은 에러가 출력된다.
TypeError: 'Dense' object is not iterable
아래와 같이 바꿔서 해결한다.
model = keras.Sequential([dense])
아니면 처음부터 아래와 같이 입력하면 경고나 에러 없이 진행 된다.
model = keras.Sequential([keras.Input(shape=(784, )), keras.layers.Dense(10, activation='softmax')])
2)
model.compile(loss='sparse_categorical_crossentropy', metrics='accuracy')
위 명령을 실행하면 아래와 같은 에러가 출력된다.
ValueError: Expected `metrics` argument to be a list, tuple, or dict. Received instead: metrics=accuracy of type <class 'str'>
아래와 같이 바꿔서 해결한다.
model.compile(loss='sparse_categorical_crossentropy', metrics=['accuracy'])
※ 참고
혼자 공부하는 머신러닝 + 딥러닝
'Machine Learning' 카테고리의 다른 글
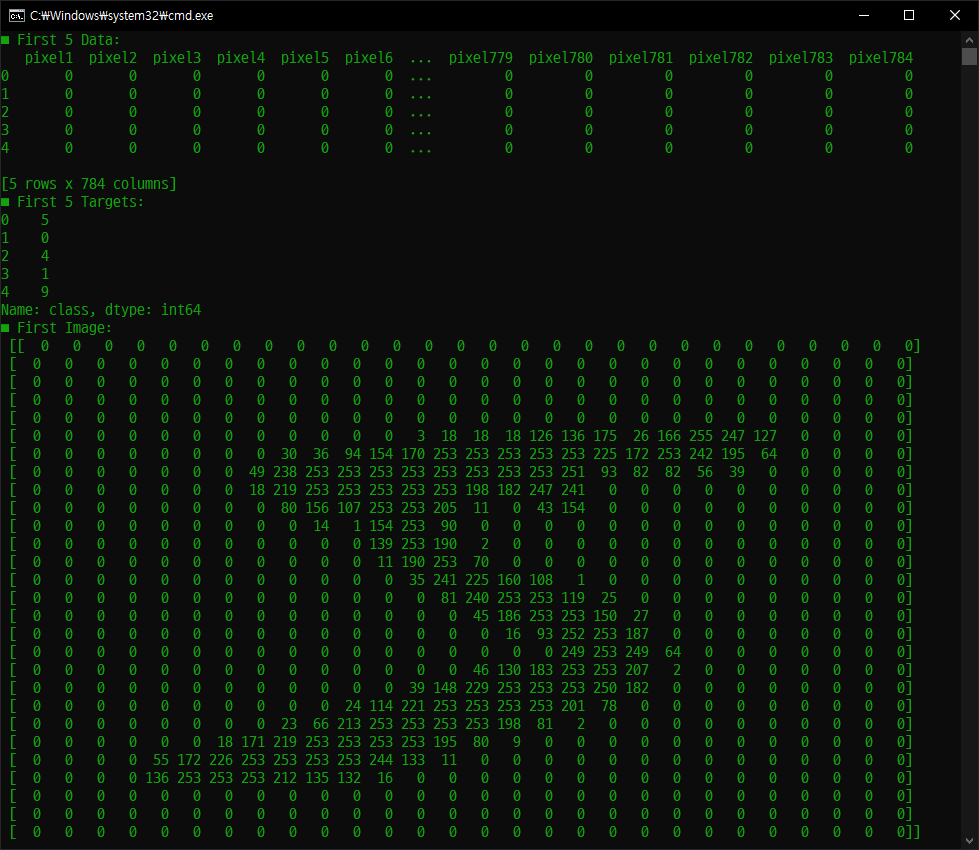
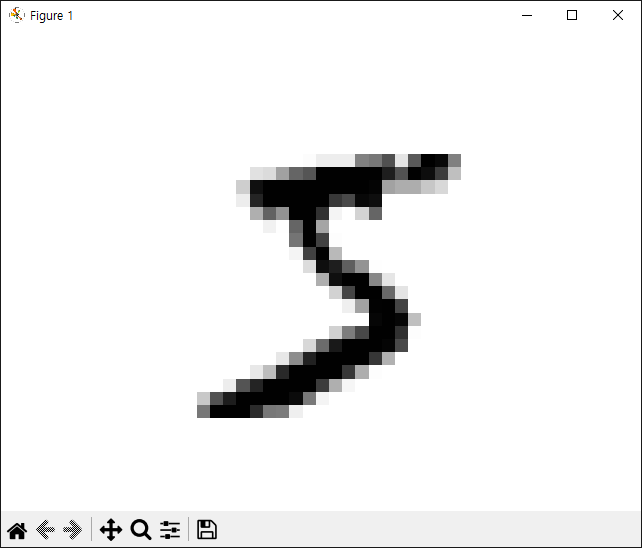
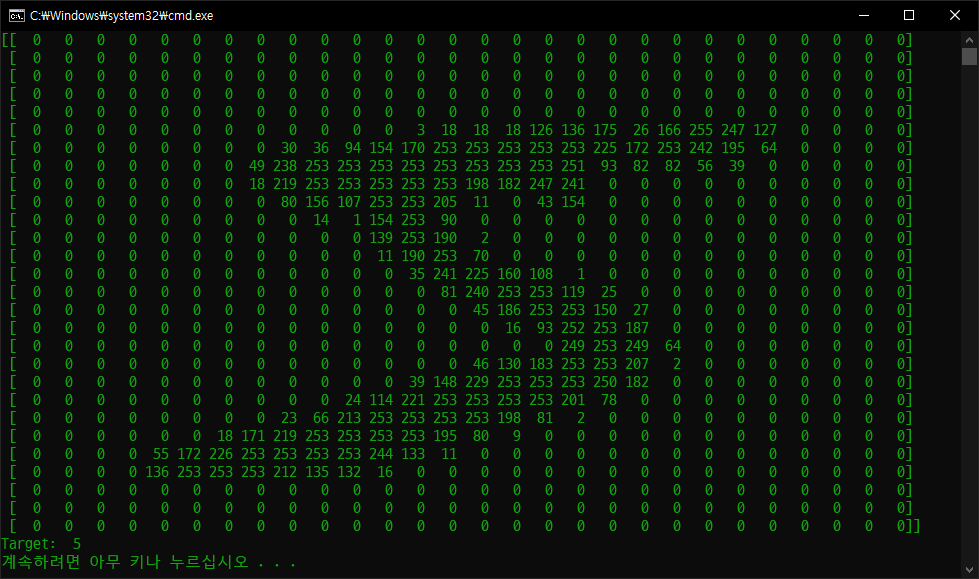
| [ML] MNIST pandas (0) | 2024.12.21 |
|---|---|
| [Scraping] 환율 정보를 SMS로 보내기 (3) | 2024.01.02 |
| [Scraping] 환율 정보 (0) | 2024.01.02 |
| OCR with Tesseract on Windows - Windows에서 테서랙트 사용하기 (0) | 2020.10.07 |
| CSV 분석 (0) | 2019.01.20 |