반응형

DataGridView에 출력한 내용을 수정하고 XML로 저장해 보자.


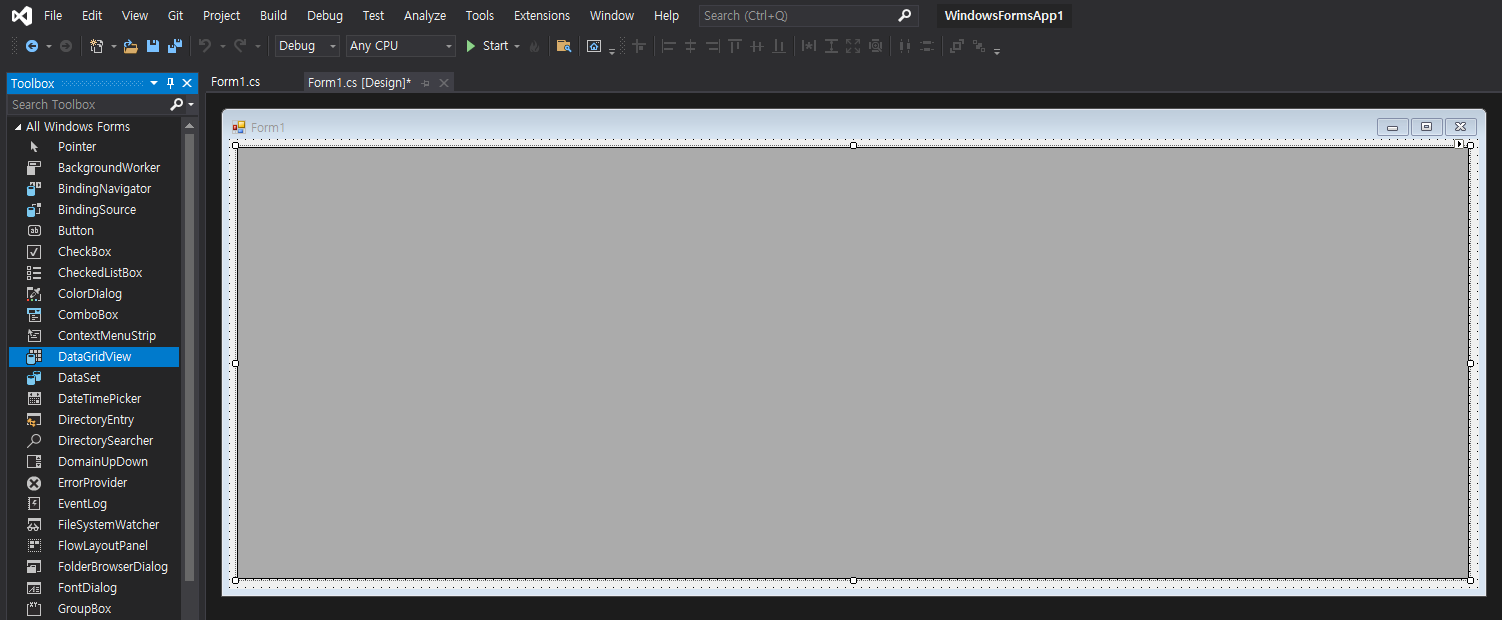
WinForm에 DataGridView, Button을 적당히 배치한다.


1
2
3
4
5
6
7
8
9
10
11
12
13
14
15
16
17
18
19
20
21
22
23
24
25
26
27
28
29
30
31
32
33
34
35
36
37
38
39
40
41
42
43
44
45
46
47
48
49
50
51
52
53
54
55
56
57
58
59
60
using System;
using System.Collections.Generic;
using System.ComponentModel;
using System.Data;
using System.Drawing;
using System.Linq;
using System.Text;
using System.Threading.Tasks;
using System.Windows.Forms;
 
namespace WindowsFormsApp1
{
    public partial class Form1 : Form
    {
        DataTable dataTable;
        string selectedCellString;
 
        public Form1()
        {
            InitializeComponent();
 
            try
            {
                dataTable = new DataTable("game");
                dataTable.ReadXmlSchema("gamelist.xml");
                dataTable.ReadXml("gamelist.xml");
                dataGridView1.DataSource = dataTable;
 
                // 데이터 테이블 내용 변경 후 콜백함수 지정.
                dataTable.RowChanged += DataTable_RowChanged;
            }
            catch (Exception exc)
            {
                MessageBox.Show(exc.Message);
            }
        }
 
        private void DataTable_RowChanged(object sender, DataRowChangeEventArgs e)
        {
            // 변경된 내용 표시
            MessageBox.Show(selectedCellString + " => " +
                e.Row[dataGridView1.SelectedCells[0].ColumnIndex].ToString(), "변경");
        }
 
        private void button1_Click(object sender, EventArgs e)
        {
            // 저장
            dataTable.WriteXml("gamelist.xml");
        }
 
        private void dataGridView1_SelectionChanged(object sender, EventArgs e)
        {
            // 프로그램 시작 시 인덱스 에러 방지
            if (dataGridView1.SelectedCells.Count < 1)
                return;
 
            selectedCellString = dataGridView1.SelectedCells[0].Value.ToString();
        }
    }
}


소스를 입력하고 빌드한다.


실행하면 'gamelist.xml' 의 내용이 표시된다.


원하는 셀을 수정하고 저장 버튼을 클릭한다.


원본 'gamelist.xml'


수정된 'gamelist.xml'

DataGridView에서 수정한 내용과 함께 <gameList xmlns:xsi="http://www.w3.org/2001/XMLSchema-instance"> 태그도 <DocumentElement>로 변경되었다.


반응형
Posted by J-sean
:
반응형

DataTable 이나 DataSet 클래스를 이용해 XML 파일을 생성하고 읽어올 수 있다. 이 두 클래스로 생성한 XML 파일이 아닌 임의의 XML 파일을 읽어서 DataGridView에 표시해 보자.


WinForm에 DataGridView를 적당히 배치한다.


1
2
3
4
5
6
7
8
9
10
11
12
13
14
15
16
17
18
19
20
21
22
23
24
25
26
27
28
29
30
31
32
33
34
35
36
37
38
39
40
41
42
43
44
using System;
using System.Collections.Generic;
using System.ComponentModel;
using System.Data;
using System.Drawing;
using System.Linq;
using System.Text;
using System.Threading.Tasks;
using System.Windows.Forms;
 
namespace WindowsFormsApp1
{
    public partial class Form1 : Form
    {
        public Form1()
        {
            InitializeComponent();
 
            try
            {
                DataTable dataTable = new DataTable("game");
                dataTable.ReadXmlSchema("gamelist.xml");
                // 'gamelist.xml'은 인터넷에서 주워온 파일이다.
                // DataTable.WriteXml()에 XmlWriteMode.WriteSchema
                // 옵션을 줘서 만든 XML 파일이 아니면 DataTable 클래스
                // 생성시 테이블 이름("game")을 정확히 지정해 주고
                // Schema를 읽어와야 한다.                
                dataTable.ReadXml("gamelist.xml");
                dataGridView1.DataSource = dataTable;
 
                /* DataSet 클래스 사용 예. 더 간단하다.
                DataSet dataSet = new DataSet();
                dataSet.ReadXml("gamelist.xml");
                dataGridView1.DataSource = dataSet.Tables["game"];
                //dataGridView1.DataSource = dataSet.Tables[0];
                */
            }
            catch (Exception exc)
            {
                MessageBox.Show(exc.Message);
            }
        }
    }
}


소스를 입력하고 빌드한다.


'gamelist.xml' 파일의 구성


gamelist.xml
5.73MB


실행하면 gamelist.xml의 내용이 표시된다.


반응형
Posted by J-sean
:
반응형

Beautifulsoup을 이용해 XML을 분석할 수 있다.


1
2
3
4
5
6
7
8
9
10
11
12
13
14
15
16
17
18
19
20
21
22
23
24
25
26
27
28
29
30
31
32
33
34
35
36
37
38
39
40
from bs4 import BeautifulSoup
import urllib.request as req
import os.path
 
url = "http://www.weather.go.kr/weather/forecast/mid-term-rss3.jsp?stnId=108"
# 기상청 날씨누리 전국 중기예보 RSS
filename = "forecast.xml"
 
if not os.path.exists(filename):
    #req.urlretrieve(url, savename)
    # Legacy interface. It might become deprecated at some point in the future.
    with req.urlopen(url) as contents:
        xml = contents.read().decode("utf-8")
        # If the end of the file has been reached, read() will return an empty string ('').
        #print(xml)
        with open(filename, mode="wt") as f:
            f.write(xml)
 
with open(filename, mode="rt") as f:
    xml = f.read()
    soup = BeautifulSoup(xml, "html.parser")
    # html.parser는 모든 태그를 소문자로 바꾼다.
    #print(soup)
 
    print("[", soup.find("title").string, "]")
    print(soup.find("wf").string, "\n")
 
    # 날씨에 따른 지역 분류
    info = {}    # empty dicionary
    for location in soup.find_all("location"):
        name = location.find("city").string
        weather = location.find("wf").string
        if not (weather in info):
            info[weather] = []    # empty list. dictionary는 list를 value로 가질 수 있다.
        info[weather].append(name)
 
    for weather in info.keys():    # Return a new view of the dictionary’s keys.
        print("■", weather)
        for name in info[weather]:
            print("|-", name)
cs


반응형
Posted by J-sean
: