OpenCvSharp for Network
OpenCV 2021. 12. 28. 22:45 |반응형
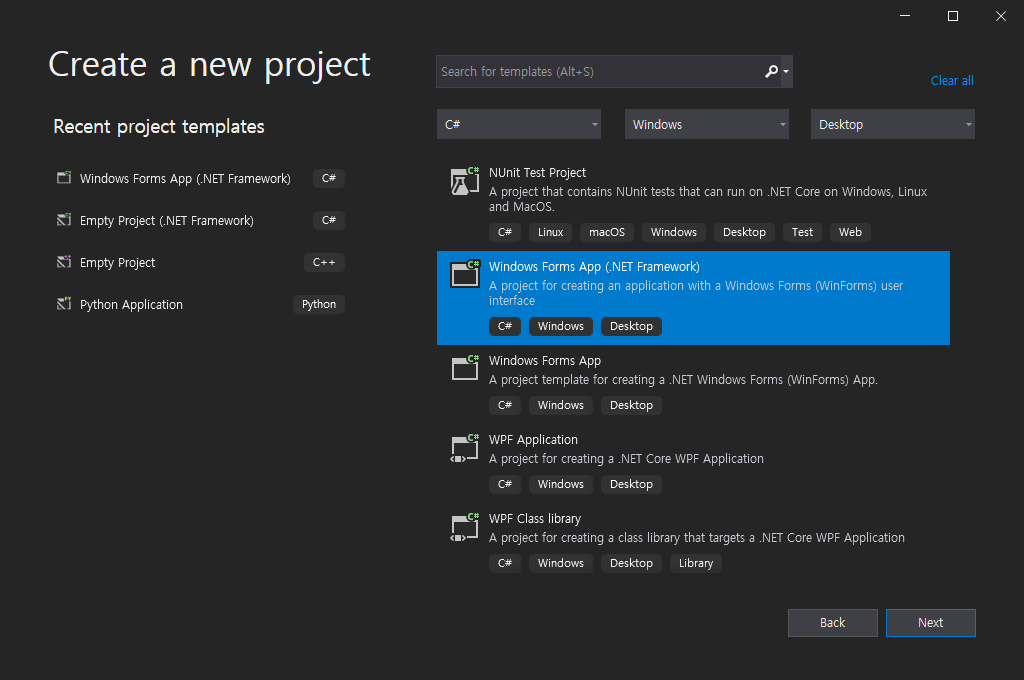
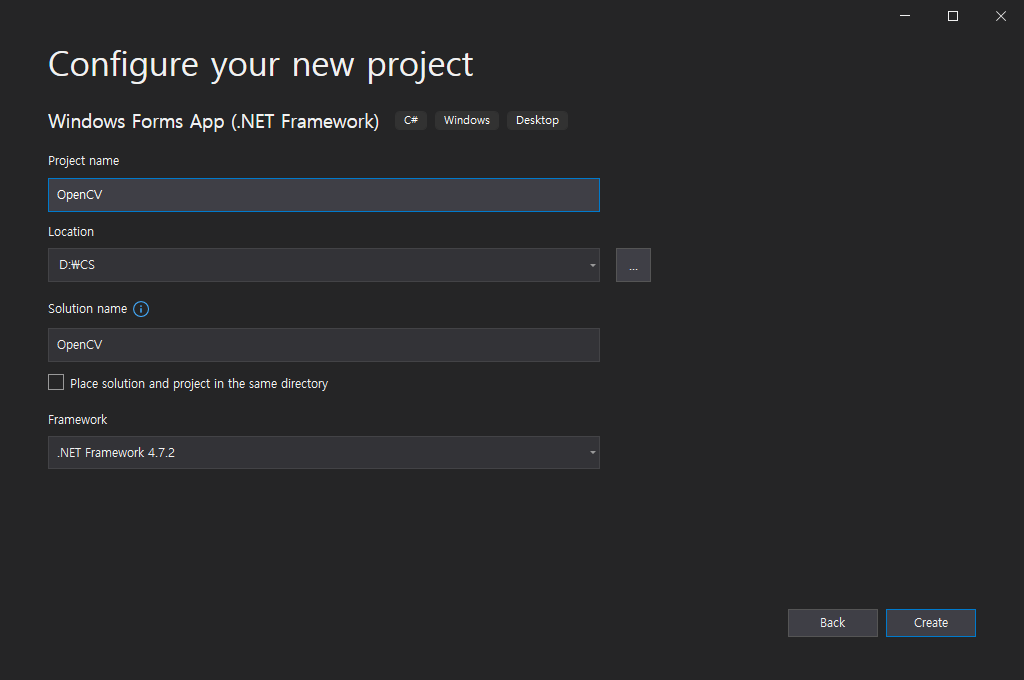
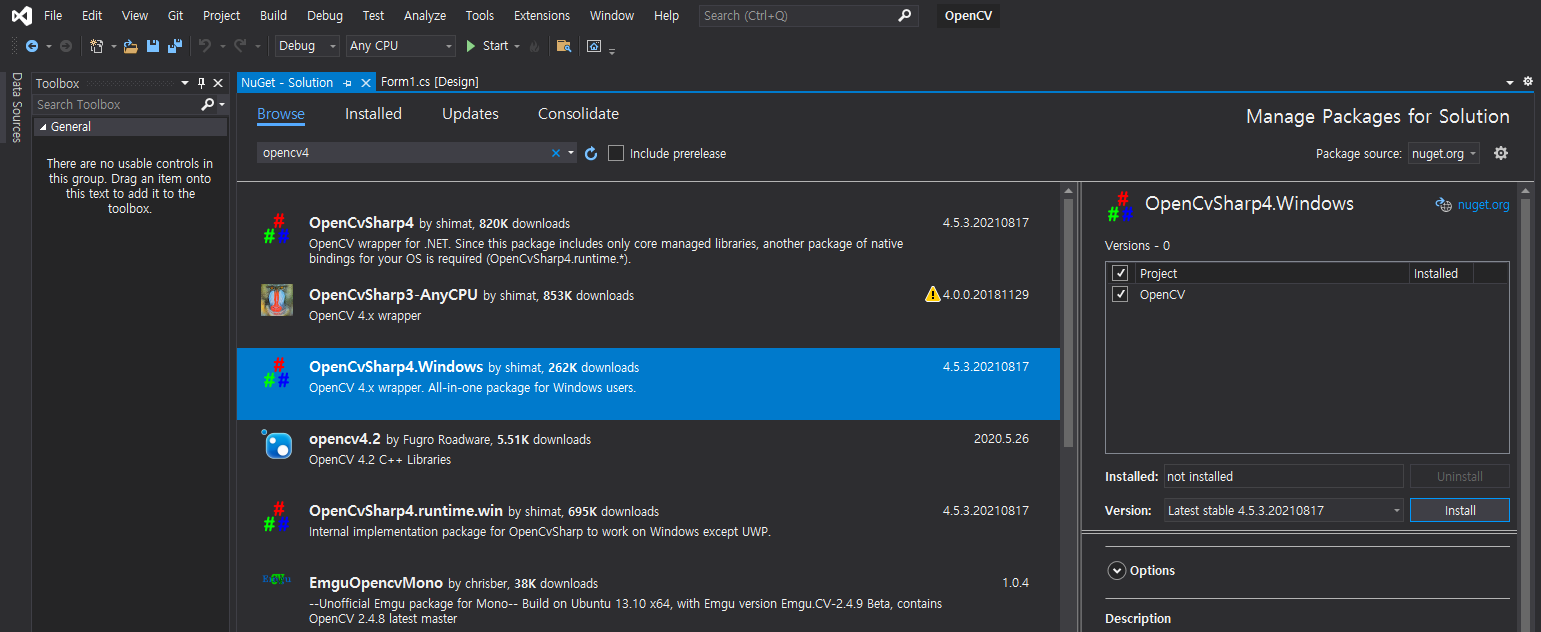
C#에서 OpenCV Mat 데이터를 네트워크로 송수신 할 수 있도록 준비하는 과정을 시뮬레이션 해 보자.
아래 링크의 글에서 비트맵이 아닌 OpenCV Mat 데이터 송수신 과정이라 보면 된다.
2021.12.25 - [C#] - C# TCP/IP Image transfer - 이미지(파일) 전송 3
|
1
2
3
4
5
6
7
8
9
10
11
12
13
14
15
16
17
18
19
20
21
22
23
24
25
26
27
28
29
30
31
32
33
34
35
36
37
38
39
40
41
42
43
44
45
46
47
48
|
using System;
using System.Collections.Generic;
using System.ComponentModel;
using System.Data;
using System.Drawing;
using System.Linq;
using System.Text;
using System.Threading.Tasks;
using System.Windows.Forms;
using OpenCvSharp;
using System.IO;
namespace OpenCV
{
public partial class Form1 : Form
{
public Form1()
{
InitializeComponent();
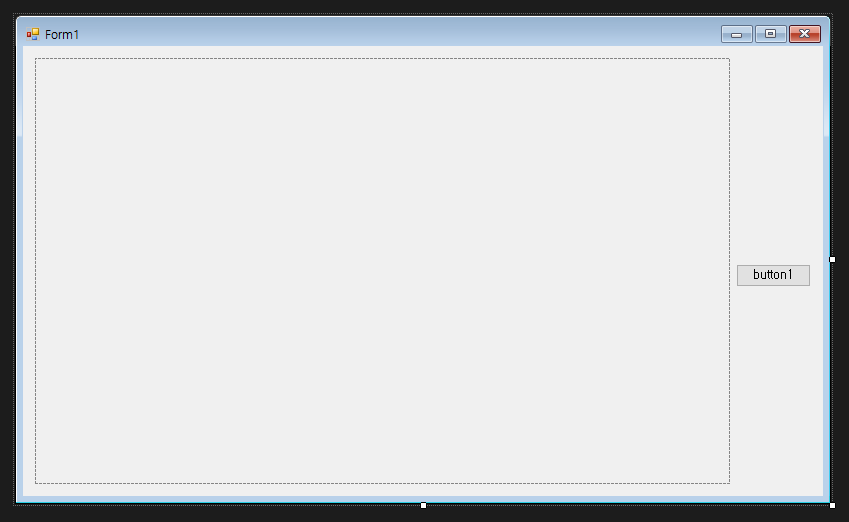
pictureBox1.SizeMode = PictureBoxSizeMode.StretchImage;
}
private void button1_Click(object sender, EventArgs e)
{
// 클라이언트 시뮬레이션
// OpenCV Matrix를 생성하고 바이트 배열로 변환한다.
Mat clientImage = new Mat("Barbara.jpg");
byte[] data = clientImage.ToBytes(".jpg"); // ".jpg", ".png", ".bmp"
//MemoryStream clientMemoryStream = clientImage.ToMemoryStream();
//byte[] data = clientMemoryStream.ToArray();
// 네트워크 시뮬레이션
// ...
// 클라이언트에서 OpenCV Matrix 바이트 배열(data)을 서버로 전송
// 서버 시뮬레이션
// 클라이언트에서 받은 바이트 배열(data)을 메모리 스트림으로
// 변환 후 다시 비트맵으로 변환한다.
MemoryStream serverMemoryStream = new MemoryStream(data);
Bitmap bitmap = new Bitmap(serverMemoryStream);
//Mat serverImage = OpenCvSharp.Extensions.BitmapConverter.ToMat(bitmap);
//Cv2.ImShow("Server Image", serverImage);
pictureBox1.Image = bitmap;
}
}
}
|
클라이언트에서 Mat.ToBytes()가 핵심이다. (메모리 스트림으로 변환할 필요가 없다)
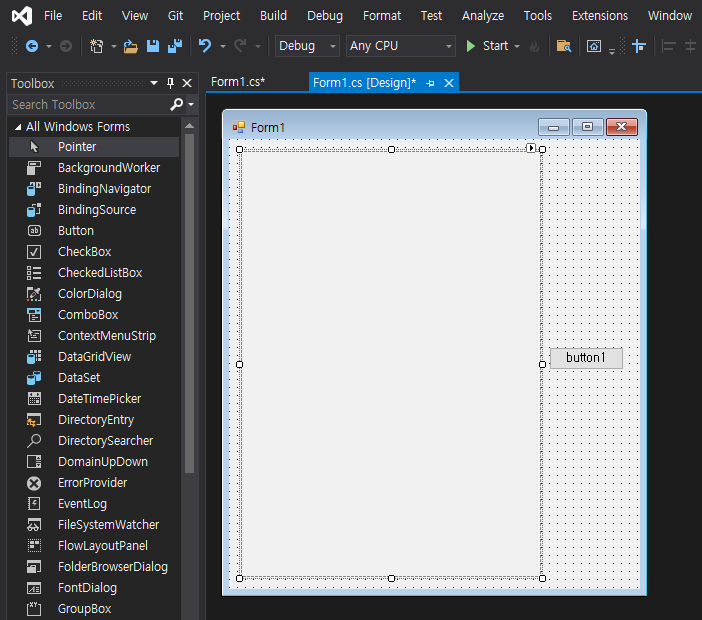
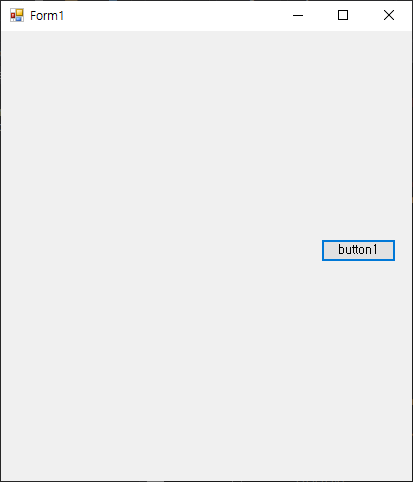
소스를 입력하고 빌드한다.

반응형
'OpenCV' 카테고리의 다른 글
| GDI+ and OpenCV - Bitmap to Mat & Mat to Bitmap Conversion (0) | 2022.01.02 |
|---|---|
| OpenCV with C# and Camera (0) | 2021.12.29 |
| OpenCV with C# (0) | 2021.11.20 |
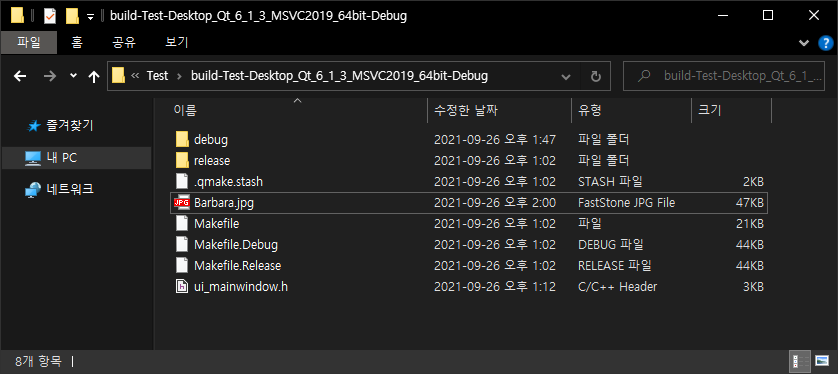
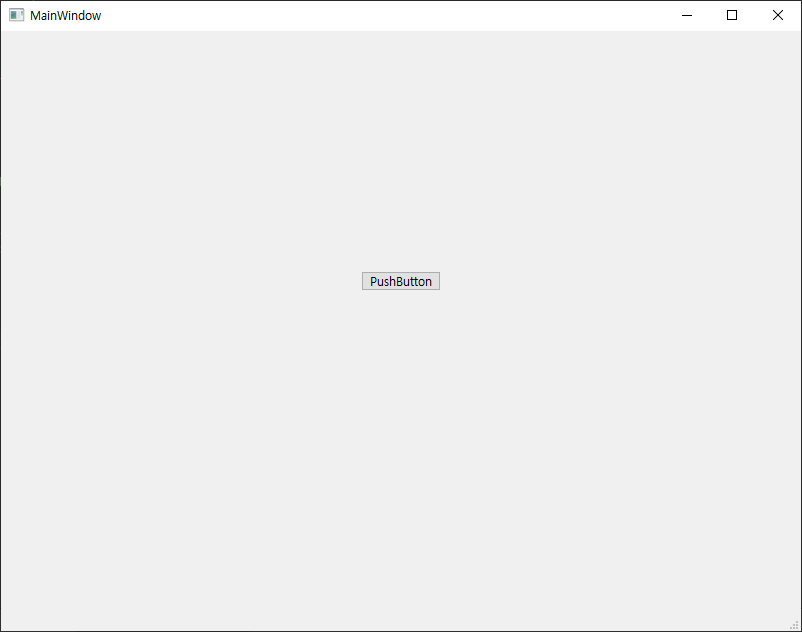
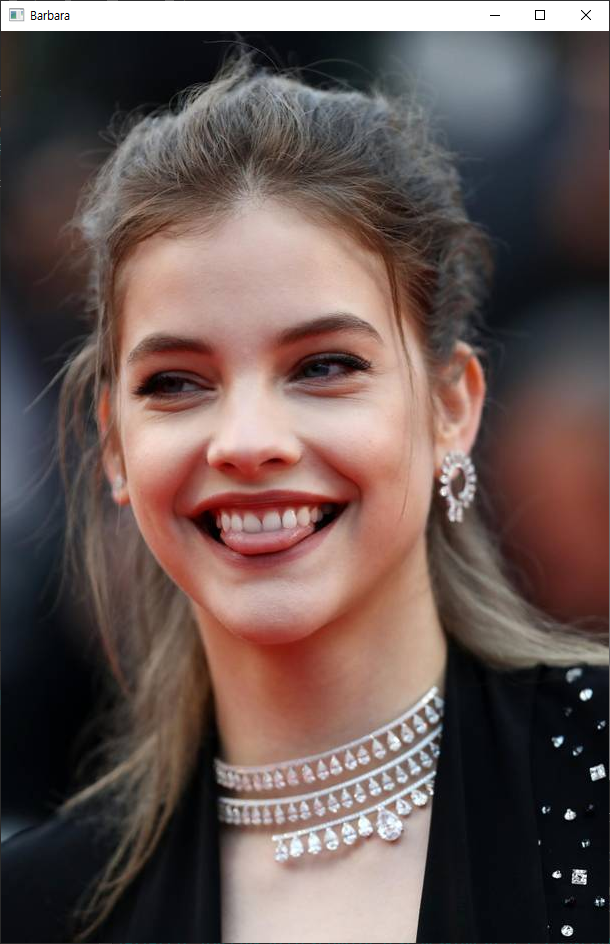
| OpenCV with Qt and MSVC in Windows (0) | 2021.09.26 |
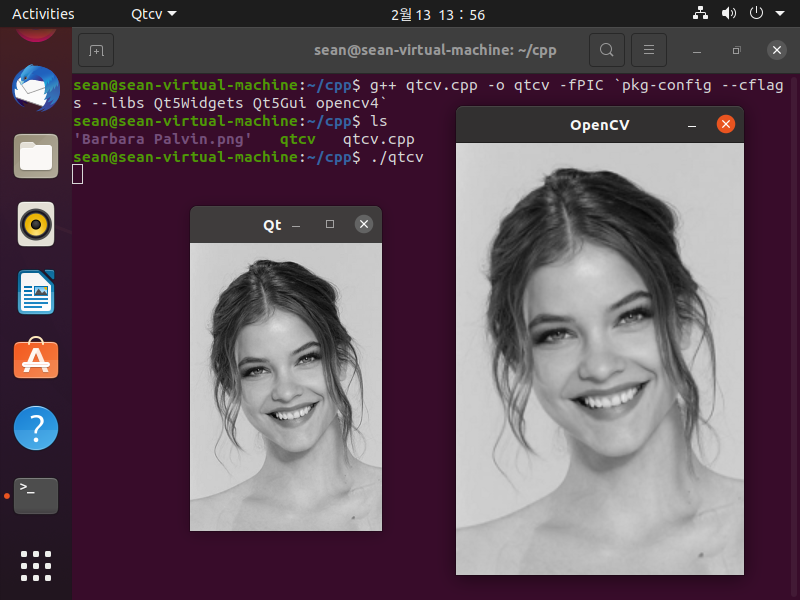
| OpenCV with Qt in Linux(Ubuntu) - 리눅스(우분투)에서 Qt로 OpenCV 이미지 디스플레이 (0) | 2021.02.13 |