[YOLO] YOLOs-CPP Simple Example
AI, ML, DL 2026. 2. 15. 20:58 |반응형
YOLOs-CPP를 빌드하고 간단한 예제를 만들어 보자.
2026.02.15 - [AI, ML, DL] - [YOLO] YOLOs-CPP build 빌드하기
CPU 사용 예.
#include "yolos/yolos.hpp"
int main() {
// Initialize Use CPU
yolos::det::YOLODetector detector("yolo11n.onnx", "coco.names", false);
// Detect
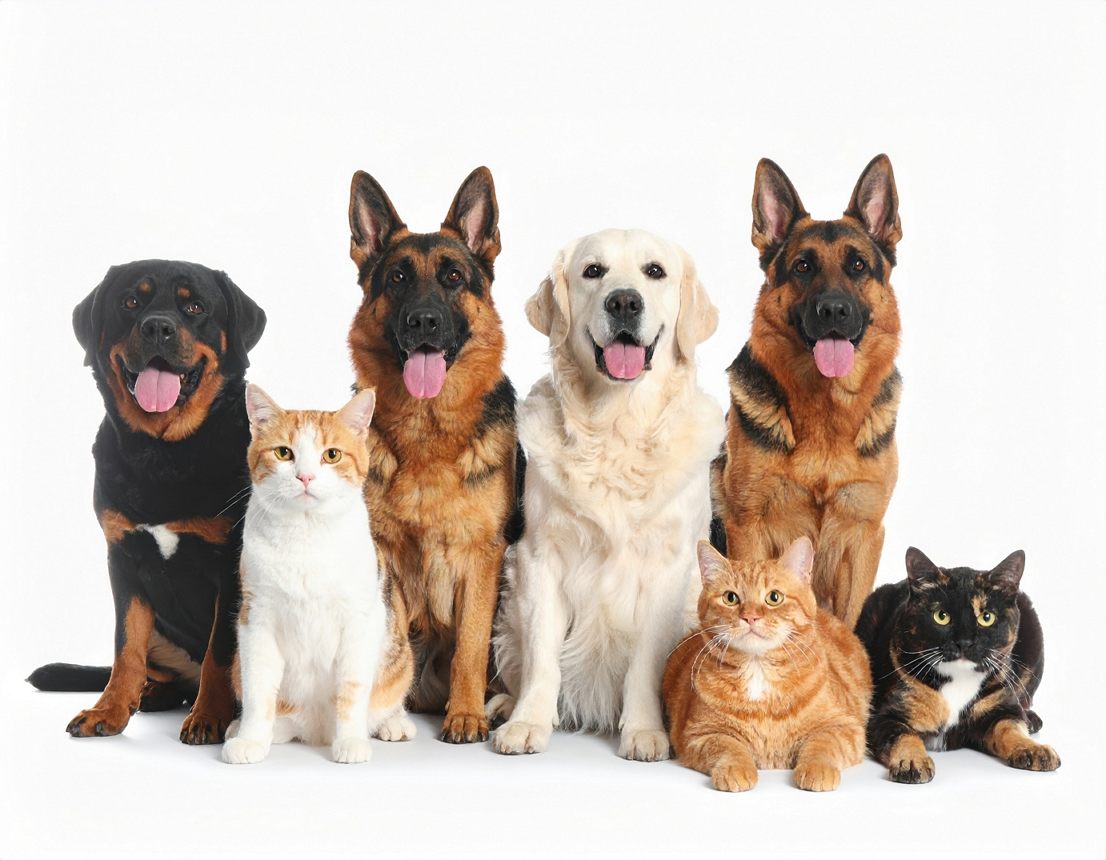
cv::Mat frame = cv::imread("catsdogs.png");
std::vector<yolos::Detection> detections = detector.detect(frame, 0.25f, 0.45f);
// Process results
for (const yolos::det::Detection& det : detections) {
std::cout << "Class: " << det.classId << " Conf: " << det.conf << std::endl;
std::cout << "Box: (" << det.box.width << ", " << det.box.height << ")" << std::endl;
}
// Visualize
detector.drawDetections(frame, detections);
// Show
cv::imshow("frame", frame);
cv::waitKey(0);
return 0;
}


GPU 사용 예.
#include "yolos/yolos.hpp"

int main() {
	// Initialize Use GPU
	yolos::det::YOLODetector detector("yolo11n.onnx", "coco.names", true);

	// Detect
	cv::Mat frame = cv::imread("catsdogs.png");
	std::vector<yolos::Detection> detections = detector.detect(frame, 0.25f, 0.45f);

	// Process results
	for (const yolos::det::Detection& det : detections) {
		std::cout << "Class: " << det.classId << " Conf: " << det.conf << std::endl;
		std::cout << "Box: (" << det.box.width << ", " << det.box.height << ")" << std::endl;
	}

	// Visualize
	detector.drawDetections(frame, detections);

	// Show
	cv::imshow("frame", frame);
	cv::waitKey(0);

	return 0;
}


- Performance Tips
Reuse detector instances — Create once, infer many times
Use GPU when available — 5-10x faster than CPU
Adjust thresholds — Higher confidence = fewer detections, faster NMS
Match input resolution — Use model's expected size (640x640)
※ 참고
반응형
'AI, ML, DL' 카테고리의 다른 글
| [Tensorflow] Keras mnist dataset with OpenCV 케라스 데이터세트 (feat. LeNet-5) (0) | 2026.03.02 |
|---|---|
| [Tensorflow] Kernel build 커널 빌드 및 확인 (0) | 2026.03.01 |
| [YOLO] YOLOs-CPP build 빌드하기 (0) | 2026.02.15 |
| [YOLO] 사용 장치 확인 (0) | 2026.02.14 |
| [YOLO] SAM(Segment Anything Model) (0) | 2026.02.13 |