

C# Desktop Moving Image Display - 바탕화면에 이미지 출력하고 움직이기
C# 2021. 11. 23. 14:52 |반응형
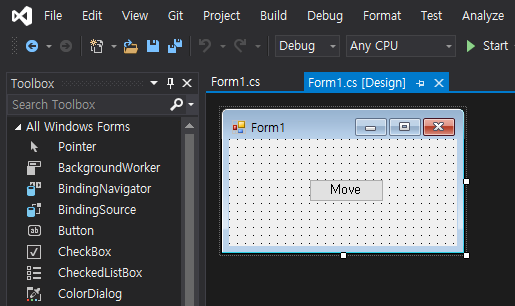
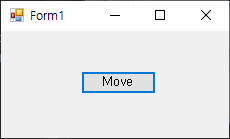
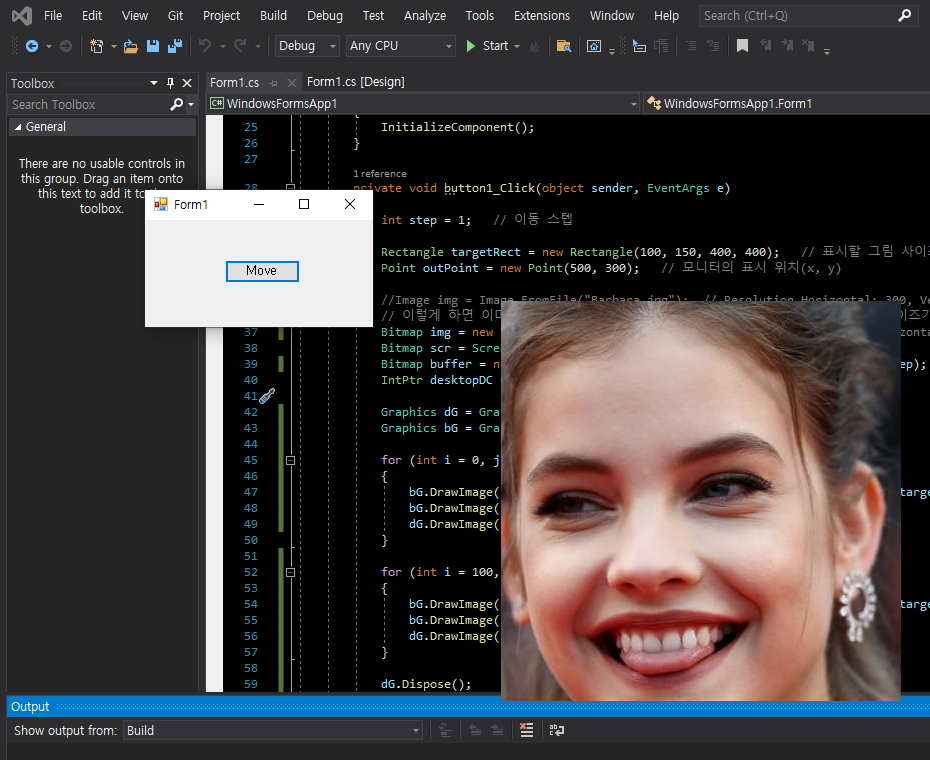
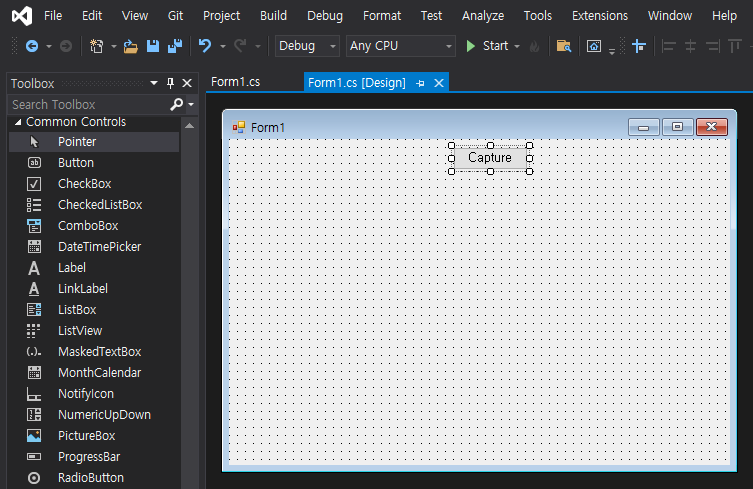
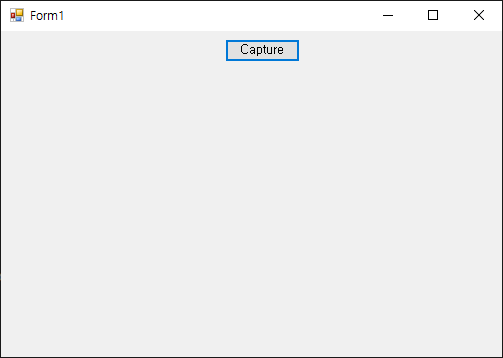
바탕화면에 이미지를 출력하고 움직여 보자.
|
1
2
3
4
5
6
7
8
9
10
11
12
13
14
15
16
17
18
19
20
21
22
23
24
25
26
27
28
29
30
31
32
33
34
35
36
37
38
39
40
41
42
43
44
45
46
47
48
49
50
51
52
53
54
55
56
57
58
59
60
61
62
63
64
65
66
67
68
69
70
71
72
73
74
75
76
77
78
79
80
81
82
83
84
85
86
87
88
89
90
91
92
93
94
95
96
97
98
99
|
using System;
using System.Collections.Generic;
using System.ComponentModel;
using System.Data;
using System.Drawing;
using System.Linq;
using System.Text;
using System.Threading.Tasks;
using System.Windows.Forms;
using System.Runtime.InteropServices;
namespace WindowsFormsApp1
{
public partial class Form1 : Form
{
[DllImport("user32.dll", ExactSpelling = true, SetLastError = true)]
private static extern IntPtr GetDC(IntPtr hWnd);
[DllImport("user32.dll", ExactSpelling = true)]
private static extern IntPtr ReleaseDC(IntPtr hWnd, IntPtr hDC);
public Form1()
{
InitializeComponent();
}
private void button1_Click(object sender, EventArgs e)
{
int step = 1; // 이동 스텝
Rectangle targetRect = new Rectangle(100, 150, 400, 400); // 표시할 그림 사이즈(Horizontal: 100~499(400) pixel, Vertical: 150~549(400) pixel)
Point outPoint = new Point(500, 300); // 모니터의 표시 위치(x, y)
//Image img = Image.FromFile("Barbara.jpg"); // Resolution Horizontal: 300, Vertical: 300
// 이렇게 하면 이미지 파일과 아래 buffer 비트맵의 해상도(96, 96)가 달라서 (사이즈가) 제대로 표시되지 않는다.
Bitmap img = new Bitmap(Image.FromFile("Barbara.jpg")); // Resolution Horizontal: 96, Vertical: 96
Bitmap scr = ScreenCapture.Capture();
Bitmap buffer = new Bitmap(targetRect.Width + step, targetRect.Height + step);
IntPtr desktopDC = GetDC(IntPtr.Zero);
Graphics dG = Graphics.FromHdc(desktopDC);
Graphics bG = Graphics.FromImage(buffer);
for (int i = 0, j = 0; i < 100; i += step, j += step)
{
bG.DrawImage(scr, 0, 0, new Rectangle(outPoint.X + i, outPoint.Y + j, targetRect.Width + step , targetRect.Height + step ), GraphicsUnit.Pixel);
bG.DrawImage(img, step, step, targetRect, GraphicsUnit.Pixel);
dG.DrawImage(buffer, outPoint.X + i, outPoint.Y + j);
}
for (int i = 100, j = 100; i > 0; i -= step, j -= step)
{
bG.DrawImage(scr, 0, 0, new Rectangle(outPoint.X + i, outPoint.Y + j, targetRect.Width + step, targetRect.Height + step), GraphicsUnit.Pixel);
bG.DrawImage(img, 0, 0, targetRect, GraphicsUnit.Pixel);
dG.DrawImage(buffer, outPoint.X + i, outPoint.Y + j);
}
dG.Dispose();
bG.Dispose();
ReleaseDC(IntPtr.Zero, desktopDC);
}
}
public class ScreenCapture
{
[DllImport("user32.dll", ExactSpelling = true, SetLastError = true)]
private static extern IntPtr GetDC(IntPtr hWnd);
[DllImport("user32.dll", ExactSpelling = true)]
private static extern IntPtr ReleaseDC(IntPtr hWnd, IntPtr hDC);
[DllImport("gdi32.dll", ExactSpelling = true)]
private static extern IntPtr BitBlt(IntPtr hDestDC, int x, int y, int nWidth, int nHeight, IntPtr hSrcDC, int xSrc, int ySrc, int dwRop);
[DllImport("user32.dll", EntryPoint = "GetDesktopWindow")]
private static extern IntPtr GetDesktopWindow();
public static Bitmap Capture()
{
int screenWidth = Screen.PrimaryScreen.Bounds.Width;
int screenHeight = Screen.PrimaryScreen.Bounds.Height;
Bitmap screenBmp = new Bitmap(screenWidth, screenHeight);
Graphics g = Graphics.FromImage(screenBmp);
IntPtr desktopDC = GetDC(GetDesktopWindow());
IntPtr hDC = g.GetHdc();
BitBlt(hDC, 0, 0, screenWidth, screenHeight, desktopDC, 0, 0, 0x00CC0020); //SRCCOPY (DWORD)0x00CC0020
ReleaseDC(GetDesktopWindow(), desktopDC);
g.ReleaseHdc(hDC);
g.Dispose();
return screenBmp;
}
}
}
|
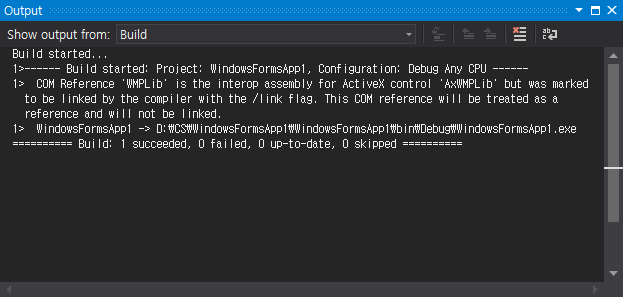
소스를 입력하고 빌드한다.
반응형
'C#' 카테고리의 다른 글
| C# Form Shortcut - 폼에 단축키 지정하기 (0) | 2021.11.25 |
|---|---|
| C# Image, Bitmap Resolution - 이미지, 비트맵 파일 해상도 (0) | 2021.11.25 |
| C# Screen Capture - 스크린 캡쳐 (0) | 2021.11.22 |
| C# Form Designer Layout Mode - 폼 디자이너 레이아웃 모드 (0) | 2021.11.22 |
| C# Windows Media Player Audio/Video Play #2 (0) | 2021.11.21 |


