C# typeof - 타입 정보 확인
C# 2021. 12. 15. 14:36 |반응형
타입의 정보를 알 수 있는 typeof 연산자는 System.Type 객체를 리턴한다.
|
1
2
3
4
5
6
7
8
9
10
11
12
13
14
15
16
17
18
19
20
21
22
23
24
25
26
27
28
29
30
31
32
33
34
35
36
37
38
39
40
41
42
43
44
45
46
47
48
49
50
51
52
53
54
55
56
|
using System;
using System.Collections.Generic;
using System.Linq;
using System.Text;
using System.Threading.Tasks;
using System.Reflection;
namespace CS
{
using static System.Console;
class Program
{
static void Main(string[] args)
{
Test testInstance = new Test();
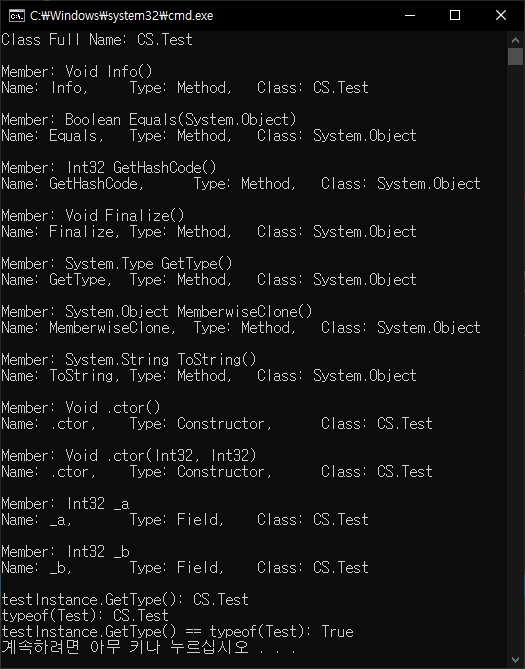
Type t = typeof(Test);
MemberInfo[] members = t.GetMembers(BindingFlags.Instance | BindingFlags.Public | BindingFlags.NonPublic);
WriteLine($"Class Full Name: {t.FullName}\n");
foreach (MemberInfo member in members)
{
WriteLine($"Member: {member.ToString()}"); // == WriteLine($"({member})");
WriteLine($"Name: {member.Name},\tType: {member.MemberType},\tClass: {member.DeclaringType}\n");
}
WriteLine($"testInstance.GetType(): {testInstance.GetType()}");
WriteLine($"typeof(Test): {typeof(Test)}");
WriteLine($"testInstance.GetType() == typeof(Test): {testInstance.GetType() == typeof(Test)}");
}
}
class Test
{
int _a;
int _b;
public Test()
{
_a = 1;
_b = 2;
}
public Test(int a, int b)
{
_a = a;
_b = b;
}
private void Info()
{
WriteLine("Test Info.");
}
}
}
|
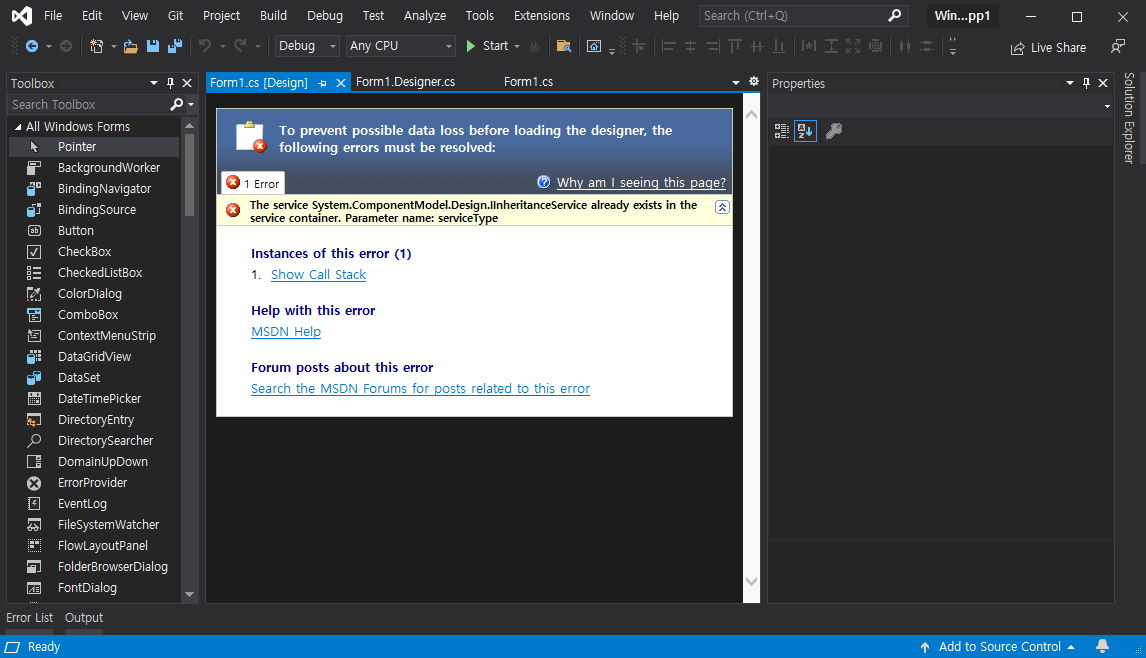
소스를 입력하고 빌드한다.
반응형
'C#' 카테고리의 다른 글
| C# IP Addresses and Hostname - IP 주소 호스트 네임 확인 (0) | 2021.12.22 |
|---|---|
| C# Default Value - 기본값 (0) | 2021.12.19 |
| C# PropertyGrid 1 - 프로퍼티 그리드 1 (0) | 2021.12.14 |
| C# Extension Methods - 확장 메소드 (0) | 2021.12.11 |
| C# Try-Catch and TryParse() - 에러 잡기 (0) | 2021.12.10 |