Text To Speech 안드로이드 TTS
Android 2022. 2. 14. 20:37 |반응형
텍스트를 음성으로 합성해 주는 TTS(Text To Speech)기능을 사용해 보자.
|
1
2
3
4
5
6
7
8
9
10
11
12
13
14
15
16
17
18
19
20
21
22
23
24
25
26
27
28
29
30
31
32
33
34
35
36
37
38
39
40
41
42
43
44
45
46
47
48
49
50
51
52
53
54
55
56
57
58
59
60
61
62
63
64
65
66
67
68
69
|
package com.example.myapplication;
import android.os.Bundle;
import android.speech.tts.TextToSpeech;
import android.util.Log;
import android.view.View;
import android.widget.Button;
import android.widget.EditText;
import androidx.appcompat.app.AppCompatActivity;
import java.util.Locale;
public class MainActivity extends AppCompatActivity {
TextToSpeech tts;
EditText editText;
Button button;
@Override
protected void onCreate(Bundle savedInstanceState) {
super.onCreate(savedInstanceState);
setContentView(R.layout.activity_main);
tts = new TextToSpeech(this, new TextToSpeech.OnInitListener() {
@Override
public void onInit(int status) {
if (status == TextToSpeech.SUCCESS) {
int result = tts.setLanguage(Locale.ENGLISH);
// 영어로 설정해도 한글을 읽을 수 있고 영어 발음이 한국어로 설정하는것 보다 낫다.
if (result == TextToSpeech.LANG_NOT_SUPPORTED || result == TextToSpeech.LANG_MISSING_DATA) {
Log.e("TTS", "Language not supported.");
} else {
button.setText("Ready To Speak");
}
} else {
Log.e("TTS", "Initialization failed.");
}
}
});
editText = findViewById(R.id.editText);
button = findViewById(R.id.button);
button.setOnClickListener(new View.OnClickListener() {
@Override
public void onClick(View view) {
CharSequence text = editText.getText();
tts.setPitch((float)1.0); // Sets the speech pitch for the TextToSpeech engine.
tts.setSpeechRate((float)1.0); // Sets the speech rate.
tts.speak(text, TextToSpeech.QUEUE_FLUSH, null, "uid");
// QUEUE_ADD - Queue mode where the new entry is added at the end of the playback queue.
// QUEUE_FLUSH - Queue mode where all entries in the playback queue (media to be played
// and text to be synthesized) are dropped and replaced by the new entry.
}
});
}
@Override
protected void onDestroy() {
if (tts != null) {
tts.stop();
// Interrupts the current utterance (whether played or rendered to file) and
// discards other utterances in the queue.
tts.shutdown();
// Releases the resources used by the TextToSpeech engine.
}
super.onDestroy();
}
}
|
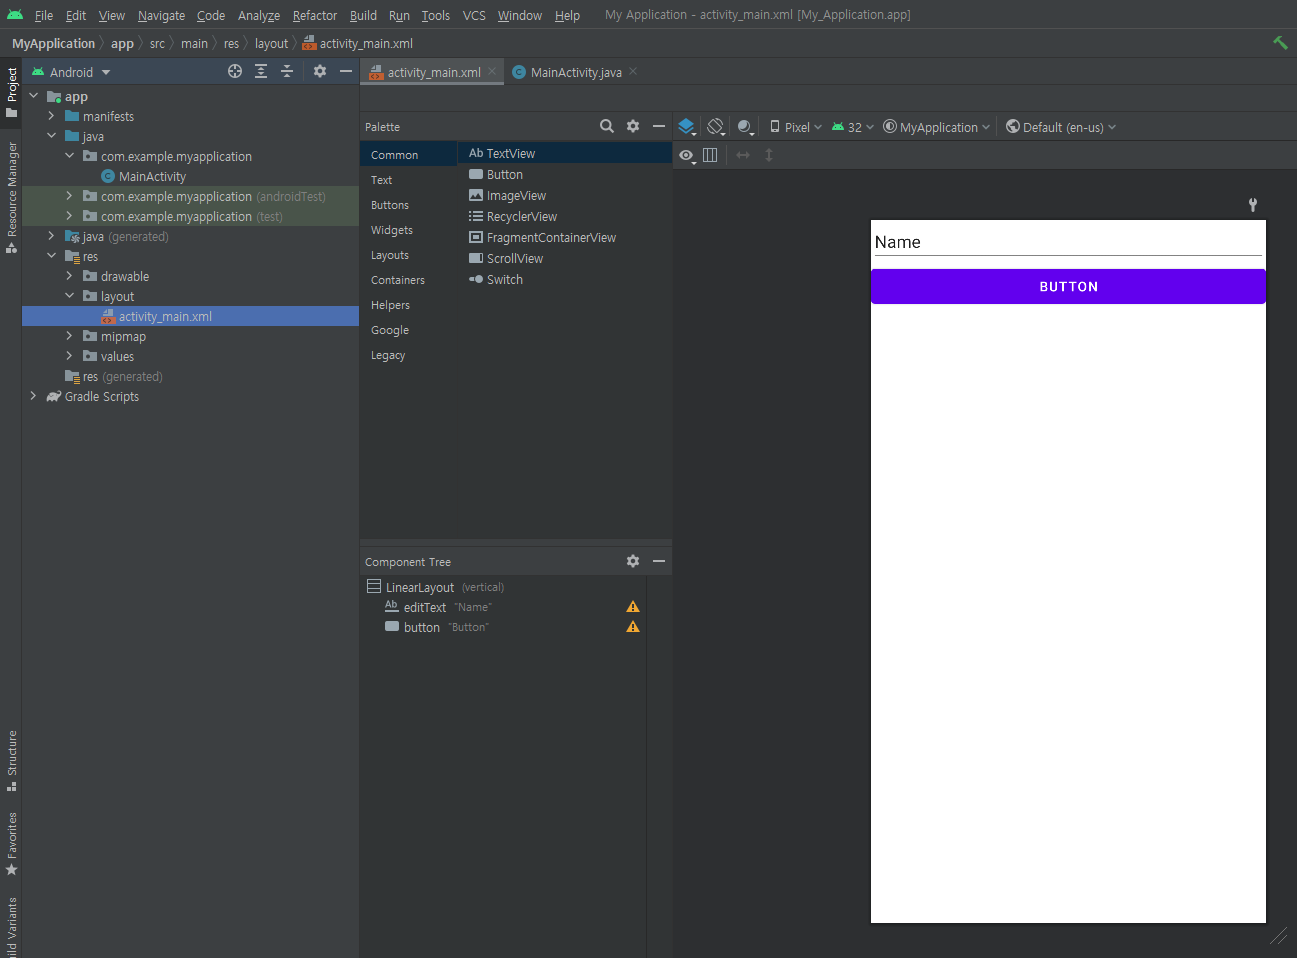
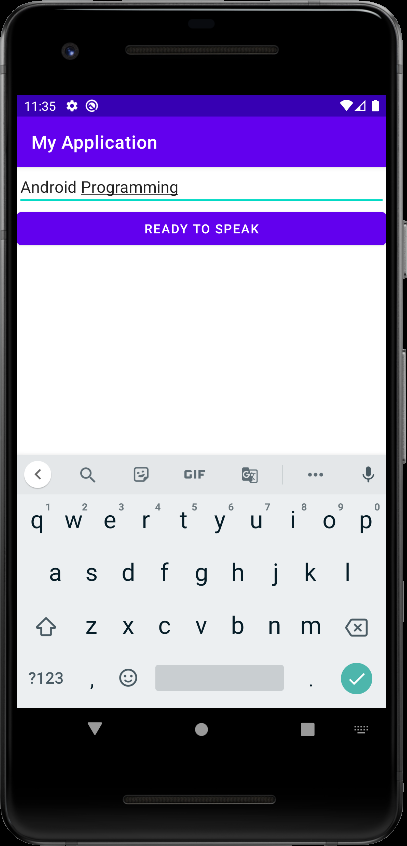
소스를 입력하고 빌드한다.
※ 참고
반응형
'Android' 카테고리의 다른 글
| RecyclerView 리사이클러뷰 (0) | 2023.07.11 |
|---|---|
| Execute Adb Shell Command 안드로이드 리눅스 커널 명령 실행 (1) | 2022.04.20 |
| Message Passing with Thread 메인 스레드에서 다른 스레드로 메세지(데이터) 보내기 (0) | 2022.02.14 |
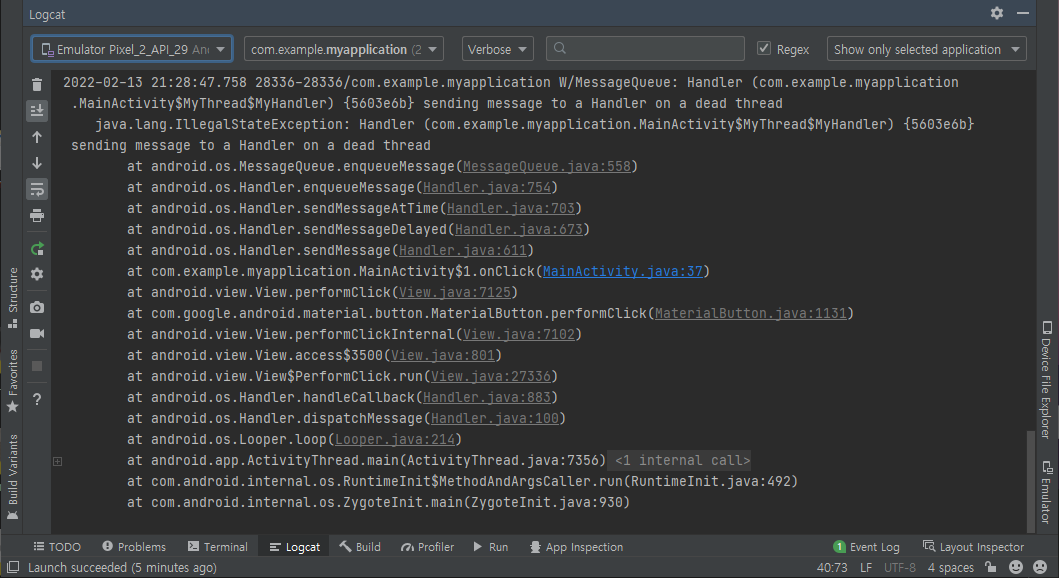
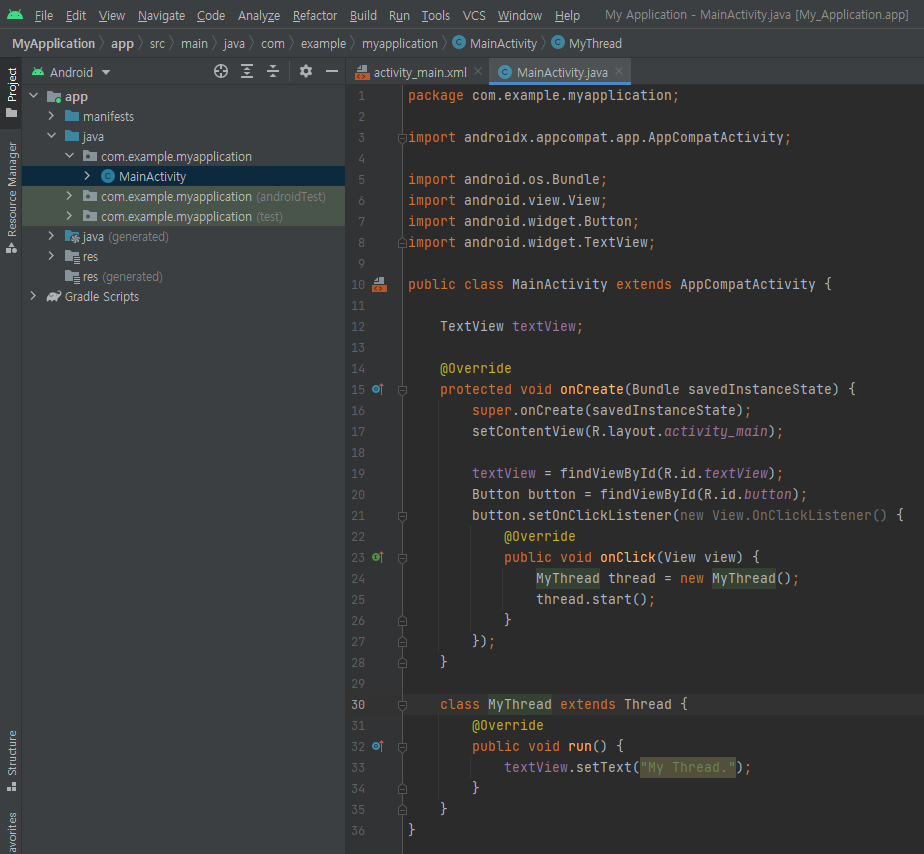
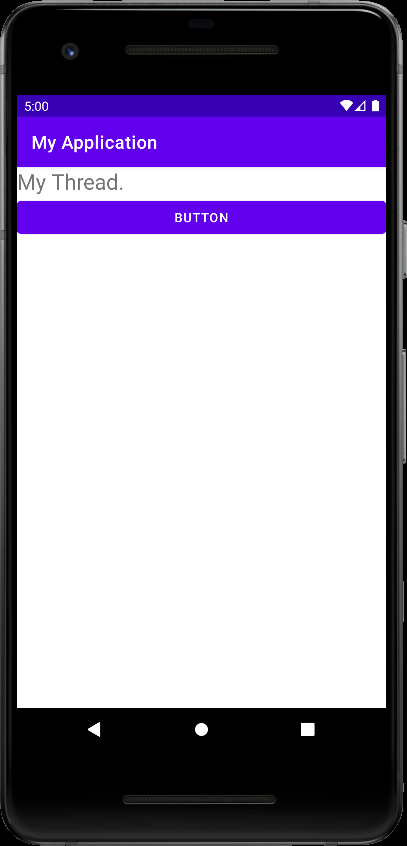
| User Interface Manipulation From UI Thread - 다른 스레드에서 UI 객체 접근하기 (0) | 2022.02.13 |
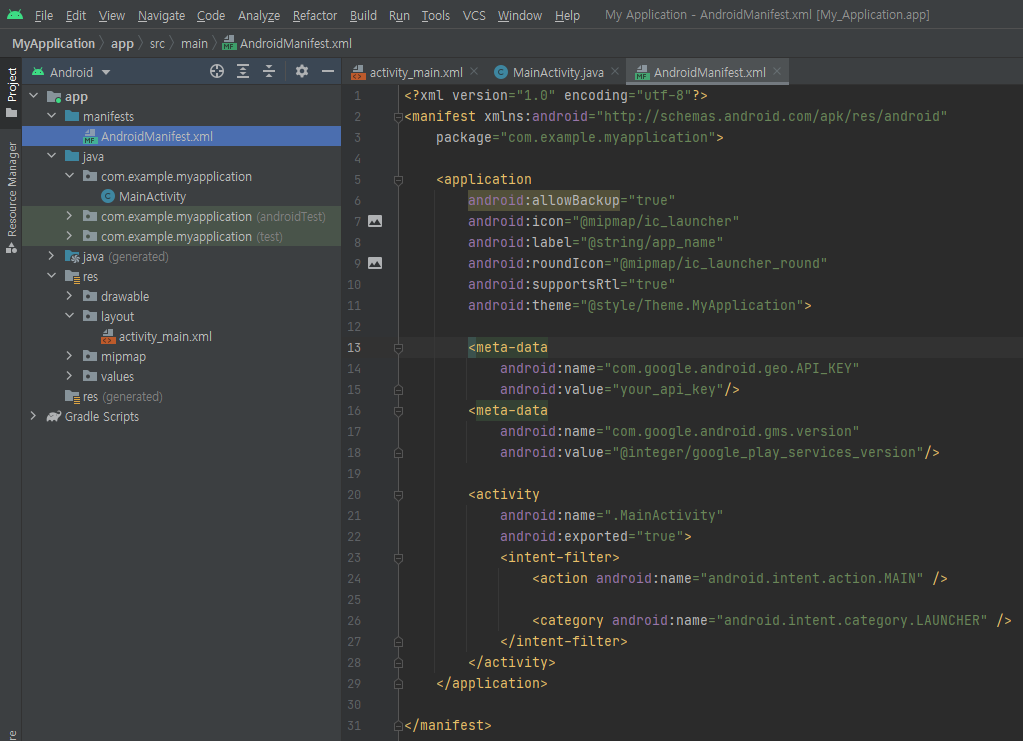
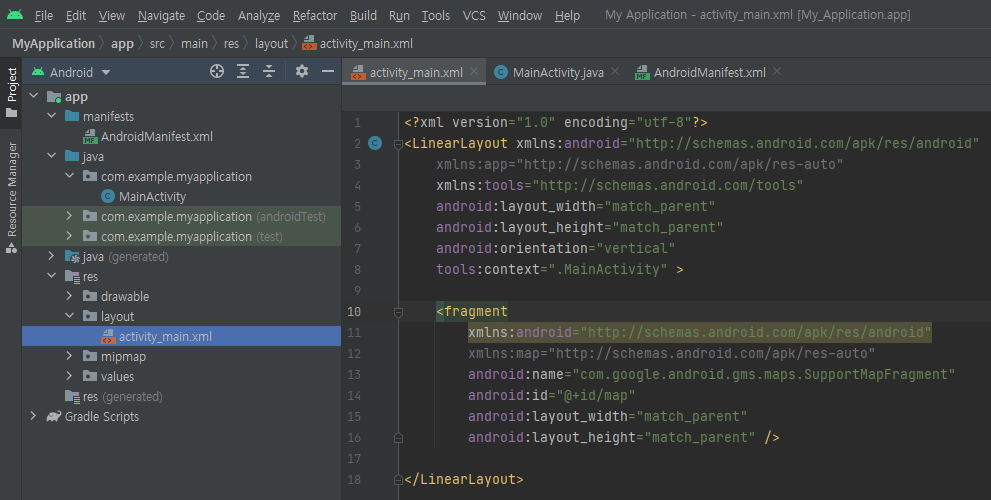
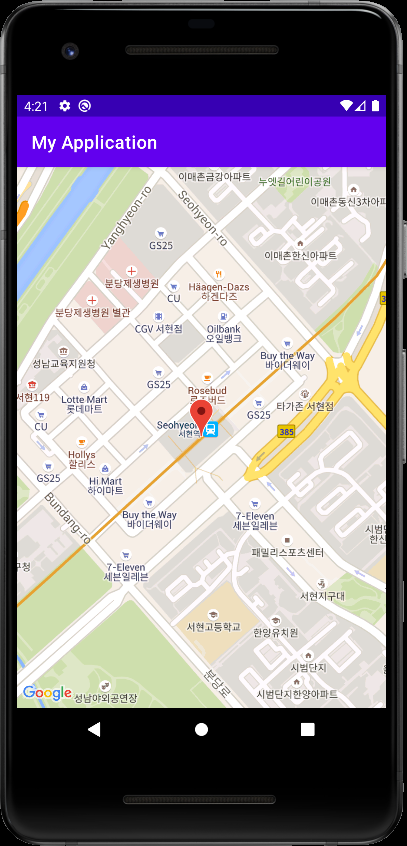
| Google Android Maps SDK 구글 안드로이드 맵 (0) | 2022.02.12 |