[Godot] Instantiate Scenes From Code 코드로 씬 생성하기
Godot 2023. 9. 26. 15:37 |반응형
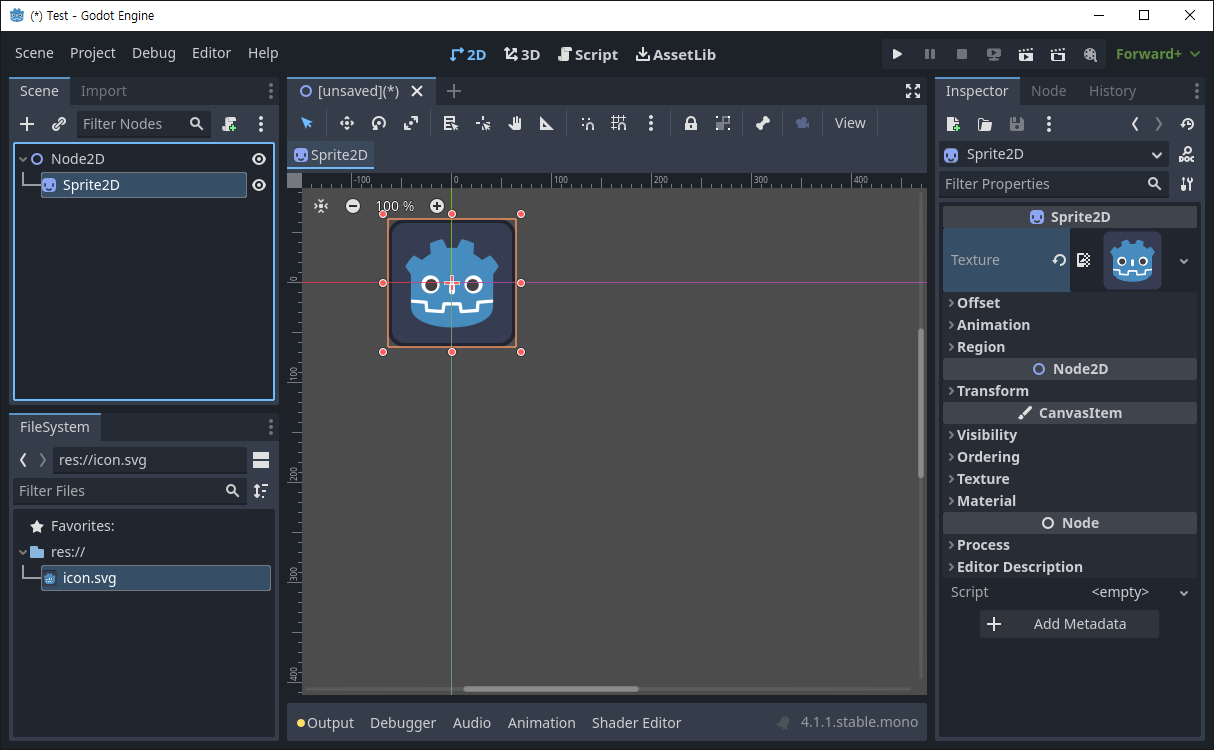
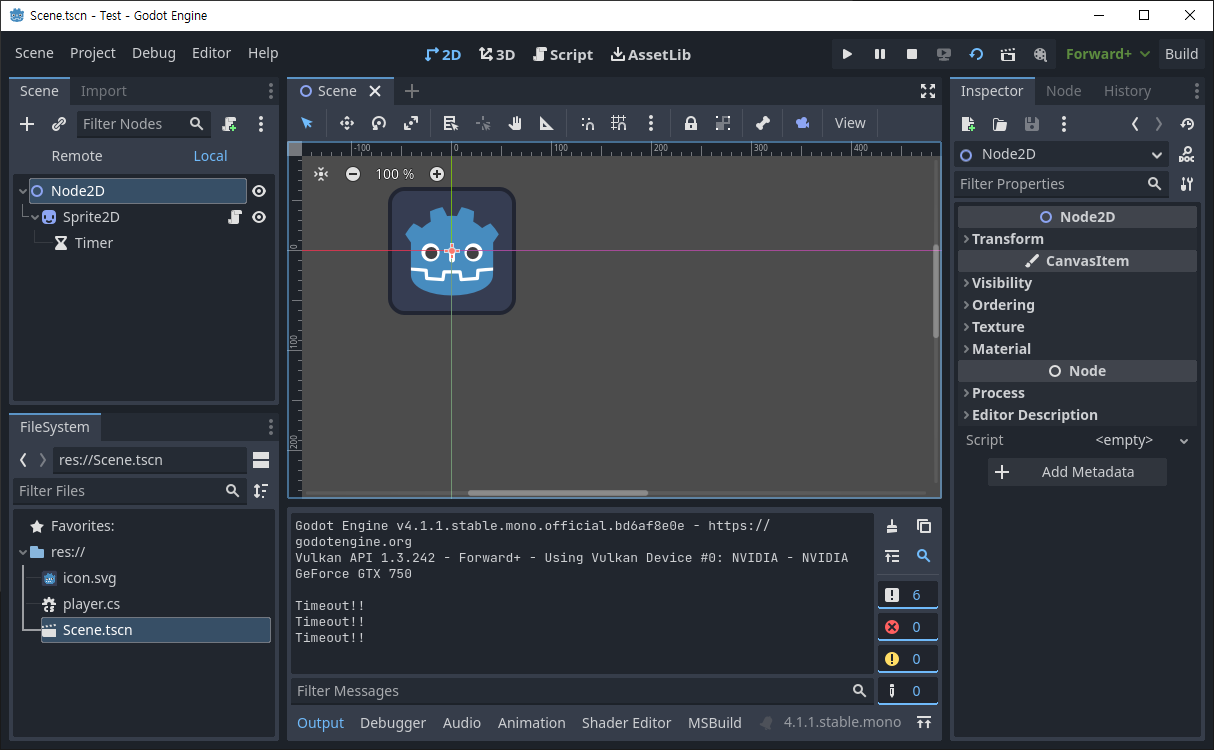
코드로 캐릭터를 생성해 보자.
|
1
2
3
4
5
6
7
8
9
10
11
12
13
14
15
16
17
18
19
|
using Godot;
public partial class Player : Sprite2D
{
// Called when the node enters the scene tree for the first time.
public override void _Ready()
{
}
// Called every frame. 'delta' is the elapsed time since the previous frame.
public override void _Process(double delta)
{
}
public void OnTimerTimeout()
{
QueueFree();
}
}
|
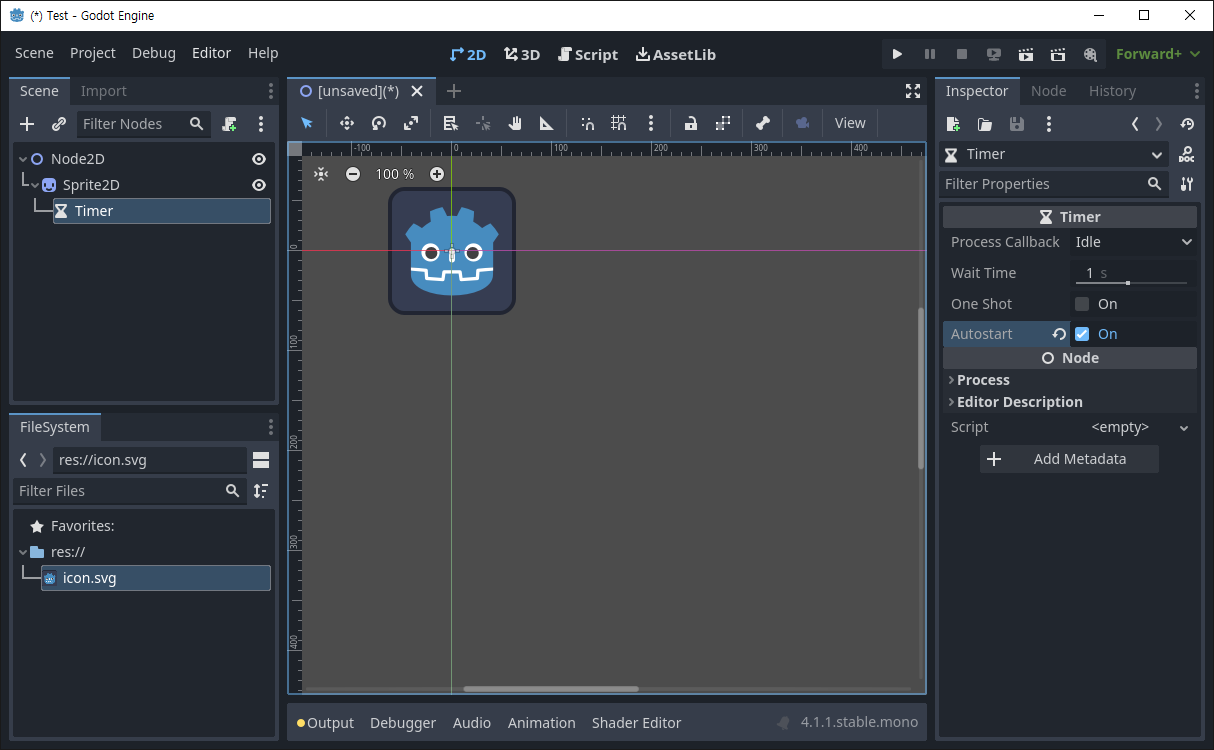
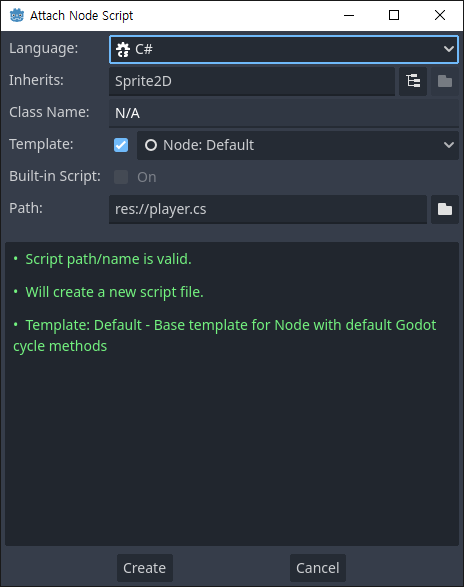
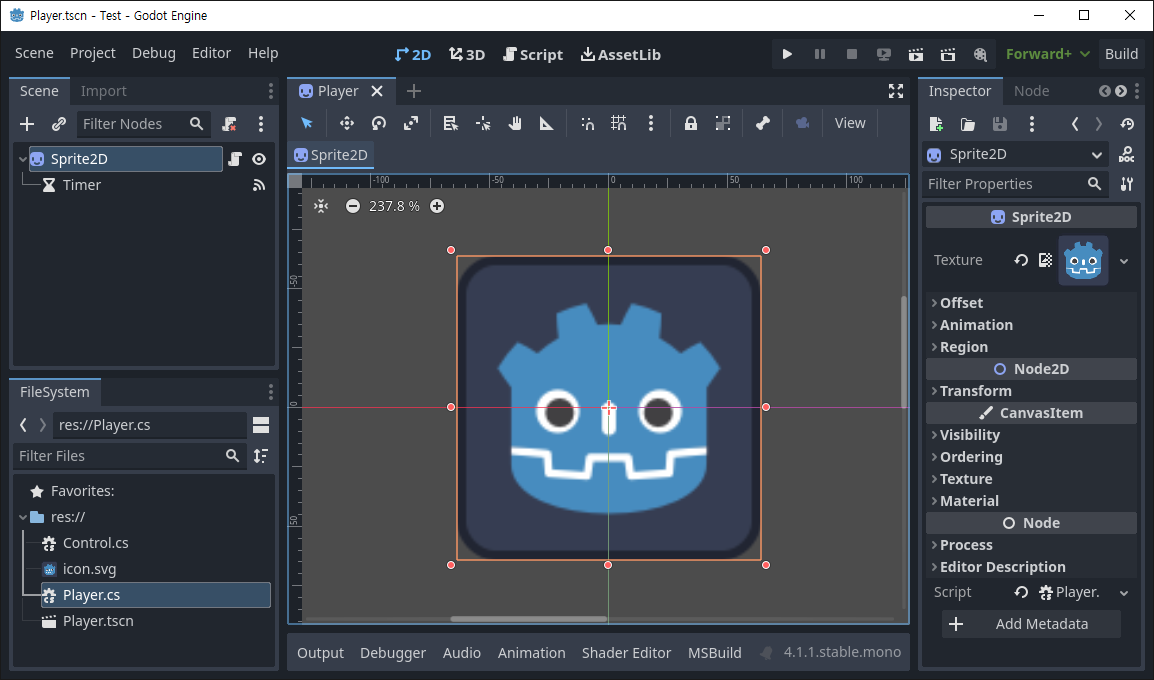
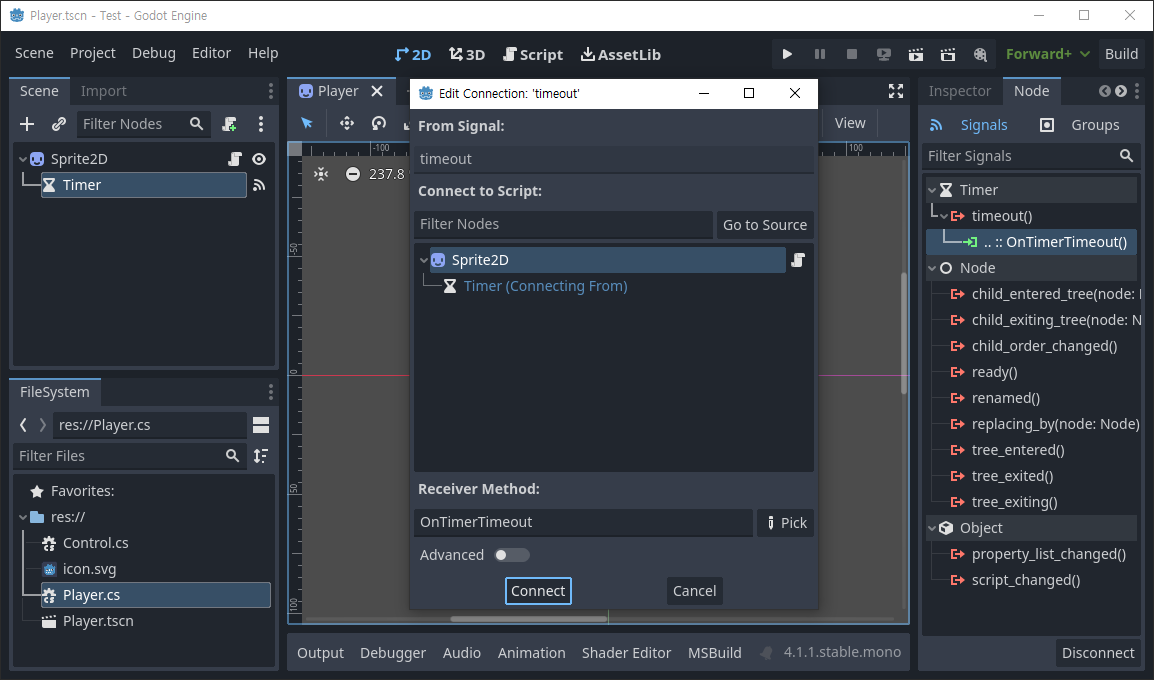
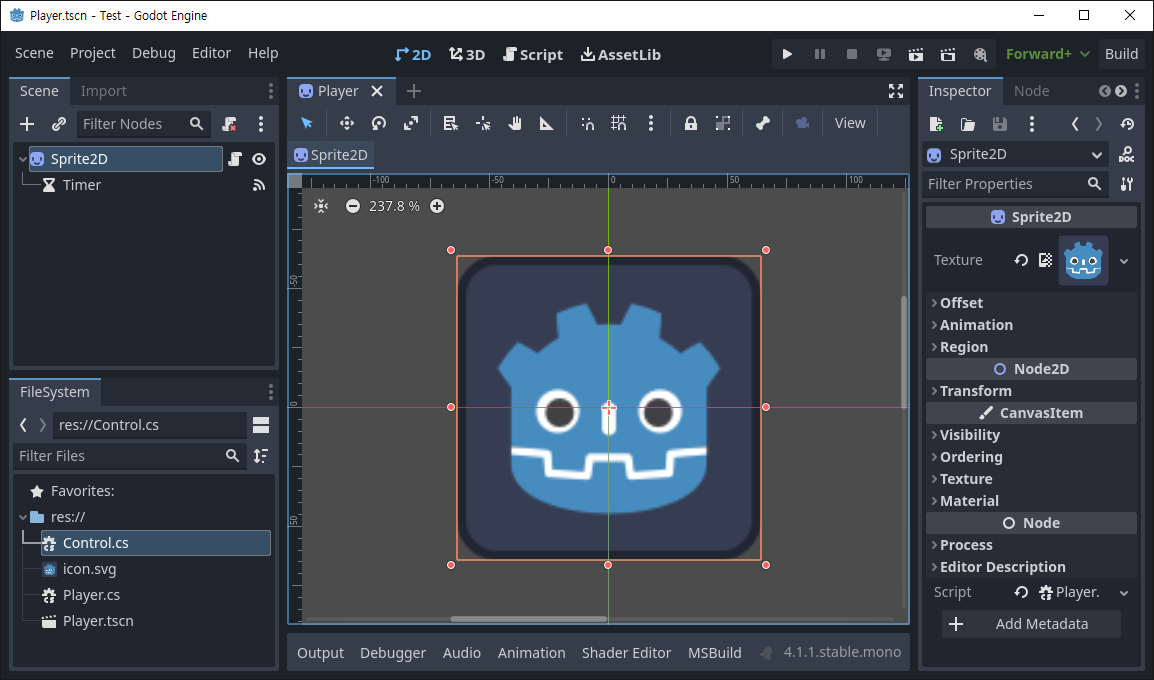
타임아웃 시그널이 발생하면 삭제 큐에 노드를 추가하는(QueuFree) Player.cs 스크립트를 작성한다.
|
1
2
3
4
5
6
7
8
9
10
11
12
13
14
15
16
17
18
19
20
21
22
23
24
25
26
27
28
29
30
31
|
using Godot;
public partial class Control : Node
{
public PackedScene Scene;
public Timer timer;
public override void _Ready()
{
// C# has no preload, so you have to always use ResourceLoader.Load<PackedScene>().
Scene = ResourceLoader.Load<PackedScene>("res://Player.tscn");
timer = new Timer();
timer.Connect("timeout", Callable.From(OnTimeOut));
timer.WaitTime = 1.0;
AddChild(timer);
timer.Start();
}
public override void _Process(double delta)
{
}
public void OnTimeOut()
{
Sprite2D Sprite = Scene.Instantiate<Sprite2D>();
Sprite.Position = new Vector2(GD.RandRange(0, (int)GetViewport().GetVisibleRect().Size.X),
GD.RandRange(0, (int)GetViewport().GetVisibleRect().Size.Y));
AddChild(Sprite);
}
}
|
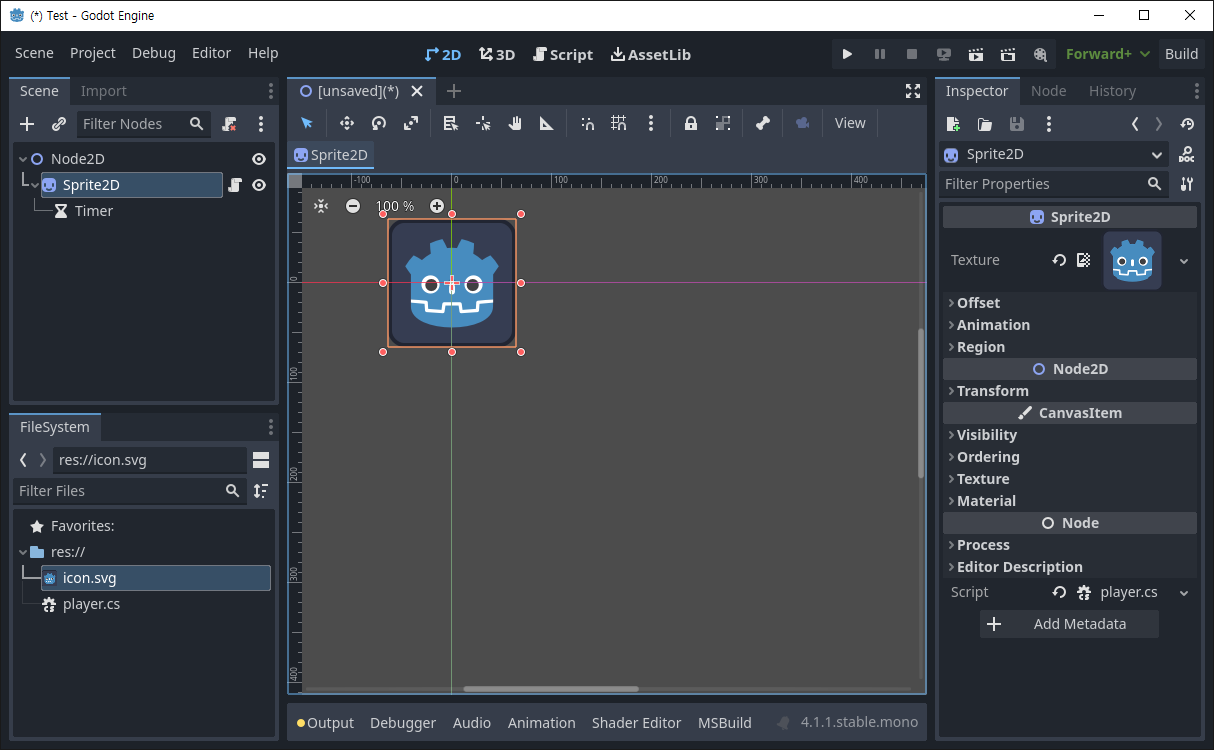
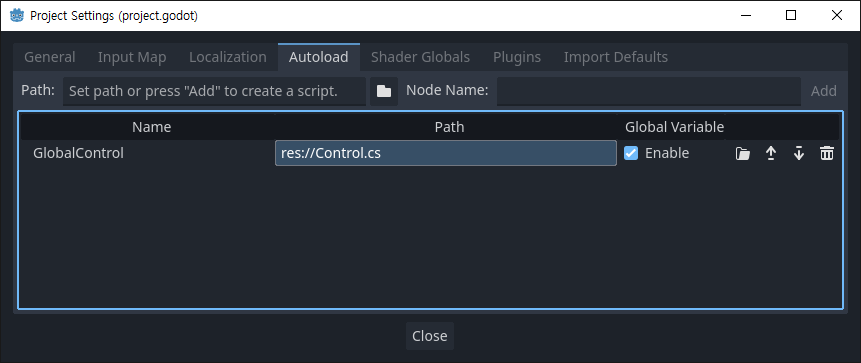
Control.cs를 작성한다. _Ready()에서 타이머를 코드로 생성하고 타임아웃 시그널이 발생하면 씬을 생성한다.

※ 참고
반응형
'Godot' 카테고리의 다른 글
| [Godot] Area2D Gravity 중력 (0) | 2023.09.27 |
|---|---|
| [Godot] AddChild(), RemoveChild() (0) | 2023.09.26 |
| [Godot] Global Class Member Variables 전역 클래스 멤버 변수 만들기 (0) | 2023.09.25 |
| [Godot] Access Another Script 다른 스크립트에 접근하기 (0) | 2023.09.25 |
| [Godot] Ambient Light for 2D 환경광 주변광 (0) | 2023.09.24 |