Python Core Audio Windows Library 파이썬 코어 오디오 라이브러리
Python 2023. 10. 26. 14:58 |반응형
pycaw를 이용해 시스템 오디오 볼륨을 설정해 보자.

|
1
2
3
4
5
6
7
8
9
10
11
12
13
14
15
16
17
18
19
20
21
22
23
24
25
|
from ctypes import cast, POINTER
from comtypes import CLSCTX_ALL
from pycaw.pycaw import AudioUtilities, IAudioEndpointVolume
from time import sleep
devices = AudioUtilities.GetSpeakers()
interface = devices.Activate(IAudioEndpointVolume._iid_, CLSCTX_ALL, None)
volume = cast(interface, POINTER(IAudioEndpointVolume))
# Control volume
#volume.SetMasterVolumeLevel(-0.0, None) # Max(100%)
#volume.SetMasterVolumeLevel(-3.3, None) # 80%
#volume.SetMasterVolumeLevel(-10.3, None) # 50%
#volume.SetMasterVolumeLevel(-23.6, None) # 20%
#volume.SetMasterVolumeLevel(-64.0, None) # Min(0%)
while(True):
current = volume.GetMasterVolumeLevel()
print("Current Volume:", current)
if (current > -23.6):
current -= 1
volume.SetMasterVolumeLevel(current, None)
sleep(1)
|
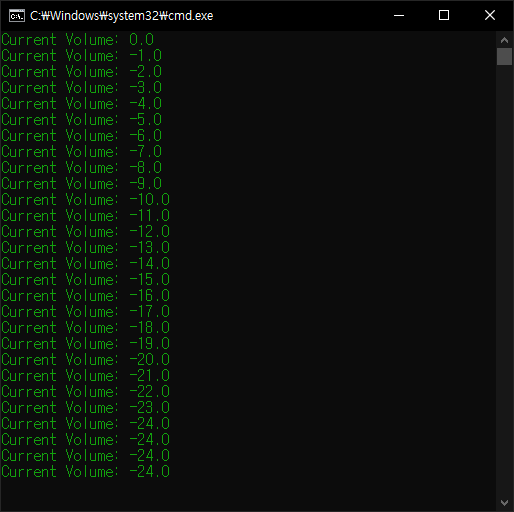
위와 같이 코드를 작성하고 실행한다.

실행시 콘솔 화면이 뜨지 않게 하려면 파일 확장명을 .pyw로 바꾼다.
※ 참고
2022.01.06 - [C#] - C# AudioSwitcher System Audio/Sound Volume Control - 시스템 오디오/사운드 볼륨 컨트롤 1
2022.01.07 - [C#] - C# AudioSwitcher System Audio/Sound Volume Control - 시스템 오디오/사운드 볼륨 컨트롤 2
2023.10.28 - [C#] - C# Sound Meter 사운드 미터
반응형
'Python' 카테고리의 다른 글
| Python C/C++ Library Wrapper 파이썬 C/C++ 라이브러리 연동 (1) | 2023.12.17 |
|---|---|
| Python SoundDevice 파이썬 사운드 디바이스 (0) | 2023.12.12 |
| [Pygame] Sprites Collision Detection using Circle 스프라이트 충돌 감지 (1) | 2023.09.15 |
| [Pygame] Math Vector 파이게임 수학 벡터 (0) | 2023.09.14 |
| [Pygame] Bouncing Ball 벽에 튕기는 공 만들기 (0) | 2023.09.13 |

