

IP Camera ONVIF Protocol
OpenCV 2025. 3. 1. 10:24 |반응형
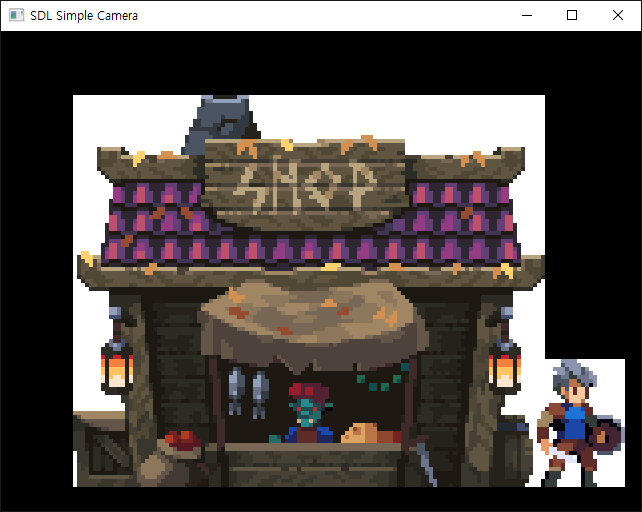
ONVIF 프로토콜을 지원하는 IP 카메라를 사용해 보자.
|
1
2
3
4
5
6
7
8
9
10
11
12
13
14
15
16
17
18
19
20
21
22
23
24
25
26
27
28
29
30
31
32
33
34
|
import cv2
#capture = cv2.VideoCapture(0, cv2.CAP_DSHOW)
# 노트북에 연결된 카메라는 대부분 cv2.CAP_DSHOW 옵션이 필요 없지만
# 데스크탑에 USB로 연결된 카메라 사용시에는 cv2.CAP_DSHOW 옵션이 필요 할 수 있다.
#cap = cv2.VideoCapture('rtsp://admin:@192.168.0.44')
# NVR 사용
cap = cv2.VideoCapture('rtsp://admin:123456@192.168.0.161:554/stream0')
# NVR 없이 카메라만 연결 Sub Stream
# 형식: rtsp://[ID]:[PW]@[IP주소]:[PORT번호]/[기타설정]
#cap = cv2.VideoCapture('rtsp://admin:123456@192.168.0.161:554/stream1')
# NVR 없이 카메라만 연결 Main Stream
# 카메라 Configure - Stream manager - Video Setting - Encoding Format 에서
# H265 로 설정하면 아래와 같은 에러 메세지가 발생한다.
# [hevc @ 0000024133eada80] PPS id out of range: 0
# H264 로 설정하면 괜찮다.
if not cap.isOpened():
print("Not opened")
exit()
while cv2.waitKey(1) < 0:
ret, frame = cap.read()
if not ret:
print("False returned")
exit()
cv2.imshow("video", frame)
cap.release()
cv2.destroyAllWindows()
|
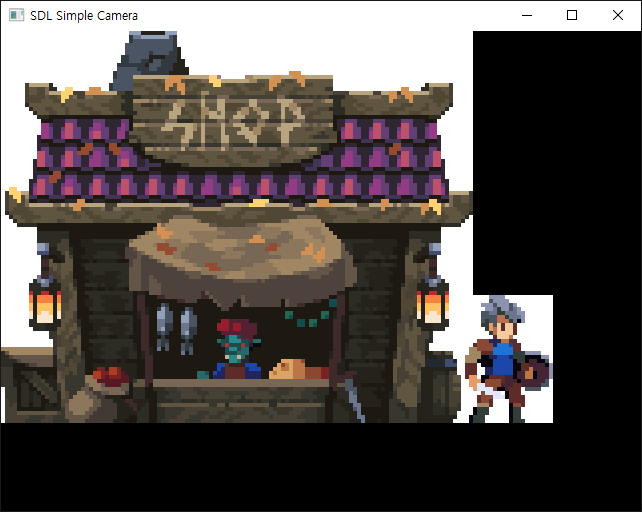
만약 Sub Stream(Stream0)이 아닌 Main Stream(Stream1)을 사용하면 영상은 큰 문제 없이 계속 출력되지만 아래와 같은 에러 메세지가 계속 나타난다. (Sub Stream에서도 종종 에러가 발생하기도 했다)
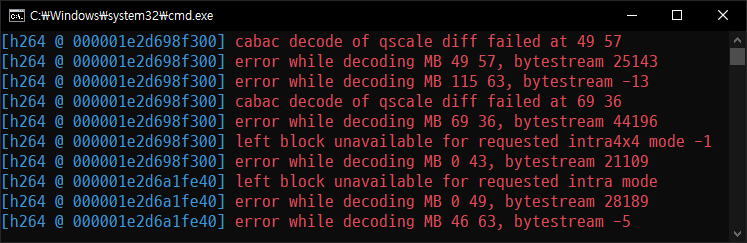
이런 에러 때문인지는 모르겠지만 OpenCV에서 rtsp를 이용해 출력한 영상은 카메라에서 자체 지원하는 웹뷰 등을 이용해 확인한 영상보다 노이즈가 심하다.
|
1
2
3
4
5
6
7
8
9
10
11
12
13
14
15
16
17
18
19
20
21
22
23
24
25
26
27
28
29
30
31
32
33
34
35
36
37
38
39
40
41
42
43
44
45
46
47
48
|
import queue
import threading
import cv2
q=queue.Queue()
stop = False
def Receive():
print("start Reveiving")
cap = cv2.VideoCapture('rtsp://admin:123456@192.168.0.161:554/stream0')
if not cap.isOpened():
print("Not opened")
exit()
global stop
ret = True
while ret and not stop:
ret, frame = cap.read()
lock.acquire()
if not ret:
print("False returned")
continue
q.put(frame)
lock.release()
cap.release()
cv2.destroyAllWindows()
def Display():
print("Start Displaying")
global stop
while cv2.waitKey(1) < 0:
lock.acquire()
if not q.empty():
frame=q.get()
cv2.imshow("stream", frame)
lock.release()
stop = True
if __name__ == '__main__':
lock = threading.Lock()
t1 = threading.Thread(target = Receive)
t2 = threading.Thread(target = Display)
t1.start()
t2.start()
|
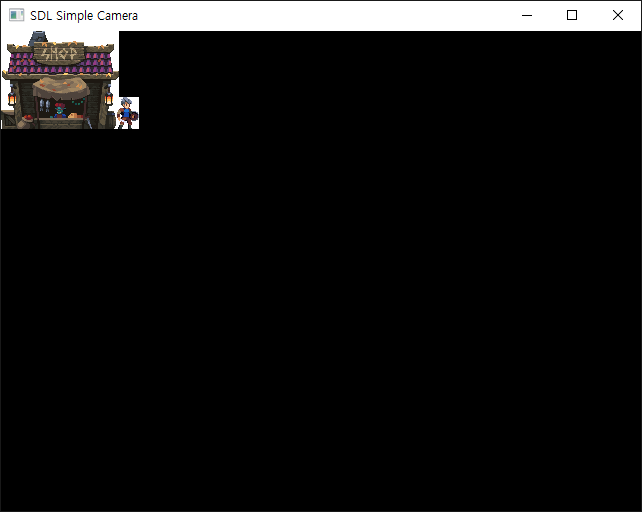
영상을 받아오는 부분과 출력하는 부분을 다른 스레드로 구분하고 각각의 스레드에서 영상에 접근할때 충돌을 방지하기 위해 Primitive Lock을 사용해 봤지만 별 효과는 없다.
오히려 Main Stream(Stream1)에서 Sub Stream(Stream0)으로 바꿔 영상의 크기를 줄이는게 에러 확률을 크게 낮추었다.

카메라 Video Setting 에서 위와 같이 바꾸는 것도 에러 확률을 크게 낮추었다.
● Resolution: 1920X1080 => 1280X720
● Quality: Good => Worst
Frame Rate, Max Bitrate는 별 영향이 없었다.
Packet Loss가 있어서 그런건지도 모르겠다.
반응형
'OpenCV' 카테고리의 다른 글
| C and Python OpenCV Image Data Share (Memory Mapped File) (0) | 2025.02.23 |
|---|---|
| C# and Python OpenCV Image Data Share (Memory Mapped File) (0) | 2025.02.16 |
| OpenCV with Qt for Python(PyQt) (0) | 2025.02.09 |
| Compiling and Running OpenPose from Source (2) | 2022.05.15 |
| GDI+ and OpenCV - Bitmap to Mat & Mat to Bitmap Conversion (0) | 2022.01.02 |


