OpenCV with Qt for Python(PyQt)
OpenCV 2025. 2. 9. 19:16 |반응형
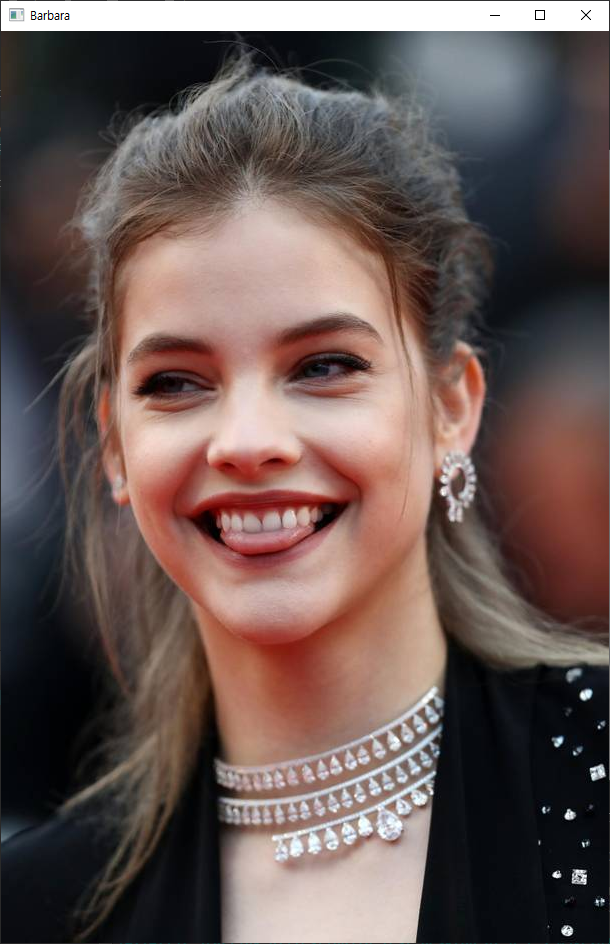
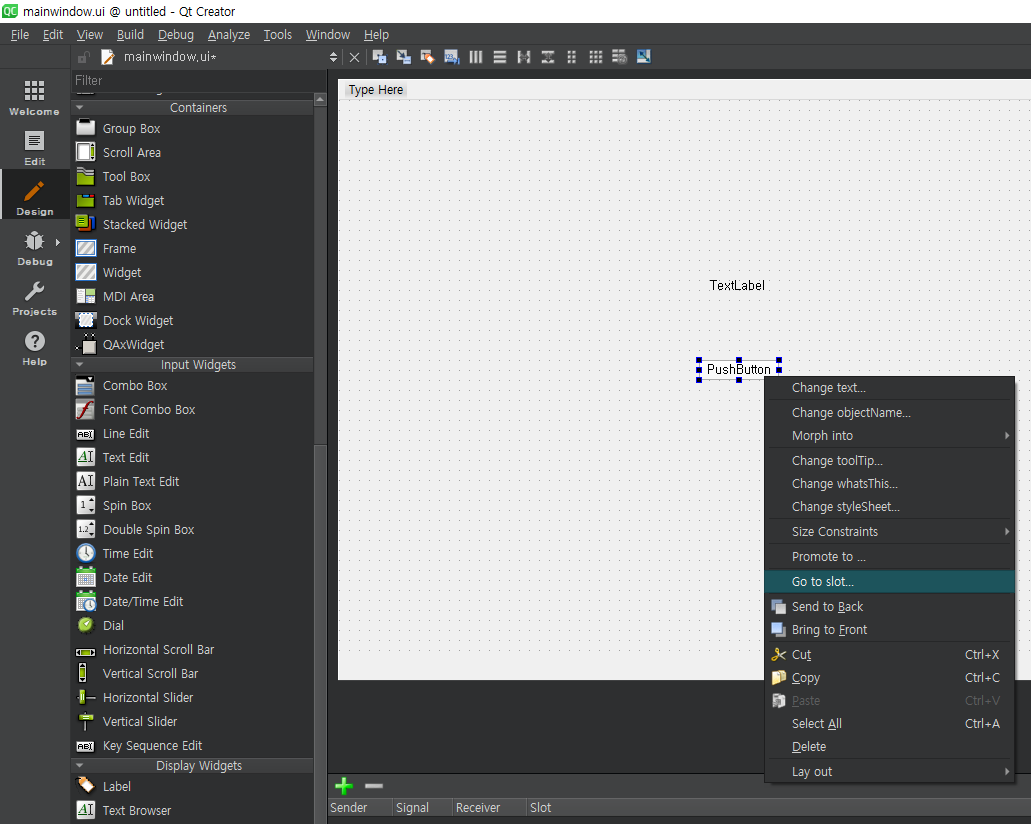
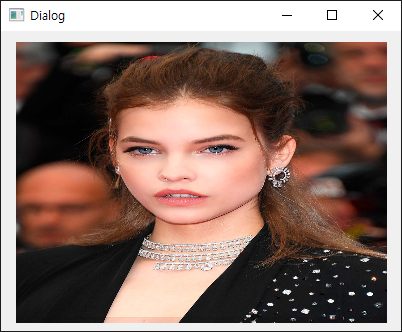
PyQt를 이용해 OpenCV 이미지를 출력해 보자.

|
1
2
3
4
5
6
7
8
9
10
11
12
13
14
15
16
17
18
19
20
21
22
23
24
25
26
27
28
29
30
31
32
33
34
35
36
37
38
39
40
41
42
43
44
|
import sys
import cv2
from PyQt5 import QtWidgets
from PyQt5 import QtGui
from PyQt5 import uic
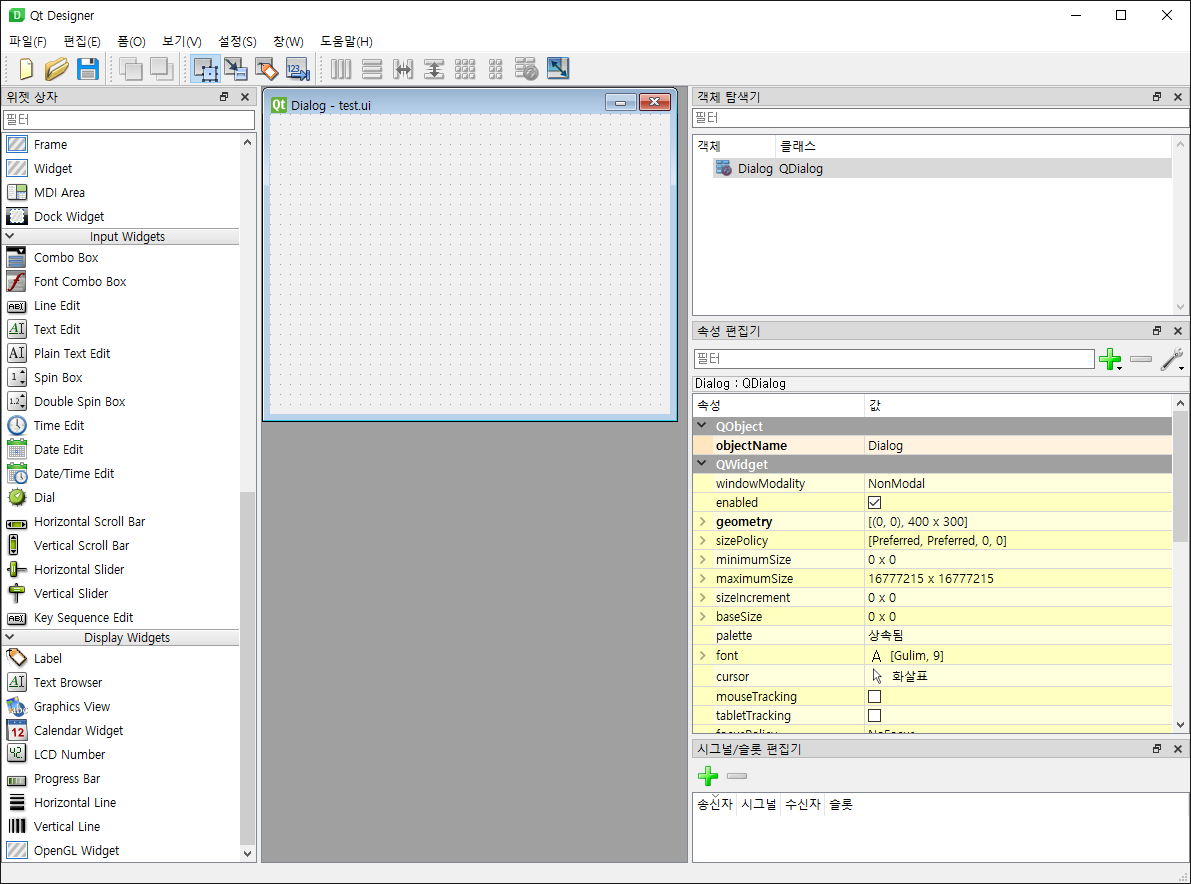
myui = uic.loadUiType("test.ui")
class MyApp(QtWidgets.QWidget, myui[0]):
def __init__(self):
super().__init__()
self.setupUi(self)
# 1) QtWidgets.QGraphicsView()에 이미지 출력하기
# pixmap = QtGui.QPixmap()
# pixmap.load("palvin.jpg")
# scene = QtWidgets.QGraphicsScene()
# scene.addPixmap(pixmap)
# self.graphicsView.setScene(scene)
# 2) QtWidgets.QGraphicsView()에 OpenCV 이미지 출력하기
# img = cv2.imread("palvin.jpg")
# img = cv2.cvtColor(img, cv2.COLOR_BGR2RGB)
# h, w, c = img.shape
# qimg = QtGui.QImage(img.data, w, h, w*c, QtGui.QImage.Format_RGB888)
# pixmap = QtGui.QPixmap.fromImage(qimg)
# scene = QtWidgets.QGraphicsScene()
# scene.addPixmap(pixmap)
# self.graphicsView.setScene(scene)
# QtWidgets.Label에 OpenCV 이미지 출력하기
img = cv2.imread("palvin.jpg")
img = cv2.resize(img, (self.label.size().width(), self.label.size().height()))
img = cv2.cvtColor(img, cv2.COLOR_BGR2RGB)
h, w, c = img.shape
qimg = QtGui.QImage(img.data, w, h, w*c, QtGui.QImage.Format_RGB888)
pixmap = QtGui.QPixmap.fromImage(qimg)
self.label.setPixmap(pixmap)
if __name__ == "__main__":
app = QtWidgets.QApplication(sys.argv)
myWindow = MyApp()
myWindow.show()
app.exec_()
|
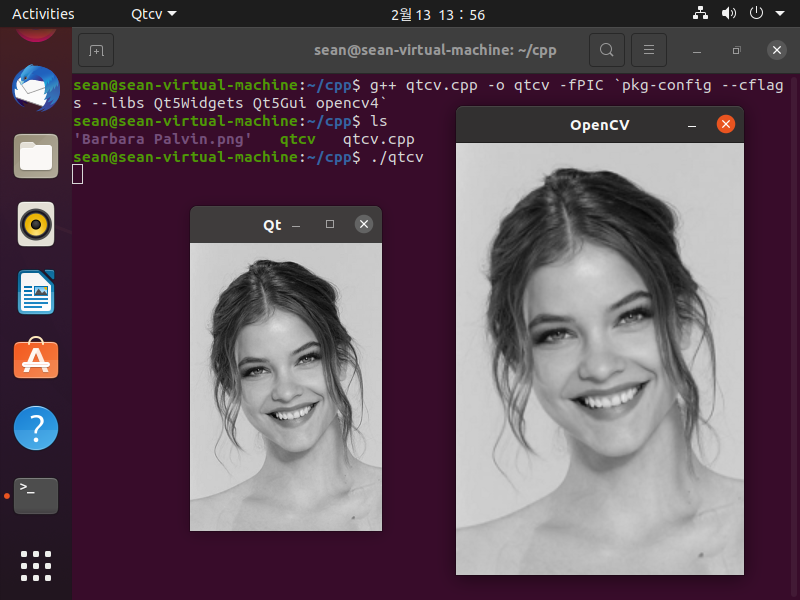
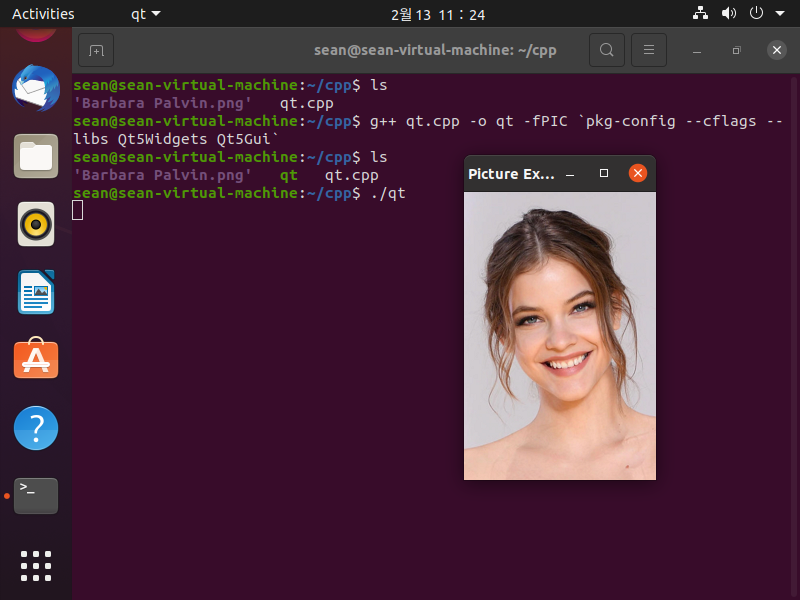
소스를 입력하고 실행한다.
이번엔 GraphicsView를 사용해 보자. 위 소스에서 1번이나 2번 주석을 해제한다.
1, 2번 주석부분의 소스는 이미지 크기를 조절하지 않는다.


|
1
2
3
4
5
6
7
8
9
10
11
12
13
14
15
16
17
18
19
20
21
22
23
24
25
26
27
28
29
30
31
32
|
import sys
import cv2
from PyQt5 import QtWidgets
from PyQt5 import QtGui
from PyQt5 import uic
myui = uic.loadUiType("test.ui")
class MyApp(QtWidgets.QWidget, myui[0]):
def __init__(self):
super().__init__()
self.setupUi(self)
self.img = cv2.imread("palvin.jpg")
self.img = cv2.cvtColor(self.img, cv2.COLOR_BGR2RGB)
h, w, c = self.img.shape
h, w = int(h/6), int(w/6)
self.img = cv2.resize(self.img, (w, h))
self.qimg = QtGui.QImage(self.img.data, w, h, w*c, QtGui.QImage.Format_RGB888)
def paintEvent(self, e):
qp = QtGui.QPainter(self)
self.drawCVImage(qp)
def drawCVImage(self, qp):
qp.drawImage(10, 10, self.qimg)
if __name__ == "__main__":
app = QtWidgets.QApplication(sys.argv)
myWindow = MyApp()
myWindow.show()
app.exec_()
|
소스를 입력하고 실행한다.

반응형
'OpenCV' 카테고리의 다른 글
| Compiling and Running OpenPose from Source (2) | 2022.05.15 |
|---|---|
| GDI+ and OpenCV - Bitmap to Mat & Mat to Bitmap Conversion (0) | 2022.01.02 |
| OpenCV with C# and Camera (0) | 2021.12.29 |
| OpenCvSharp for Network (0) | 2021.12.28 |
| OpenCV with C# (0) | 2021.11.20 |