[Hugging Face] Datasets 데이터셋
AI, ML, DL 2026. 7. 5. 19:58 |반응형
Hugging Face Datasets 라이브러리를 사용해 보자.
import datasets

dataset = datasets.load_dataset("jaehy12/news3")
print(dataset)
import datasets
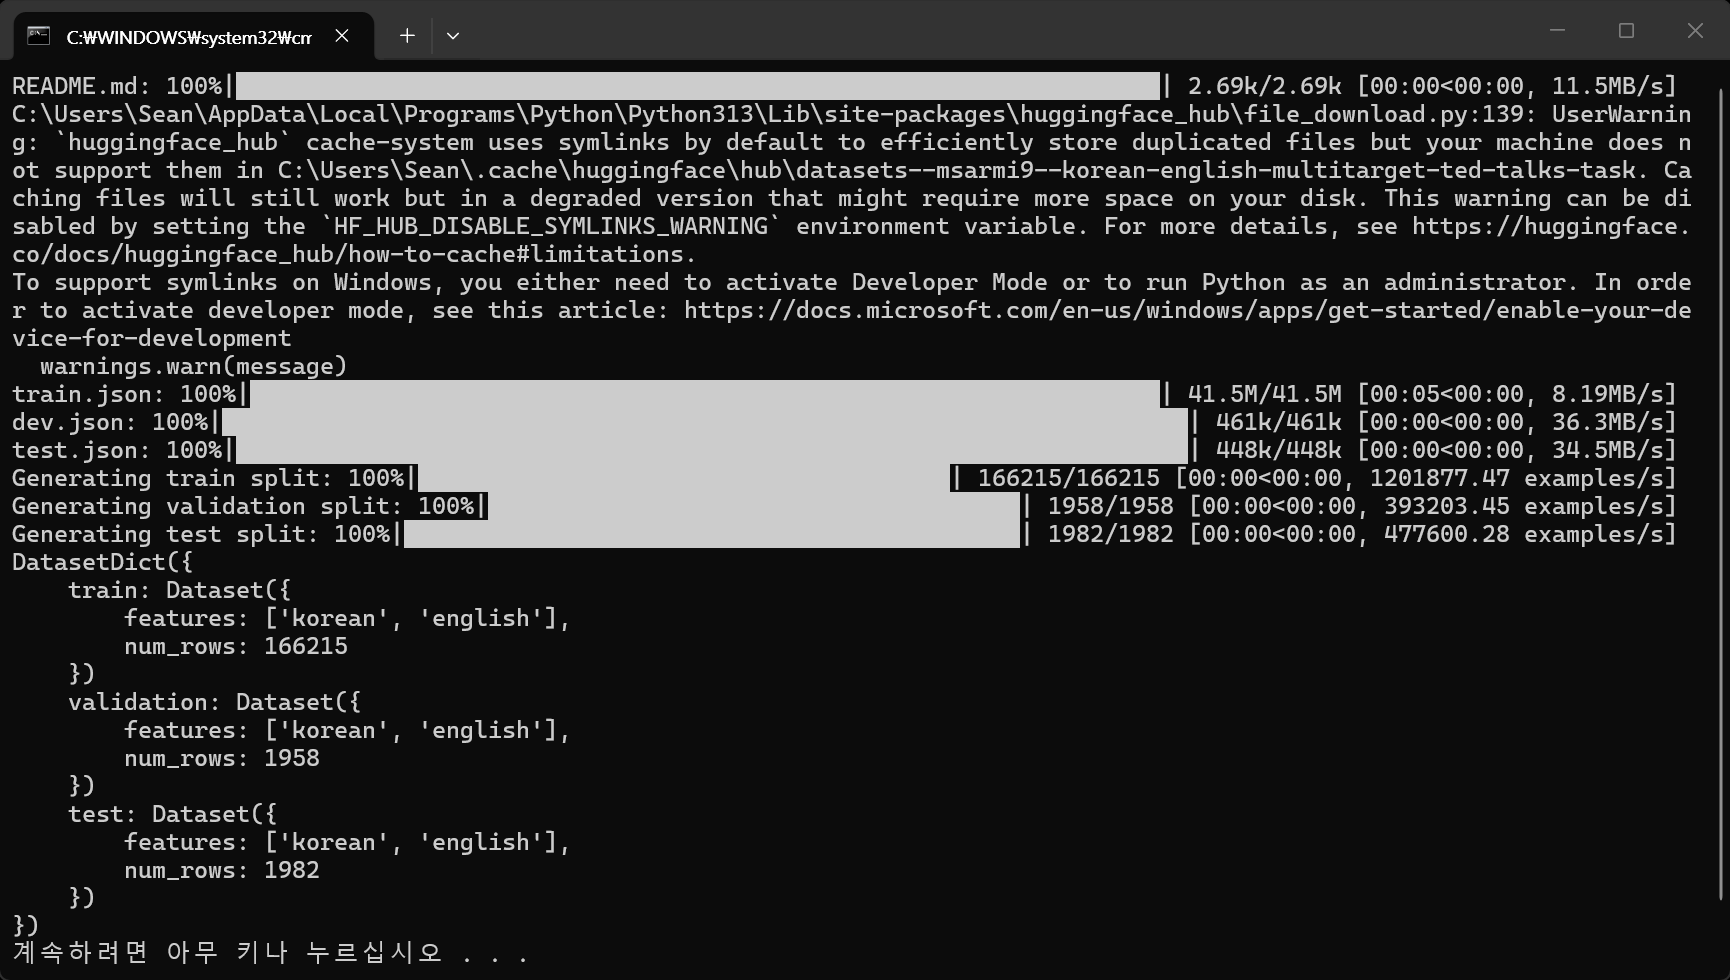
dataset = datasets.load_dataset("msarmi9/korean-english-multitarget-ted-talks-task")
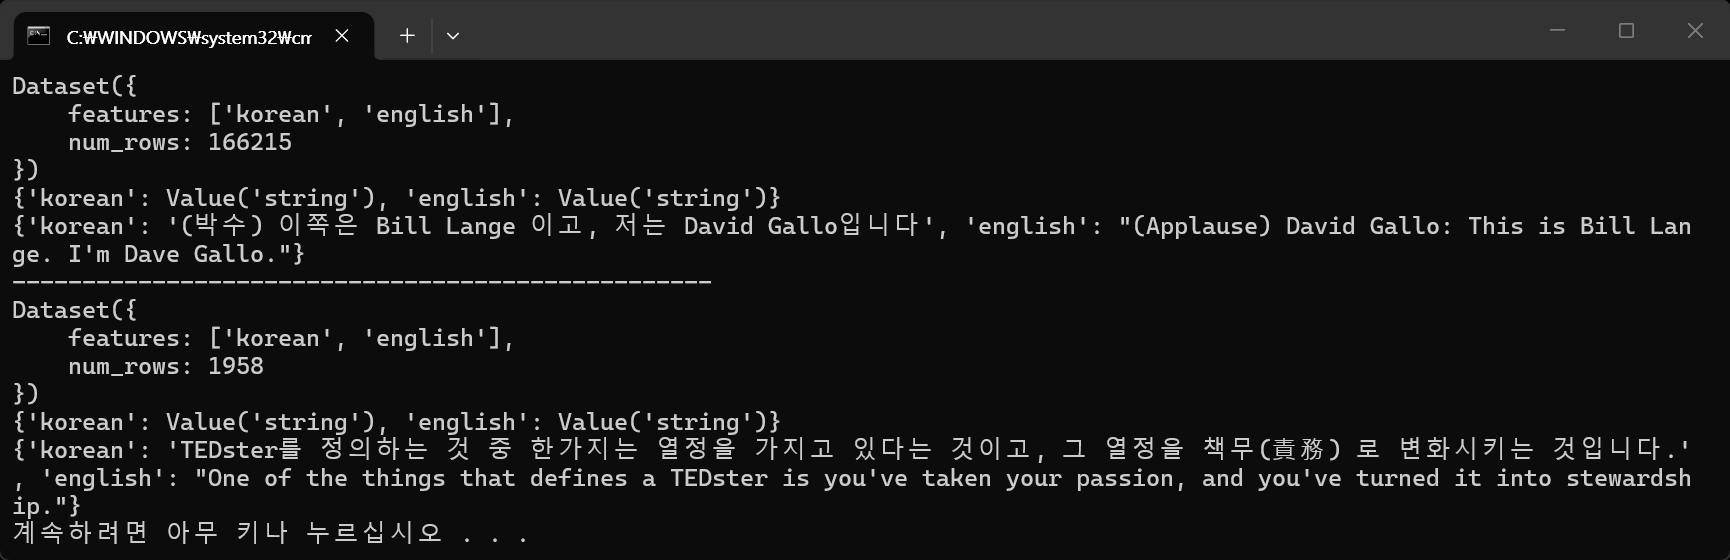
print(dataset["train"])
print(dataset["train"].features)
print(dataset["train"][0])
print("-"*50)
print(dataset["validation"])
print(dataset["validation"].features)
print(dataset["validation"][0])
import datasets

# train, valudation, test 데이터셋 직접 만들기
data_dict = {
	"train": [
		{"text": "I love programming.", "label": 1},
		{"text": "Python is my favorite language.", "label": 1},
		{"text": "I hate bugs in my code.", "label": 0},
		{"text": "Debugging is a frustrating process.", "label": 0},
		{"text": "I enjoy solving complex problems.", "label": 1},
		{"text": "I dislike syntax errors.", "label": 0},
		{"text": "I find coding to be a rewarding experience.", "label": 1},
		{"text": "I get frustrated when my code doesn't work.", "label": 0},
		{"text": "I love learning new programming languages.", "label": 1},
		{"text": "I find it challenging to debug my code.", "label": 0}
	],
	"validation": [
		{"text": "I enjoy writing clean and efficient code.", "label": 1},
		{"text": "I find it difficult to understand complex algorithms.", "label": 0},
		{"text": "I love collaborating with other developers.", "label": 1},
		{"text": "I get frustrated when I encounter unexpected errors.", "label": 0},
		{"text": "I enjoy learning new programming paradigms.", "label": 1}
	],
	"test": [
		{"text": "I find it rewarding to solve challenging coding problems.", "label": 1},
		{"text": "I dislike spending hours debugging my code.", "label": 0},
		{"text": "I love exploring new programming frameworks.", "label": 1},
		{"text": "I get frustrated when I can't find a solution to a coding problem.", "label": 0},
		{"text": "I enjoy optimizing my code for better performance.", "label": 1}
	]
}

# 데이터셋을 Hugging Face Datasets 라이브러리의 DatasetDict로 변환
dataset = datasets.DatasetDict({
	"train": datasets.Dataset.from_list(data_dict["train"]),
	"validation": datasets.Dataset.from_list(data_dict["validation"]),
	"test": datasets.Dataset.from_list(data_dict["test"])
})

# 데이터셋 확인
print(dataset)
print(dataset["train"].features)
print(dataset["train"][0])

# 파일로 저장
dataset.save_to_disk("my_dataset")


import datasets
# train, valudation, test 데이터셋 직접 만들기
data_dict = {
"text": [
"I love programming.",
"Python is my favorite language.",
"I hate bugs in my code.",
"Debugging is a frustrating process.",
"I enjoy solving complex problems.",
"I dislike syntax errors.",
"I find coding to be a rewarding experience.",
"I get frustrated when my code doesn't work.",
"I love learning new programming languages.",
"I find it challenging to debug my code.",
"I enjoy writing clean and efficient code.",
"I find it difficult to understand complex algorithms.",
"I love collaborating with other developers.",
"I get frustrated when I encounter unexpected errors.",
"I enjoy learning new programming paradigms.",
"I find it rewarding to solve challenging coding problems.",
"I dislike spending hours debugging my code.",
"I love exploring new programming frameworks.",
"I get frustrated when I can't find a solution to a coding problem.",
"I enjoy optimizing my code for better performance."
],
"label": [1, 1, 0, 0, 1, 0, 1, 0, 1, 0, 1, 0, 1, 0, 1, 1, 0, 1, 0, 1]
}
# 데이터를 Hugging Face Datasets 형식으로 변환
dataset = datasets.Dataset.from_dict(data_dict)
# 데이터셋 확인
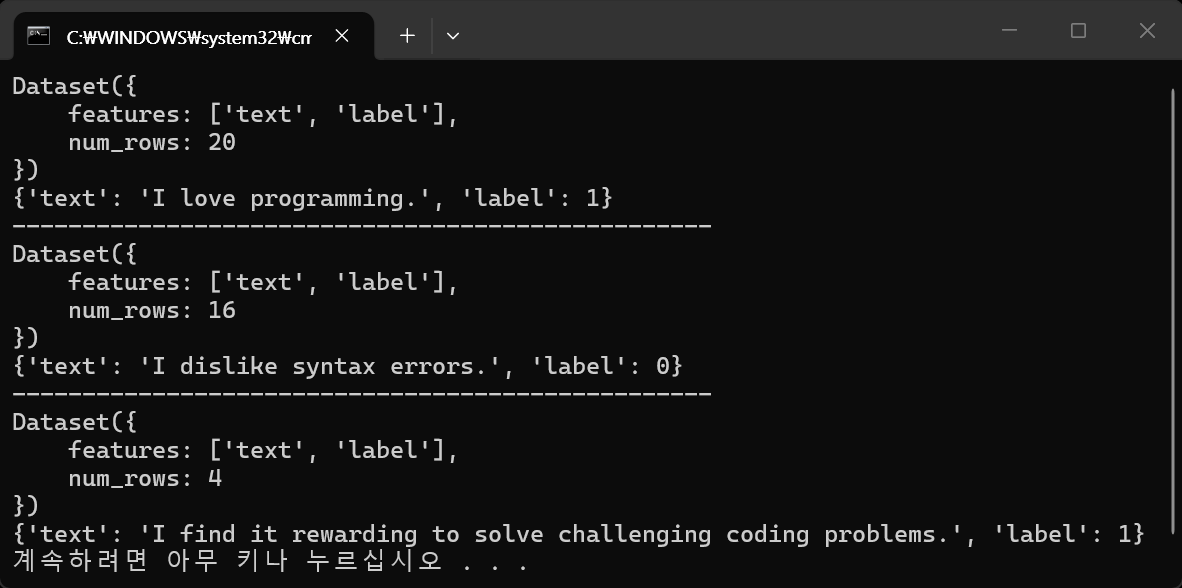
print(dataset)
print(dataset[0]) # 첫 번째 데이터 확인
print("-"*50)
# 데이터셋을 train, test로 분리
split_dataset = dataset.train_test_split(test_size=0.2)
train_dataset = split_dataset["train"]
test_dataset = split_dataset["test"]
# 데이터셋 확인
print(train_dataset)
print(train_dataset[0]) # 첫 번째 train 데이터 확인
print("-"*50)
print(test_dataset)
print(test_dataset[0]) # 첫 번째 test 데이터 확인
※ 참고
반응형
'AI, ML, DL' 카테고리의 다른 글
| [Hugging Face] Hugging Face Python Libraries 허깅 페이스 파이썬 라이브러리 (0) | 2026.07.04 |
|---|---|
| [vLLM] WSL에서 vLLM 서버 실행하고 사용하기 (2) | 2026.06.21 |
| [vLLM] WSL에서 vLLM 설치 및 간단한 실행 (1) | 2026.06.19 |
| [YOLO] YOLO-World (0) | 2026.06.16 |
| [Ollama] Ollama Backend Serve 백엔드 실행 (0) | 2026.06.14 |