
[Godot] Access Another Script 다른 스크립트에 접근하기
Godot 2023. 9. 25. 11:09 |반응형
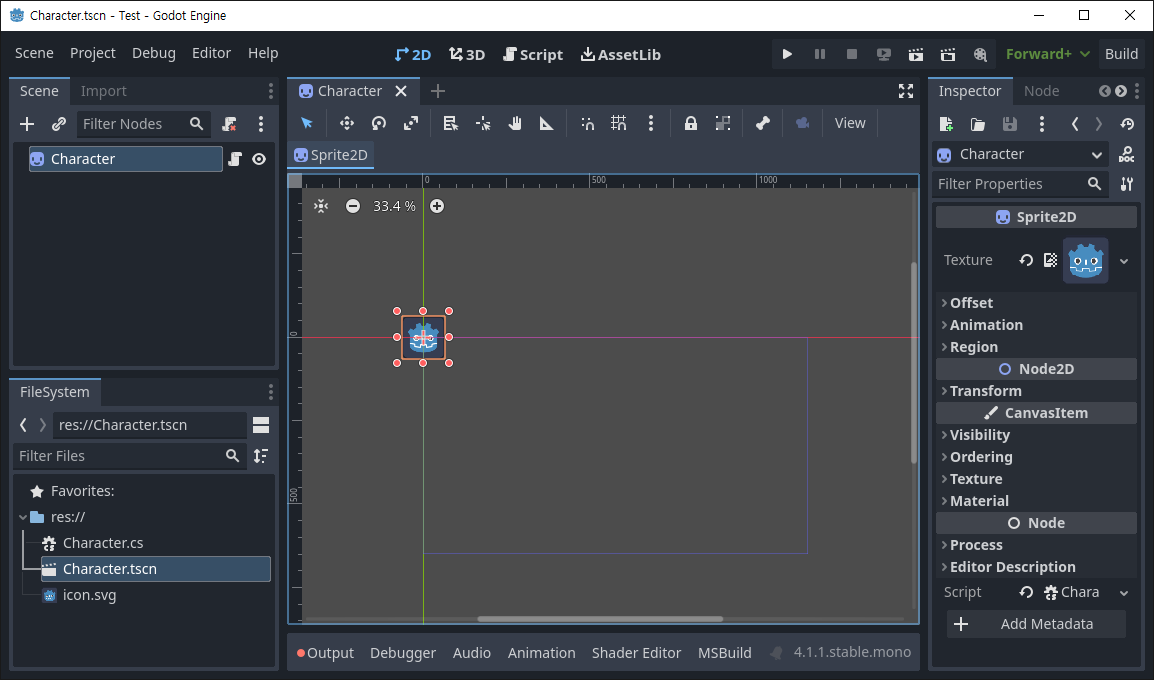
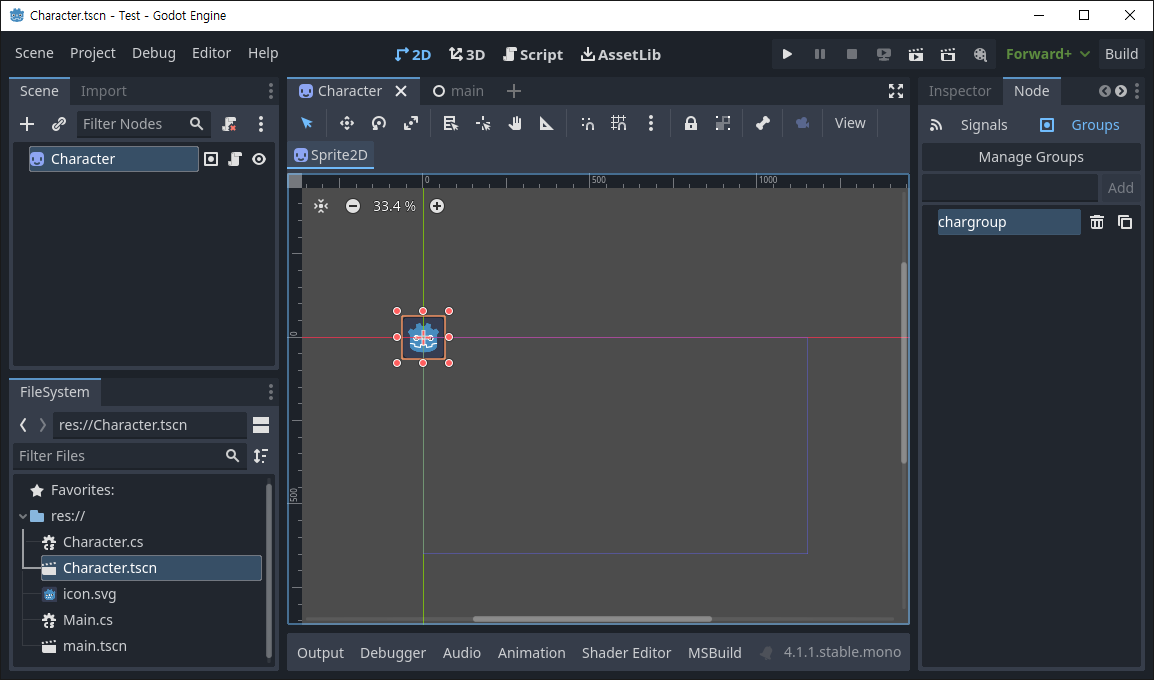
다른 스크립트에 선언된 변수에 접근해 보자.
|
1
2
3
4
5
6
7
8
9
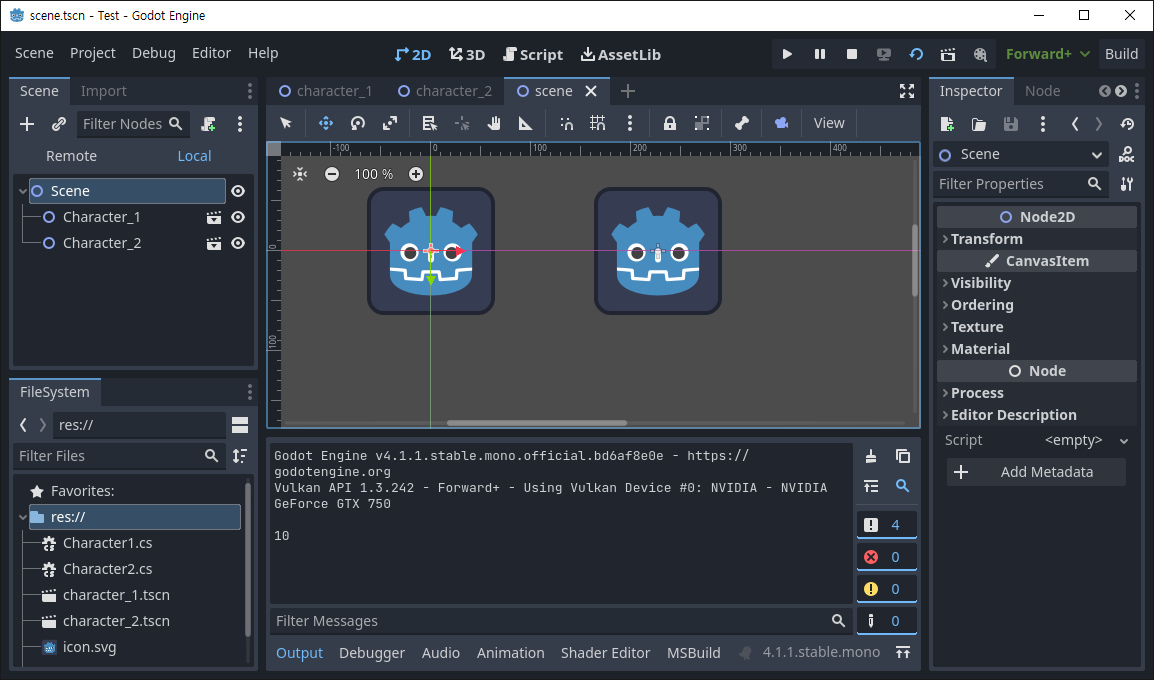
10
11
12
13
14
15
16
|
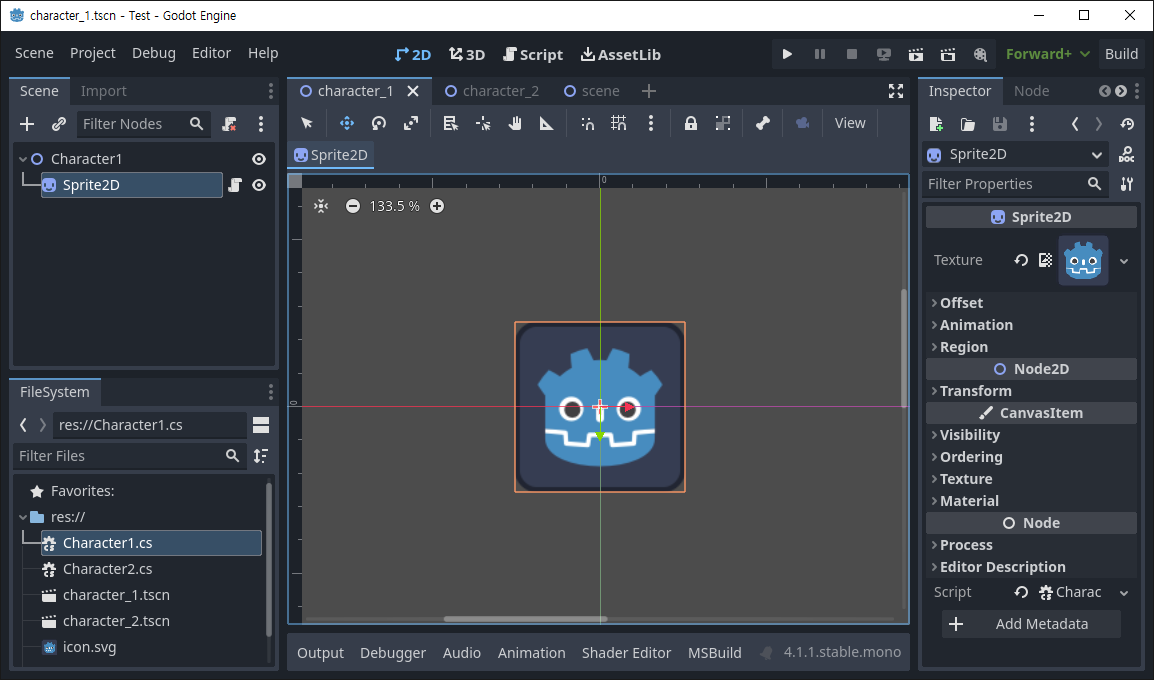
using Godot;
public partial class Character1 : Sprite2D
{
public int a = 10;
// Called when the node enters the scene tree for the first time.
public override void _Ready()
{
}
// Called every frame. 'delta' is the elapsed time since the previous frame.
public override void _Process(double delta)
{
}
}
|
|
1
2
3
4
5
6
7
8
9
10
11
12
13
14
15
|
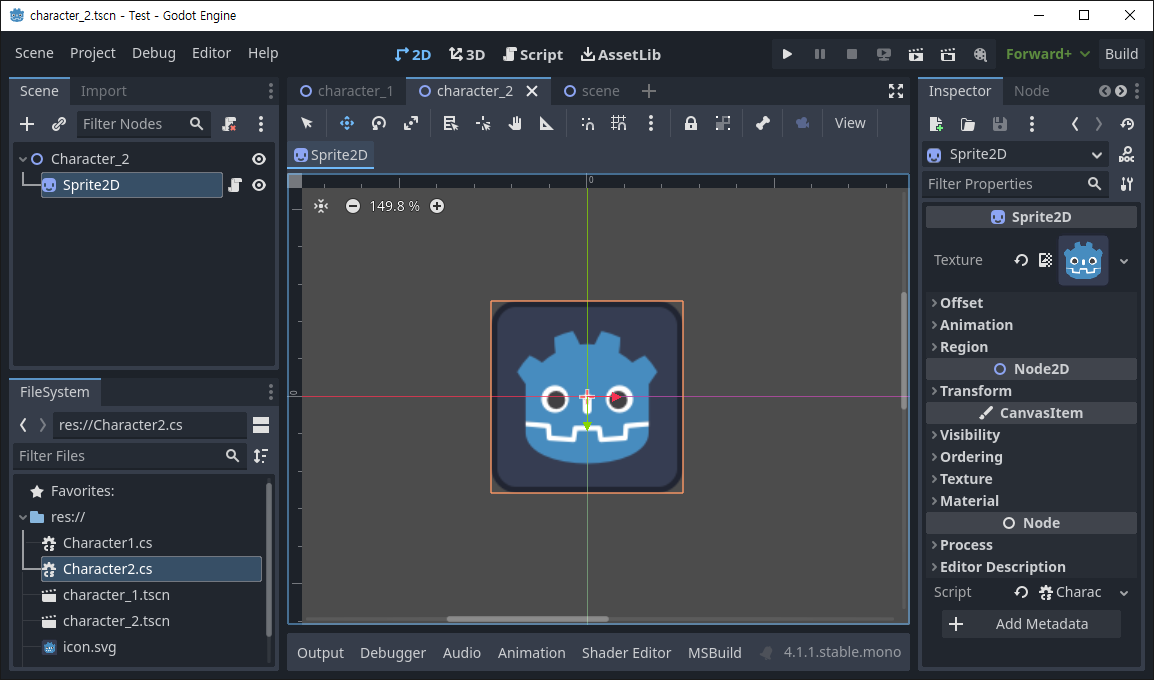
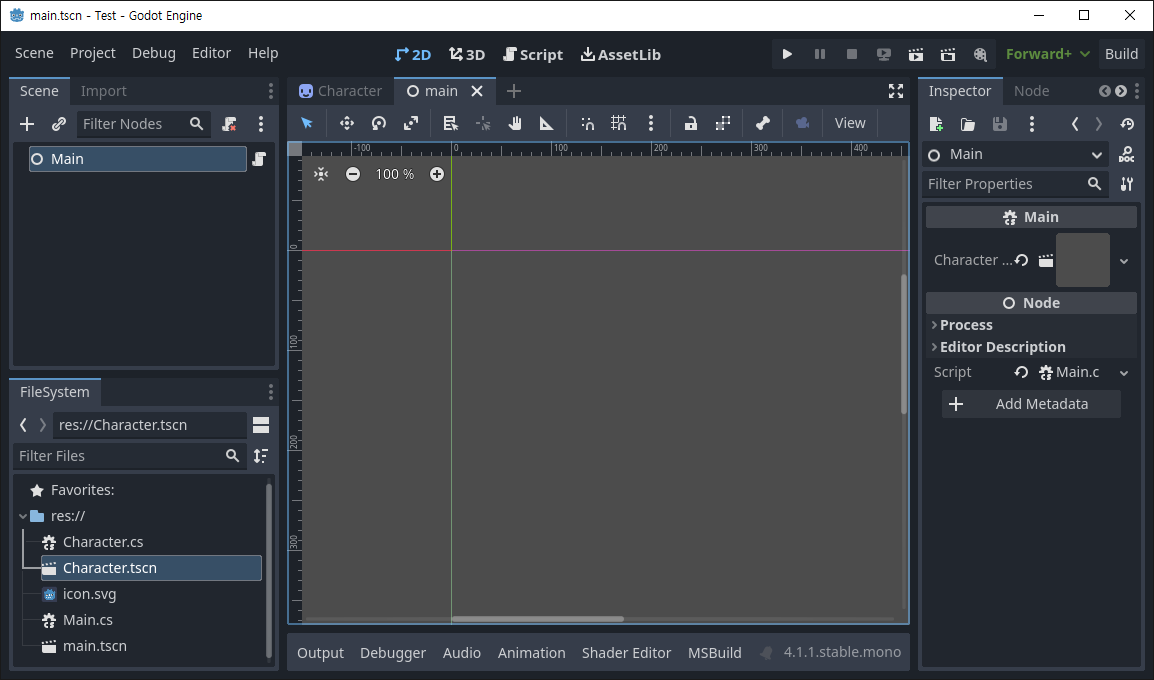
using Godot;
public partial class Character2 : Sprite2D
{
// Called when the node enters the scene tree for the first time.
public override void _Ready()
{
GD.Print(GetNode<Character1>("../../Character_1/Sprite2D").a);
}
// Called every frame. 'delta' is the elapsed time since the previous frame.
public override void _Process(double delta)
{
}
}
|
반응형
'Godot' 카테고리의 다른 글
| [Godot] Instantiate Scenes From Code 코드로 씬 생성하기 (0) | 2023.09.26 |
|---|---|
| [Godot] Global Class Member Variables 전역 클래스 멤버 변수 만들기 (0) | 2023.09.25 |
| [Godot] Ambient Light for 2D 환경광 주변광 (0) | 2023.09.24 |
| [Godot] Hide/disable/confine Mouse Cursor 마우스 커서 숨기기 (0) | 2023.09.23 |
| [Godot] One Way Collision 한 쪽 방향으로만 충돌 체크 (0) | 2023.09.21 |


