
[Godot] AnimationPlayer 애니메이션 플레이어
Godot 2024. 2. 16. 16:24 |반응형
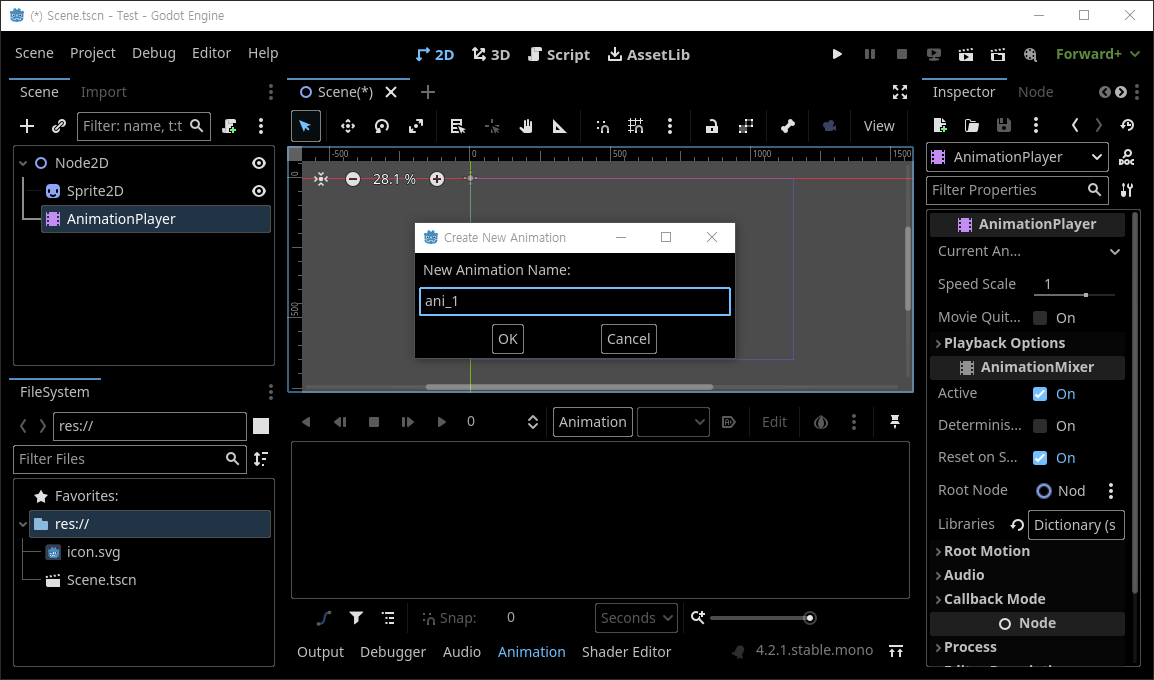
애니메이션 플레이어를 사용해 보자.


|
1
2
3
4
5
6
7
8
9
10
11
12
13
14
15
16
17
|
using Godot;
public partial class Control : Sprite2D
{
public AnimationPlayer Player;
public override void _Ready()
{
Player = GetNode<AnimationPlayer>("../AnimationPlayer");
}
public override void _Process(double delta)
{
if (Input.IsActionJustPressed("ui_accept"))
Player.Play("ani_1");
}
}
|
추가된 스크립트에 위와 같은 코드를 작성한다.

※ 참고
반응형
'Godot' 카테고리의 다른 글
| [Godot] Transparent Background Window 투명 배경 윈도우 (0) | 2024.02.17 |
|---|---|
| [Godot] Sprite2D Simple Animation 스프라이트 간단한 애니메이션 (0) | 2024.02.17 |
| [Godot] CharacterBody2D Inertial Motion 캐릭터 관성 운동 (0) | 2024.02.15 |
| [Godot] 2D Splash Dynamic Wave 자연스러운 물결 파동 3. 응용 (0) | 2024.02.11 |
| [Godot] Show Collision Shapes at Debug Runtime (0) | 2024.02.10 |


