반응형

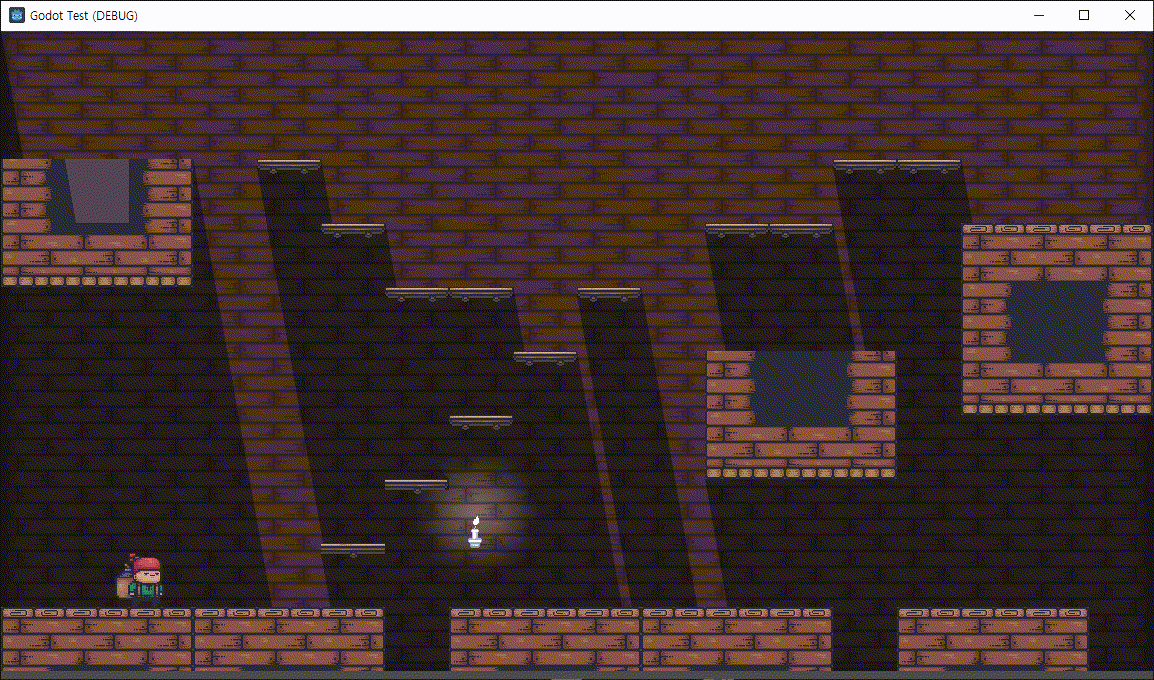
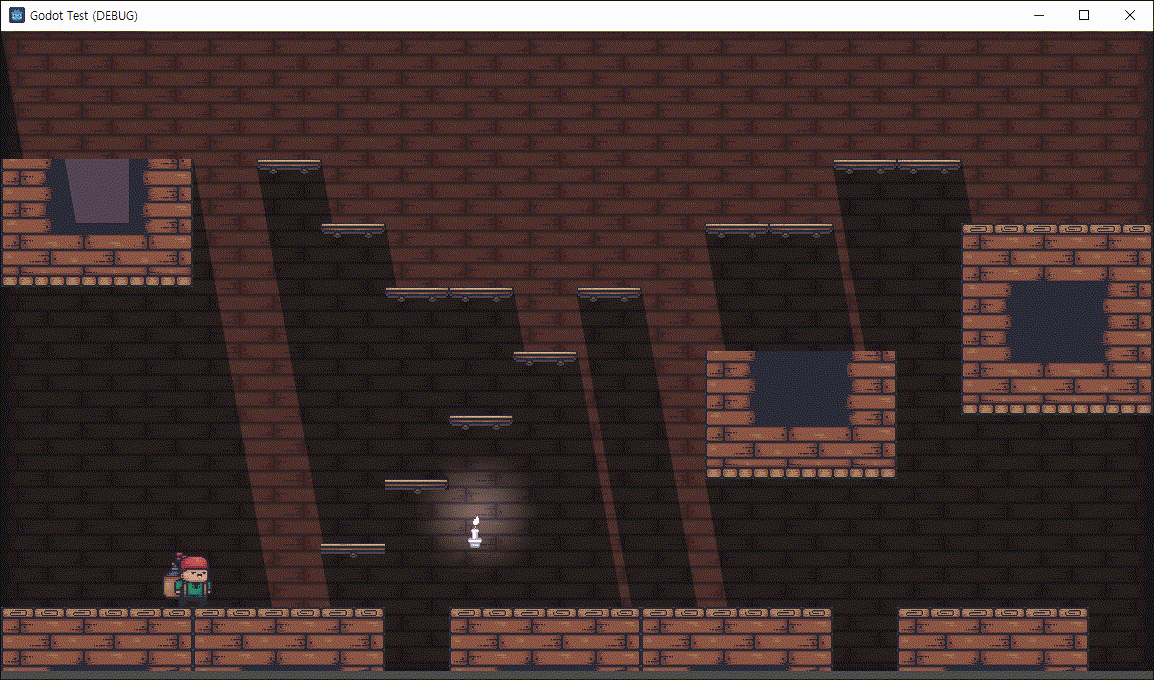
캐릭터에 이동에 관성을 적용해 보자.


1
2
3
4
5
6
7
8
9
10
11
// Get the input direction and handle the movement/deceleration.
// As good practice, you should replace UI actions with custom gameplay actions.
Vector2 direction = Input.GetVector("ui_left""ui_right""ui_up""ui_down");
if (direction != Vector2.Zero)
{
    velocity.X = direction.X * Speed;
}
else
{
    velocity.X = Mathf.MoveToward(Velocity.X, 0, Speed);
}


CharacterBody2D를 상속한 스크립트의 _PhysicsProcess()에는 위와 같은 키 입력 처리 코드가 있다.


1
2
3
4
5
6
7
8
9
10
11
// Get the input direction and handle the movement/deceleration.
// As good practice, you should replace UI actions with custom gameplay actions.
Vector2 direction = Input.GetVector("ui_left""ui_right""ui_up""ui_down");
if (direction != Vector2.Zero)
{
    velocity.X = direction.X * Speed;
}
else
{
    velocity.X = Mathf.MoveToward(Velocity.X, 0, Speed * (float)delta);
}


위와 같이 수정한다.


방향키를 떼는 순간 한번에 정지하지 않고 관성이 적용된다.


하지만 위 코드는 빠르게 방향을 바꾸는 경우엔 관성이 적용되지 않는다.


1
2
3
4
5
6
7
8
9
10
11
12
// Get the input direction and handle the movement/deceleration.
// As good practice, you should replace UI actions with custom gameplay actions.
Vector2 direction = Input.GetVector("ui_left""ui_right""ui_up""ui_down");
if (direction != Vector2.Zero)
{
    //velocity.X = direction.X * Speed;
    velocity.X = Mathf.MoveToward(Velocity.X, direction.X * Speed, Speed * (float)delta);
}
else
{
    velocity.X = Mathf.MoveToward(Velocity.X, 0, Speed * (float)delta);
}


위와 같이 수정한다.

좀 더 빠른(느린) 방향 전환이 필요하다면 MoveToward()의 Speed * (float)delta에 적당한 수치를 곱한다.


빠르게 방향을 바꾸어도 관성이 적용되어 슈퍼 마리오 같은 움직임을 보인다.


※ 참고

Using CharacterBody2D/3D


반응형
Posted by J-sean
:
반응형

캐릭터 이동 방법을 몇 가지 알아보자.


씬을 준비한다.

CharacterBody2D 노드를 생성하고 Sprite2D, CollisionShape2D 노드를 자식노드로 추가한다.

● CharacterBody2D - control.cs 스크립트 추가

● Sprite2D - Texture 지정

● CollisionShape2D - Shape 속성 설정


1
2
3
4
5
6
7
8
9
10
11
12
13
14
15
16
17
18
19
20
21
22
23
24
25
26
27
28
29
30
using Godot;
 
public partial class control : CharacterBody2D
{
    private int speed = 200;
 
    public override void _PhysicsProcess(double delta)
    {
        LookAt(GetGlobalMousePosition());
        if(Input.IsKeyPressed(Key.Up))
        {
            Velocity = new Vector2(speed, 0).Rotated(Rotation);
            //Position += Velocity * (float)delta;
            //
            // When moving a CharacterBody2D, you should not set its
            // position property directly. Instead, you use the
            // move_and_collide() or move_and_slide() methods.These
            // methods move the body along a given vector and detect
            // collisions.
 
            MoveAndSlide();
        }
        if(Input.IsKeyPressed(Key.Down))
        {
            Velocity = new Vector2(-speed, 0).Rotated(Rotation);
            //Position += Velocity * (float)delta;
            MoveAndSlide();
        }
    }
}


위와 같이 스크립트를 작성한다.


게임을 실행하고 위, 아래 키를 누르면 캐릭터가 마우스를 따라 움직인다.


이번엔 마우스를 클릭한 지점으로 움직이는 캐릭터를 만들어 보자.


1
2
3
4
5
6
7
8
9
10
11
12
13
14
15
16
17
18
19
20
21
22
23
24
25
26
27
28
using Godot;
 
public partial class control : CharacterBody2D
{
    private int speed = 200;
    private Vector2 target = new Vector2();
 
    public override void _PhysicsProcess(double delta)
    {
        LookAt(GetGlobalMousePosition());
 
        if(Input.IsMouseButtonPressed(MouseButton.Left))
        {
            target = GetGlobalMousePosition();
        }
 
        Velocity = Position.DirectionTo(target) * speed;
        //Position += Velocity * (float)delta;
        //
        // When moving a CharacterBody2D, you should not set its
        // position property directly. Instead, you use the
        // move_and_collide() or move_and_slide() methods.These
        // methods move the body along a given vector and detect
        // collisions.
        if(Position.DistanceTo(target) > 2)
            MoveAndSlide();
    }
}


control.cs 스크립트를 위와 같이 작성한다.


마우스가 클릭된 지점을 따라 캐릭터가 움직인다.


※ 참고

Using CharacterBody2D/3D

CharacterBody2D

2D movement overview


반응형
Posted by J-sean
:
반응형

Detects motions in the vision and saves an image of it as a PNG file. Adjust the sensitivity value if needed.


카메라 영상의 움직임을 감시하고 움직임이 감지된 순간의 영상을 저장한다. sensitivity 값으로 감도를 조절한다.


1
2
3
4
5
6
7
8
9
10
11
12
13
14
15
16
17
18
19
20
21
22
23
24
25
26
27
28
29
30
31
32
33
34
35
36
37
38
39
40
41
42
43
44
45
46
47
48
49
50
51
52
53
54
55
56
#include <opencv2/opencv.hpp>
 
using namespace std;
using namespace cv;
 
int main(int argc, char** argv)
{
    VideoCapture cap(0);
 
    Mat frameNew;
    Mat frameOld;
    Mat frameDiff;
 
    double min, max;
    int sensitivity = 100;
    int detectionCount = 0;
 
    cap >> frameOld;
 
    while (true)
    {
        cap >> frameNew;
        if (frameNew.empty())
            break;
 
        // Calculates the per-element absolute difference
        // between two arrays or between an array and a scalar.
        absdiff(frameNew, frameOld, frameDiff);
        cvtColor(frameDiff, frameDiff, COLOR_BGR2GRAY);
        minMaxLoc(frameDiff, &min, &max);
 
        if (max > sensitivity)
        {
            cout << "Motion detected. (Max: " << max << ")" << endl;
 
            // For PNG, it can be the compression level from 0 to 9.
            // A higher value means a smaller size and longer compression time.
            vector<int> compression_params;
            compression_params.push_back(IMWRITE_PNG_COMPRESSION);
            compression_params.push_back(3);
            if (imwrite(format("detection_%03d.png", detectionCount++), frameNew, compression_params))
                cout << "Image saved." << endl;
            else
                cout << "Image not saved." << endl;
        }
 
        imshow("Motion Detectoion", frameDiff);
        
        frameNew.copyTo(frameOld);
 
        if (waitKey(10== 27)
            break;
    }
 
    return 0;
}
cs


<frameDiff>


<Detection_XXX.png>


반응형
Posted by J-sean
: