
[Godot] Hide/disable/confine Mouse Cursor 마우스 커서 숨기기
Godot 2023. 9. 23. 00:18 |반응형
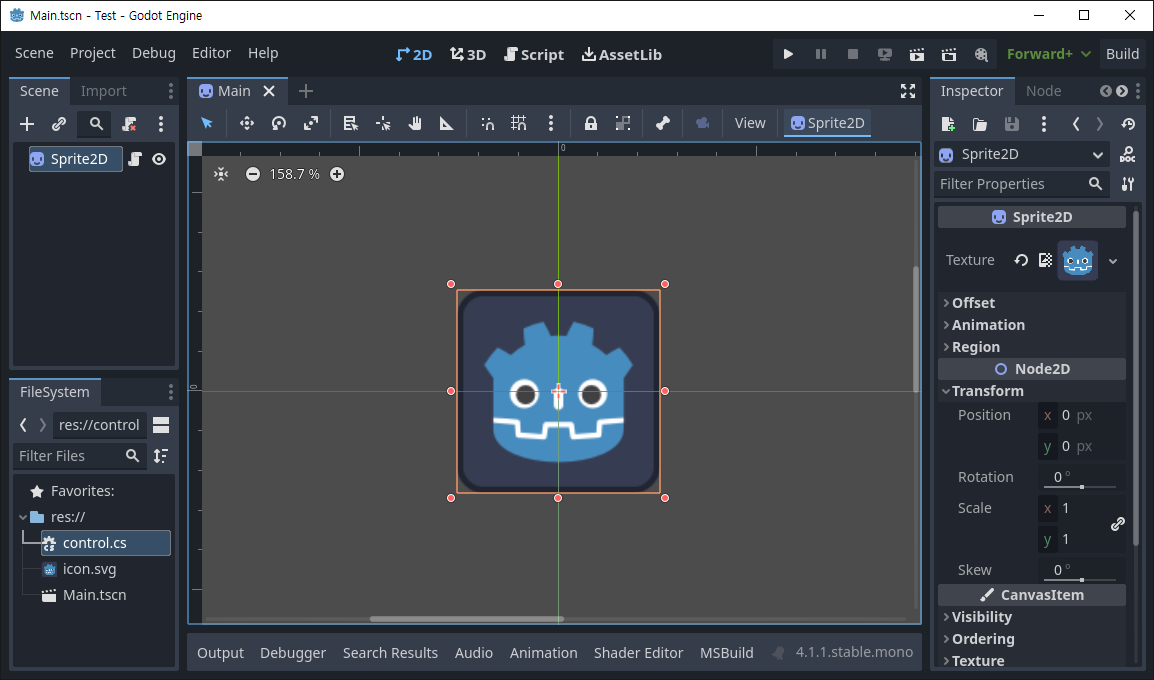
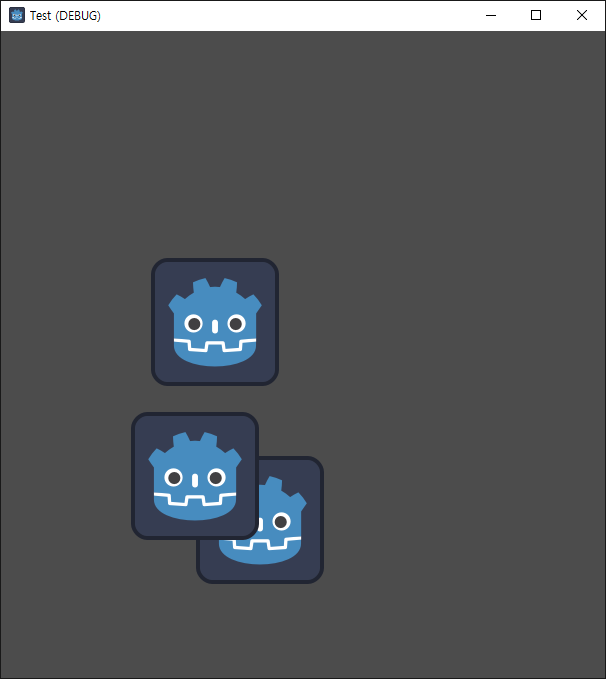
마우스 커서를 보이지 않게 하자.
|
1
2
3
4
|
public override void _Ready()
{
Input.MouseMode = Input.MouseModeEnum.ConfinedHidden;
}
|
Input.MouseModeEnum.Hidden을 사용하면 마우스 커서가 게임 화면 안에 있을때만 보이지 않는다.
게임 화면 밖으로 나가면 보이기 때문에 전체 화면으로 게임을 실행해도 화면 끝에서 보일 수 있다.
반응형
'Godot' 카테고리의 다른 글
| [Godot] Access Another Script 다른 스크립트에 접근하기 (0) | 2023.09.25 |
|---|---|
| [Godot] Ambient Light for 2D 환경광 주변광 (0) | 2023.09.24 |
| [Godot] One Way Collision 한 쪽 방향으로만 충돌 체크 (0) | 2023.09.21 |
| [Godot] Character Move with Tween 캐릭터 이동(트윈) (0) | 2023.09.21 |
| [Godot] Character Double Jump 캐릭터 이중 점프 (0) | 2023.09.20 |


