반응형

OpenPose 소스를 컴파일하고 실행해 보자.


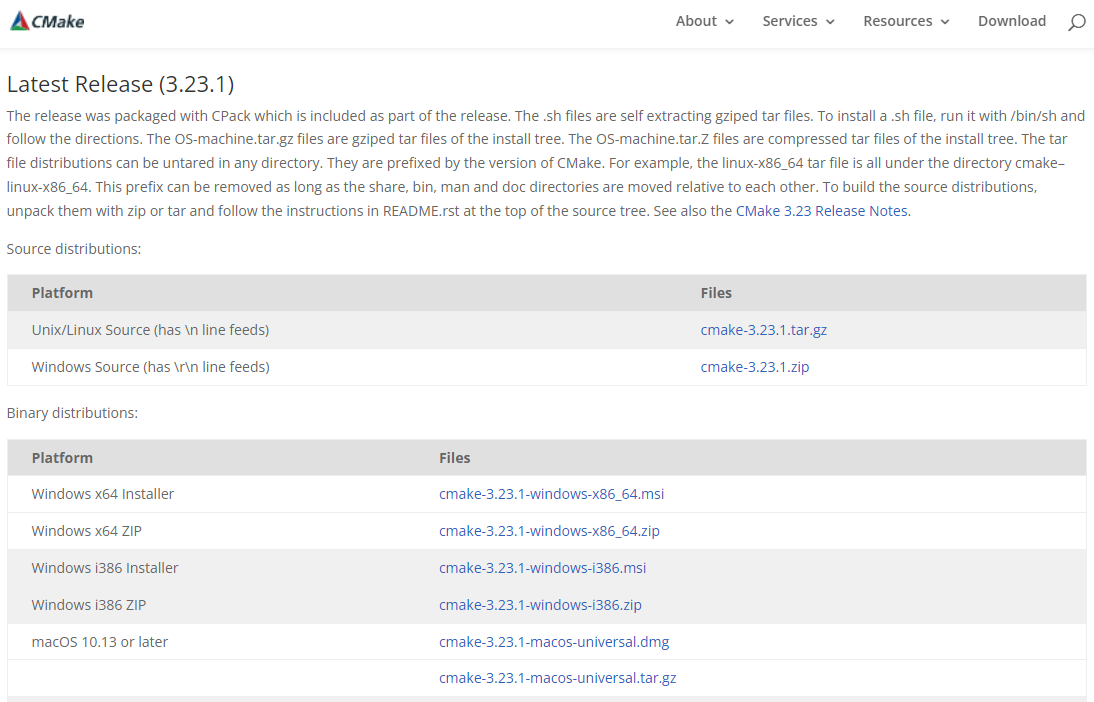
CMake를 다운로드하고 설치한다.


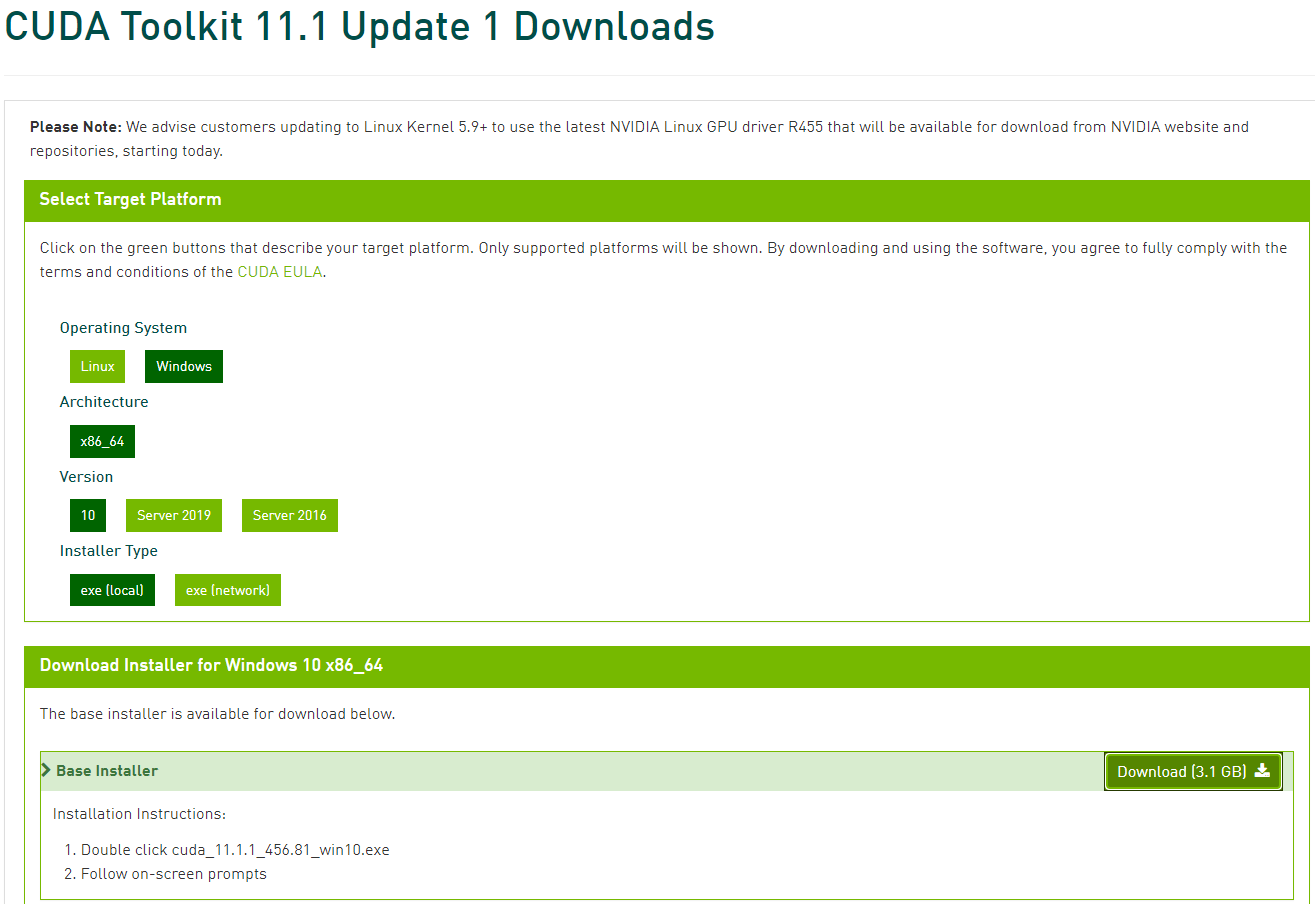
CUDA Toolkit 11.1.1을 다운로드하고 설치한다.


권장옵션으로 설치한다.


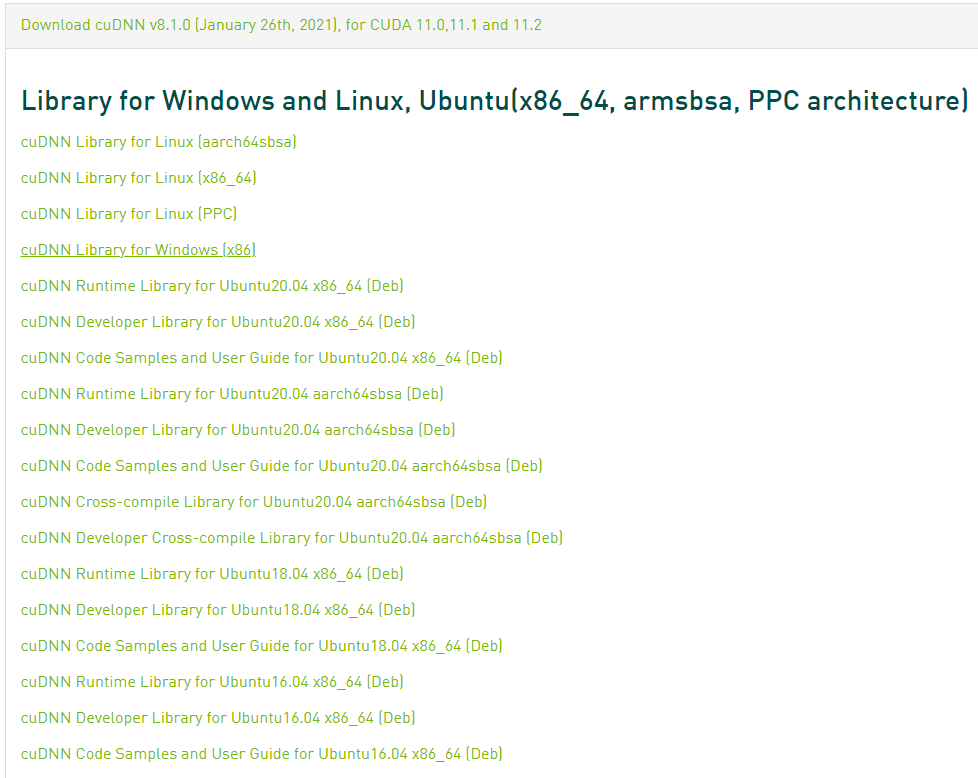
cuDNN 8.1.0을 다운로드한다. (NVIDIA 로그인이 필요하다)


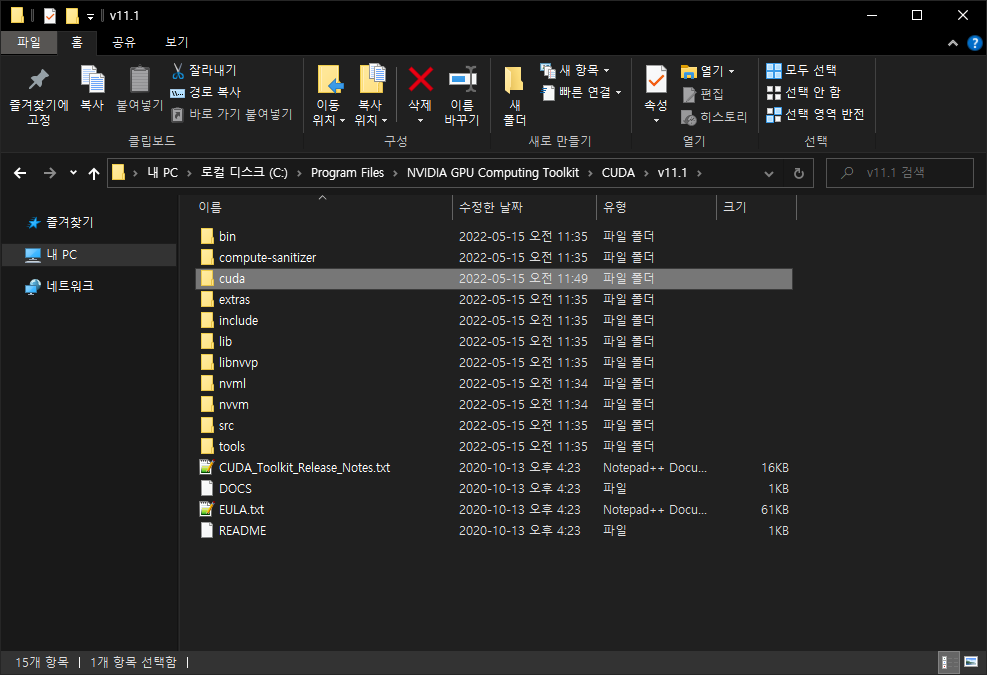
다운로드한 cuDNN 압축을 풀고 cuda 폴더를 위 경로에 복사한다.


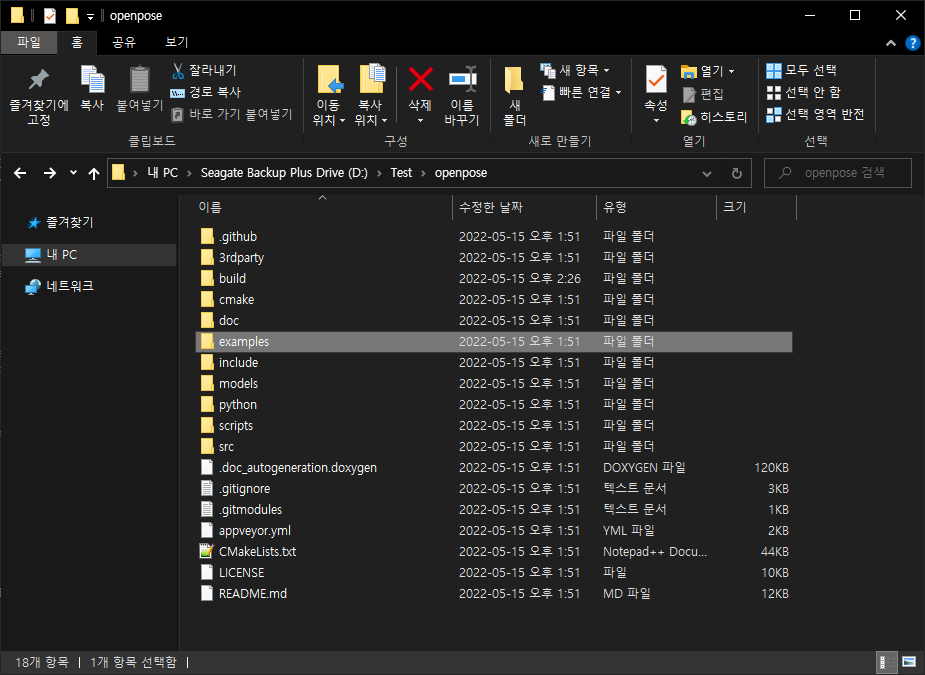
적당한 디렉토리에 OpenPose를 클론한다.


git clone https://github.com/CMU-Perceptual-Computing-Lab/openpose

cd openpose

git submodule update --init --recursive --remote


build 폴더를 만든다.


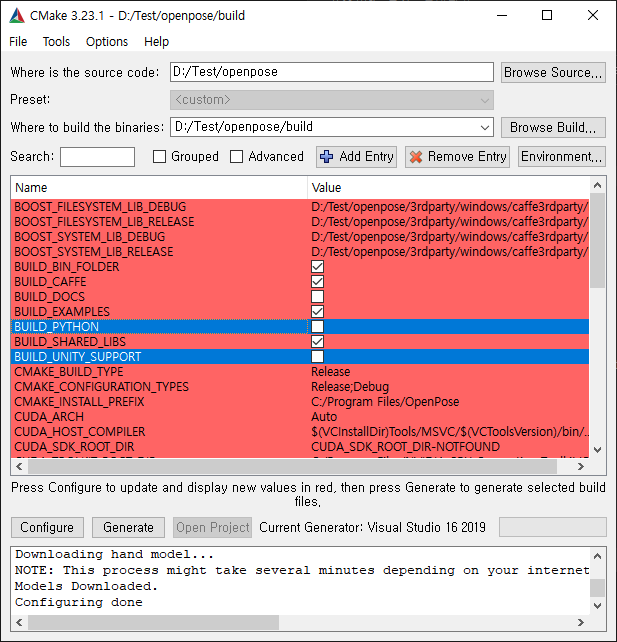
CMake를 실행하고 경로를 설정한다. 그리고 Configure를 클릭한다.


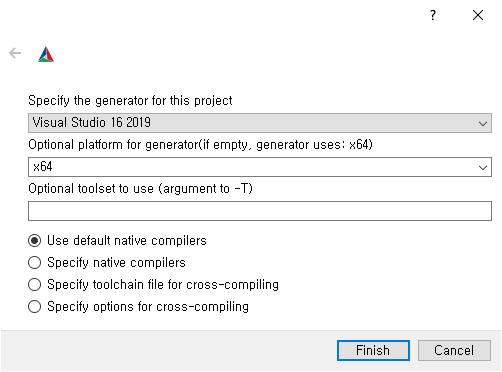
위와 같이 설정하고 Finish를 클릭한다.


Configuring이 끝나면 Generate를 클릭한다.

Python이나 Unity에서 사용한다면 옵션을 선택한다.

(Configure에서 x64를 선택했다면 64비트 Python이 필요하다)
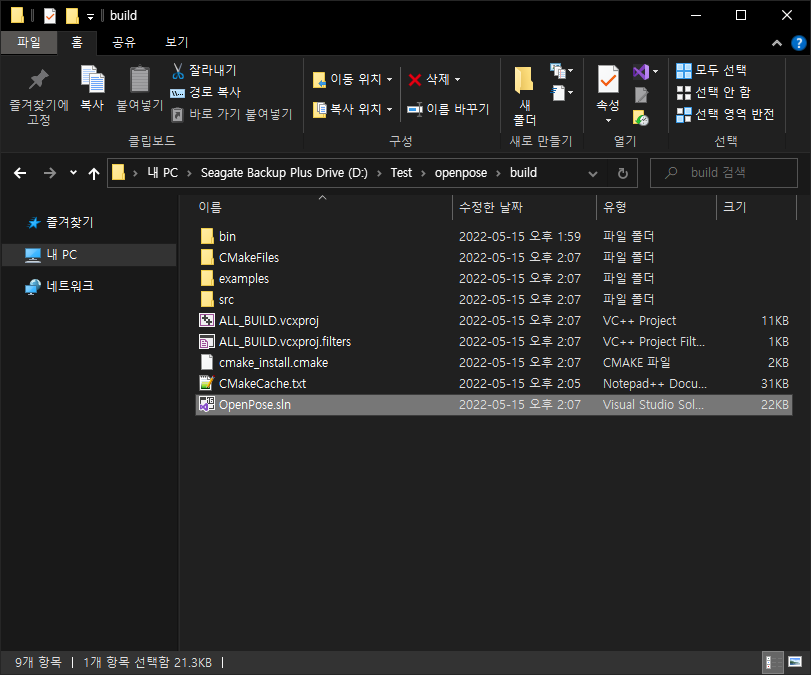
 

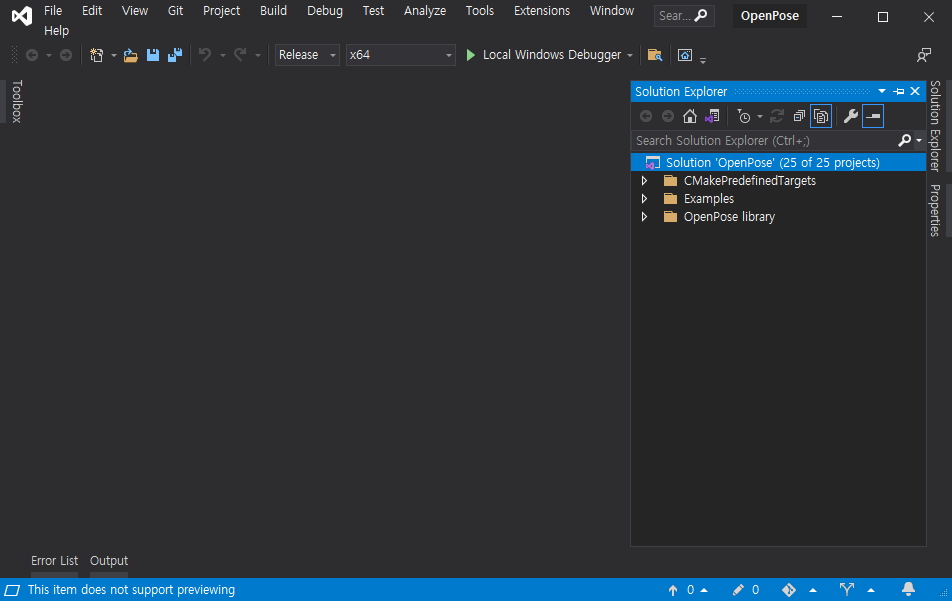
OpenPose.sln을 실행한다.


Solution Configurations를 Release로 바꾸고 빌드한다.

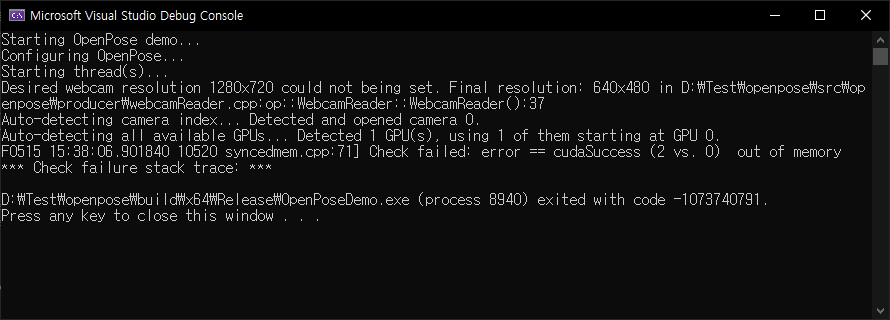
빌드가 완료되면 실행(Ctrl+F5)한다. OpenPoseDemo가 실행된다.


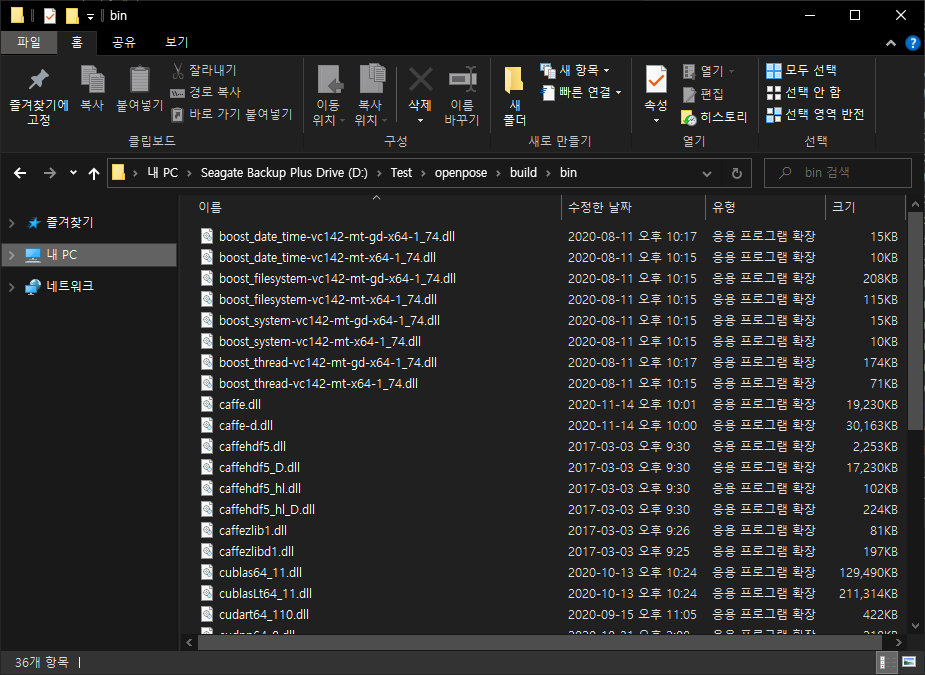
Visual Studio 외부에서 OpenPoseDemo.exe나 다른 예제를 실행하려면 아래 파일과 폴더를 같은 폴더에 복사해야 한다.


bin 폴더의 모든 파일을 실행파일이 있는 폴더에 복사한다.


models 폴더를 실행파일이 있는 폴더에 복사한다.


예제에 따라 examples 폴더가 필요할 수도 있다.


생각보다 메모리가 많이 필요하다.


※ 참고

OpenPose Installation

반응형

'OpenCV' 카테고리의 다른 글

GDI+ and OpenCV - Bitmap to Mat & Mat to Bitmap Conversion  (0) 2022.01.02
OpenCV with C# and Camera  (0) 2021.12.29
OpenCvSharp for Network  (0) 2021.12.28
OpenCV with C#  (0) 2021.11.20
OpenCV with Qt and MSVC in Windows  (0) 2021.09.26
Posted by J-sean
:
반응형

리눅스(우분투) 서버에 X Window(GUI)를 설치해 보자.


sudo apt update를 실행해서 package list를 업데이트한다.


업데이트가 완료되면 sudo apt upgrade를 실행해서 package를 upgrade/install/remove한다.


sudo apt install ubuntu-desktop-minimal 명령으로 X Window 설치를 진행한다.


sudo apt install ubuntu-desktop-minimal: 최소 설치

sudo apt install ubuntu-desktop: 전체 설치


1,695 MB의 디스크 공간이 필요하다. 설치는 꽤 오랫동안 진행된다.


설치가 완료되면 startx 명령어로 X Window를 실행한다.


Welcome! 이라고 한다.


키보드를 선택한다.


내 위치정보를 공개할지 선택한다.


간단한 설정이 완료되었다.


재부팅이 필요하다.


재부팅하면 바로 X Window가 실행된다. 로그인 하자.


X Window 화면이 나타난다.


부팅시 X Window가 자동 실행되지 않도록 하려면 아래 명령어를 입력한다.


sudo systemctl set-default multi-user


부팅시 다시 X Window가 자동 실행되게 하려면 아래 명령어를 입력한다.


sudo systemctl set-default graphical


직접 Run Level을 변경해 X Window 자동 실행 여부를 결정할 수 도 있다. 현재 default.target은 graphical.target을 가리키고 있다.


multi-user.target을 가리키도록 변경한다.


재부팅하면 X Window가 아닌 Console로 부팅된다.


startx를 실행하면 약간 다른 모양의 X Window가 실행된다.


Log Out 해 보자.


다시 콘솔 화면으로 돌아간다.


X Window로 부팅하려면 아래 명령어를 입력한다.

sudo ln -sf /lib/systemd/system/graphical.target /lib/sytemd/system/default.target


반응형
Posted by J-sean
:
반응형

Python comes preinstalled on most Linux distributions and is available as a package on all others. However, there are certain features you might want to use that are not available on your distro’s package. You can easily compile the latest version of Python from the source.


대부분의 리눅스에는 파이썬이 포함되어 있어 바로 사용할 수 있지만 최신 버전의 파이썬 소스를 직접 컴파일해 사용할 수 도 있다.


파이썬 홈페이지에서 소스 파일 링크 주소를 확인 한다.


wget으로 소스코드를 다운 받는다.


다운 받은 소스 코드 확인.


--enable-optimizations 옵션과 함께 configure를 실행 한다.


make가 없다면 설치 한다.


make로 컴파일 한다. 지정된 디렉토리에 설치 하고 싶다면 make 실행 후 make altinstall 까지 진행 한다.


Warning: make install can overwrite or masquerade the python3 binary. make altinstall is therefore recommended instead of make install since it only installs exec_prefix/bin/pythonversion.


exec_prefix (${exec_prefix}) is installation-dependent and should be interpreted as for GNU software. For example, on most Linux systems, the default is /usr.


./python을 실행하면 컴파일된 파이썬이 실행 된다.


간단히 python명령어로 실행하기 위해 /usr/bin에 소프트 링크를 만들어 준다.


파이썬 홈페이지에서 다운 받았던 압축 파일은 삭제 한다.


dnf로 최신 버전 파이썬을 간단히 설치 할 수 도 있다.


설치가 완료되면 파이썬[버전] 형식으로 실행 할 수 있다.


Python package installer인 pip도 설치 한다. 


pip3 --version 명령으로 pip버전을 확인할 수 있다.


반응형
Posted by J-sean
:
반응형

Explains how to install MariaDB in Fedora Linux.


2021.08.28 - [Linux] - Linux(Ubuntu) MariaDB(MySQL) Server Remote Access - 데이터베이스 원격 접


Generate custom MariaDB YUM repository under '/etc/yum.repos.d/' and name the file 'MariaDB.repo' or something similar.


Setting up MariaDB Repositories


With the repo file in place, MariaDB can be installed with:

sudo dnf install MariaDB-server


Start and enable the service.


Open MariaDB Server port.


continues.......


반응형
Posted by J-sean
: