Python Coroutines and Tasks 파이썬 코루틴과 태스크
Python 2023. 9. 11. 11:17 |반응형
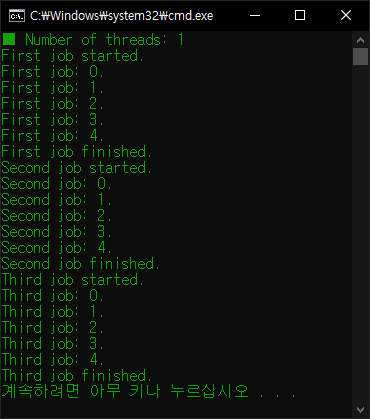
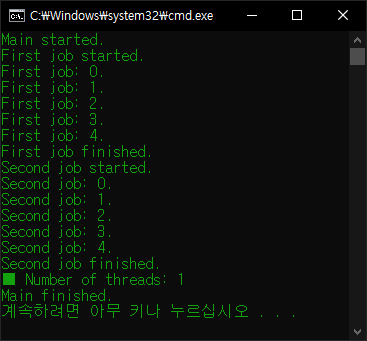
파이썬에서 여러 작업을 코루틴으로 동시에 진행해 보자.
|
1
2
3
4
5
6
7
8
9
10
11
12
13
14
15
16
17
18
19
20
21
22
23
24
25
26
27
28
29
30
31
32
33
34
35
36
37
38
39
40
41
42
43
44
|
import asyncio
import time
async def show_text(text, delay):
for i in range(5):
print(text + " " + str(i))
await asyncio.sleep(delay)
# coroutine asyncio.sleep(delay, result=None)
# Block for delay seconds. If result is provided,
# it is returned to the caller when the coroutine
# completes. sleep() always suspends the current
# task, allowing other tasks to run.
return text
async def main():
#result = await asyncio.gather(
# show_text("first", 0.5),
# show_text("second", 0.5),
# show_text("third", 1)
# )
#print(result)
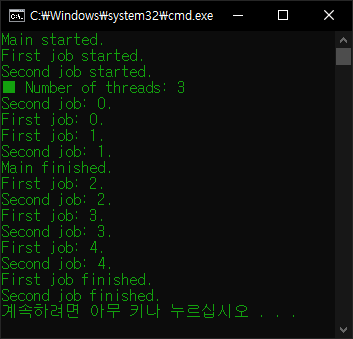
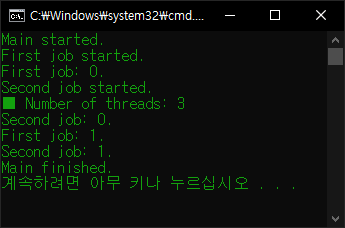
task1 = asyncio.create_task(show_text("first", 0.5))
task2 = asyncio.create_task(show_text("second", 0.5))
task3 = asyncio.create_task(show_text("third", 1))
# The asyncio.create_task() function to run coroutines
# concurrently as asyncio Tasks.
await task1
await task2
await task3
# Awaiting on a coroutine.
print("result: " + task1.result())
print("result: " + task2.result())
print("result: " + task3.result())
if __name__ == "__main__":
start = time.time()
asyncio.run(main())
# The asyncio.run() function to run the top-level
# entry point “main()” function.
end = time.time()
print(end - start)
|
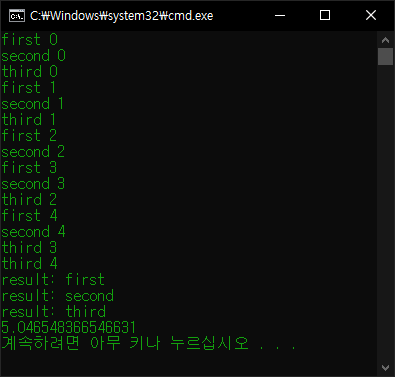
첫 번째, 두 번째, 세 번째 작업의 소요시간 총 합이 아닌, 가장 긴 작업 시간을 가진 세 번째 작업의 소요시간인 5초가 걸린다.
반응형
'Python' 카테고리의 다른 글
| Python PyOpenGL (0) | 2023.09.11 |
|---|---|
| Python Coroutines 파이썬 코루틴 (0) | 2023.09.11 |
| Python Multi Thread Class 파이썬 멀티 스레드 클래스 (0) | 2023.09.10 |
| Python Multi Thread 파이썬 멀티 스레드 (0) | 2023.09.10 |
| [Pygame] Cursor 파이게임 커서 (0) | 2023.09.10 |