[Pygame] Loading Image 파이게임 이미지 로드하고 출력하기
Python 2023. 9. 2. 19:44 |반응형
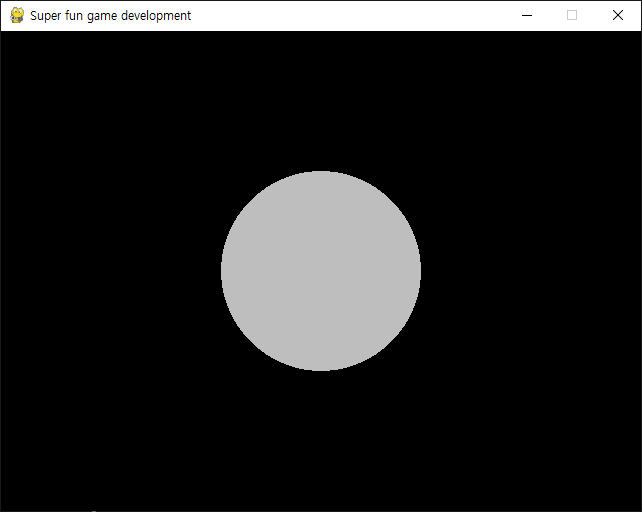
이미지를 로드하고 출력해 보자.
|
1
2
3
4
5
6
7
8
9
10
11
12
13
14
15
16
17
18
19
20
21
22
23
24
25
26
27
28
29
30
31
32
33
34
35
36
|
import pygame
pygame.init()
pygame.display.set_caption("Super fun game development")
screen = pygame.display.set_mode((640, 480))
clock = pygame.time.Clock()
running = True
player = pygame.image.load("player.png").convert()
# 플레이어 이미지를 로드하고 디스플레이와 일치하는 color format과 depth로 변환한다.
player.set_colorkey(player.get_at((0, 0)))
# 이미지의 (0, 0) 픽셀을 colorkey로 사용한다. (0, 0) 픽셀과 같은 색상은 투명하게
# 표시된다.
player_size = (player.get_width()*1.5, player.get_height()*1.5)
player = pygame.transform.scale(player, player_size)
# 이미지를 1.5배 확대한다.
player_pos = player.get_rect()
player_pos.center = (screen.get_width()/2, screen.get_height()/2)
# 이미지의 위치를 화면 중앙으로 설정한다.
while running:
for event in pygame.event.get():
if event.type == pygame.QUIT:
running = False
elif event.type == pygame.KEYDOWN and event.key == pygame.K_ESCAPE:
running = False
screen.fill("black")
screen.blit(player, player_pos)
# 스크린에 이미지를 출력한다.
pygame.display.flip()
clock.tick(60)
pygame.quit()
|


반응형
'Python' 카테고리의 다른 글
| [Pygame] Moving Character 파이게임 캐릭터 움직이기 (0) | 2023.09.02 |
|---|---|
| [Pygame] Loading Sound 파이게임 사운드 로드하고 출력하기 (0) | 2023.09.02 |
| [Pygame] Basic Setup 파이게임 기본 셋업 (0) | 2023.09.02 |
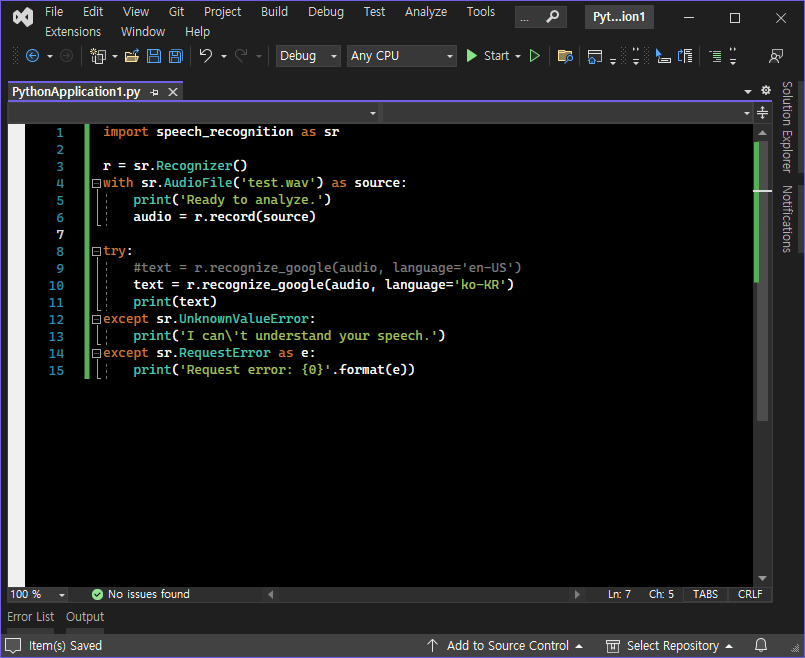
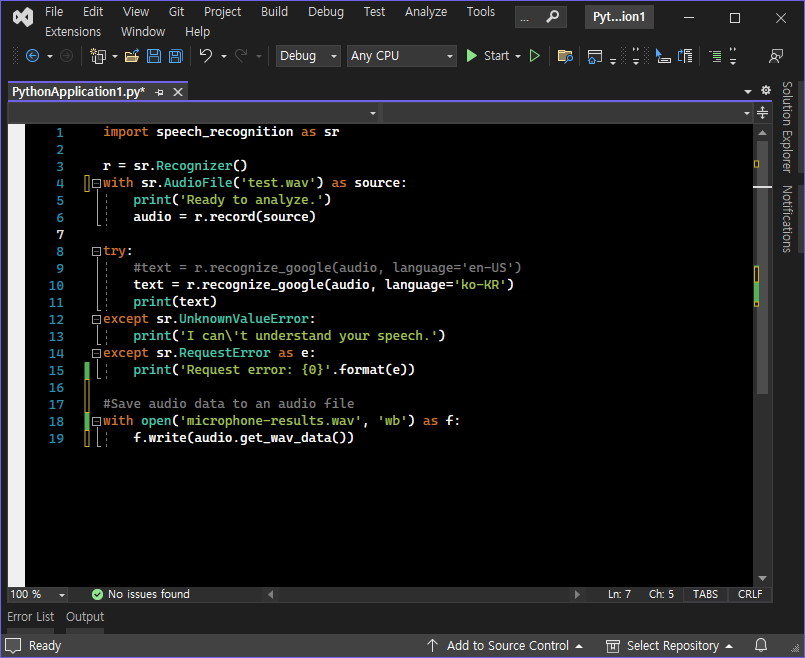
| Speech to Text - Speech Recognition (0) | 2023.05.01 |
| Text To Speech - gTTS (0) | 2023.04.30 |