

[Pygame] Box2D 파이게임 물리 라이브러리
Python 2024. 1. 28. 15:53 |반응형
파이게임과 2D Rigid Body Simulation Library Box2D를 사용해 보자.
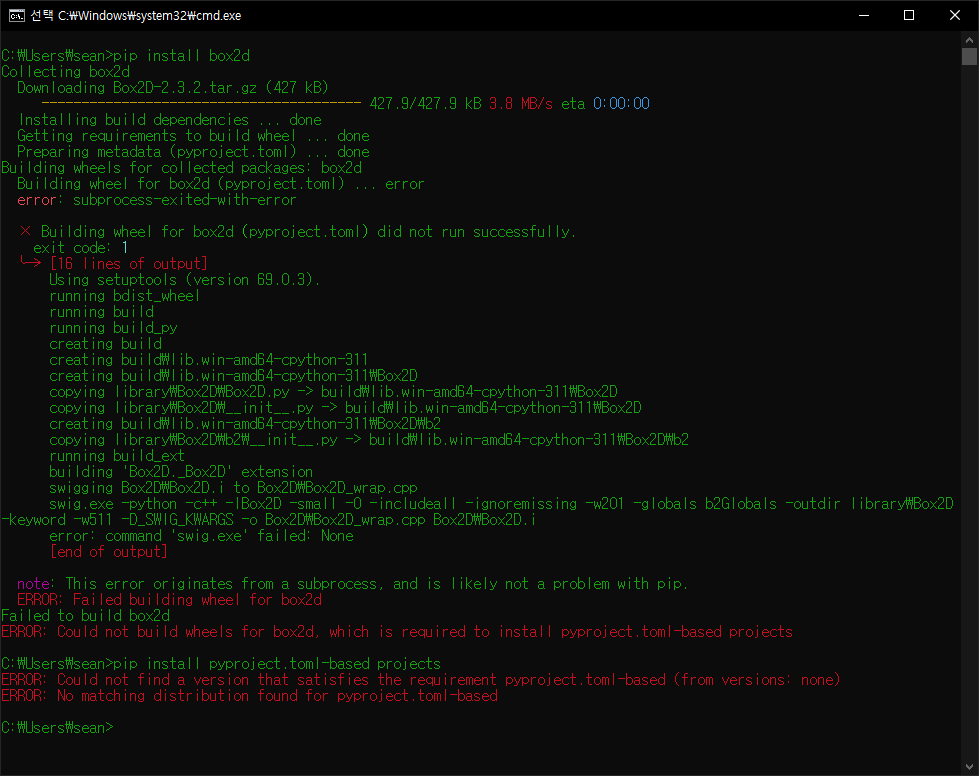
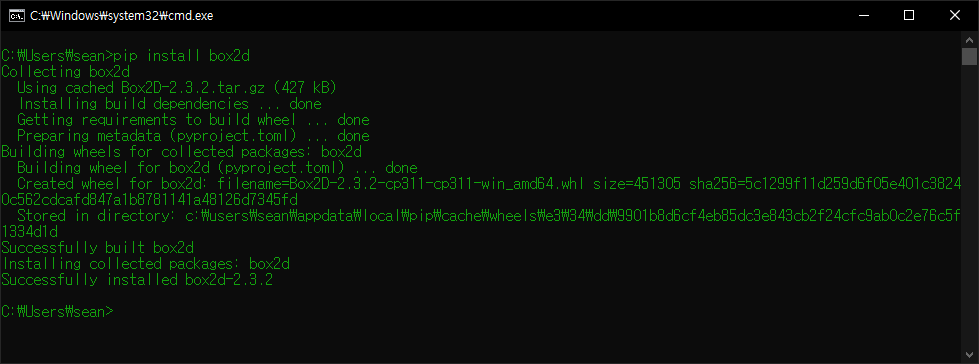
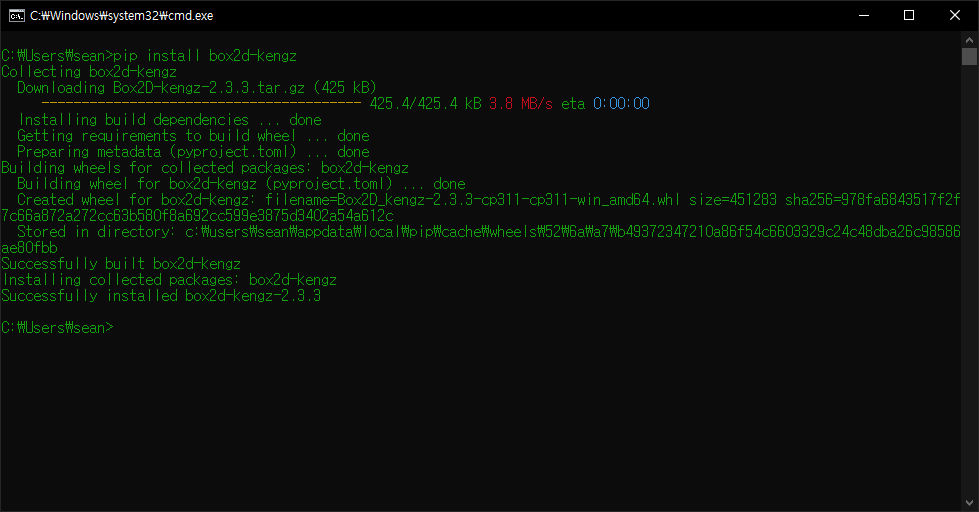
다음 명령어로 Box2D를 설치한다.
pip install box2d
|
1
2
3
4
5
6
7
8
9
10
11
12
13
14
15
16
17
18
19
20
21
22
23
24
25
26
27
28
29
30
31
32
33
34
35
36
37
38
39
40
41
42
43
44
45
46
47
48
49
50
51
52
53
54
55
56
57
58
59
60
61
62
63
64
65
66
67
68
69
70
71
72
73
74
75
76
77
78
79
80
81
82
83
84
85
86
87
88
89
|
import math
import pygame
from Box2D import *
pygame.init()
pygame.display.set_caption("Physics Test")
screen = pygame.display.set_mode((640, 480))
running = True
player = pygame.image.load("player.png").convert()
# World 정의
world = b2World(gravity=(0, 9.8), doSleep=True)
# Ground 정의
groundBodyDef = b2BodyDef()
groundBodyDef.position = (0, 400)
groundBody = world.CreateBody(groundBodyDef)
groundShape = b2PolygonShape()
groundShape.SetAsBox(500, 0)
groundBody.CreateFixture(shape=groundShape)
#groundBody = world.CreateStaticBody(position=(0, 400), shapes=b2PolygonShape(box=(500, 0)))
# 위 정의와 동일
# Wall 정의
wallBodyDef = b2BodyDef()
wallBodyDef.position = (300, 0)
wallBody = world.CreateBody(wallBodyDef)
wallShape = b2PolygonShape()
wallShape.SetAsBox(0, 400)
wallBody.CreateFixture(shape=wallShape)
#wallBody = world.CreateStaticBody(position=(300, 0), shapes=b2PolygonShape(box=(0, 400)))
# 위 정의와 동일
# Player 정의
playerBodyDef = b2BodyDef()
playerBodyDef.type = b2_dynamicBody;
playerBodyDef.position = (0, 0)
playerBodyDef.linearVelocity = (50, 0)
playerBodyDef.angularVelocity = 0.2
playerBody = world.CreateBody(playerBodyDef)
playerShape = b2PolygonShape()
playerShape.SetAsBox(player.get_width()/2, player.get_height()/2)
playerFixtureDef = b2FixtureDef(shape=playerShape)
playerFixtureDef.density = 1
playerFixtureDef.friction = 0.5
playerFixtureDef.restitution = 0.7
playerBody.CreateFixture(playerFixtureDef)
#playerBody = world.CreateDynamicBody(position=(0, 0), linearVelocity=(50, 0),
# angularVelocity=0.2)
#playerFixtureDef = playerBody.CreatePolygonFixture(box=(player.get_width()/2,
# player.get_height()/2), density=1, friction=0.5, restitution=0.7)
# 위 정의와 동일
timeStep = 1.0 / 300
vel_iters, pos_iters = 6, 2
while running:
for event in pygame.event.get():
if event.type == pygame.QUIT:
running = False
elif event.type == pygame.KEYDOWN and event.key == pygame.K_SPACE:
playerBody.transform = ((0, 0), 0)
playerBody.linearVelocity = (50, 0)
playerBody.angularVelocity = 0.2
elif event.type == pygame.KEYDOWN and event.key == pygame.K_ESCAPE:
running = False
# Instruct the world to perform a single step of simulation. It is
# generally best to keep the time step and iterations fixed.
world.Step(timeStep, vel_iters, pos_iters)
# Clear applied body forces. We didn't apply any forces, but you
# should know about this function.
world.ClearForces()
screen.fill("white")
pygame.draw.rect(screen, "brown", (0, 400, 600, 20)) # Ground 그리기
pygame.draw.rect(screen, "black", (300, 0, 20, 400)) # Wall 그리기
rotated_player = pygame.transform.rotate(player, playerBody.angle * 180/math.pi)
# Unless rotating by 90 degree increments, the image will be padded larger to hold
# the new size. If the image has pixel alphas, the padded area will be transparent.
# Otherwise pygame will pick a color that matches the Surface colorkey or the topleft
# pixel value.
screen.blit(rotated_player, (playerBody.position[0] - rotated_player.get_width()/2,
playerBody.position[1] - rotated_player.get_height()/2))
pygame.display.flip()
pygame.quit()
|
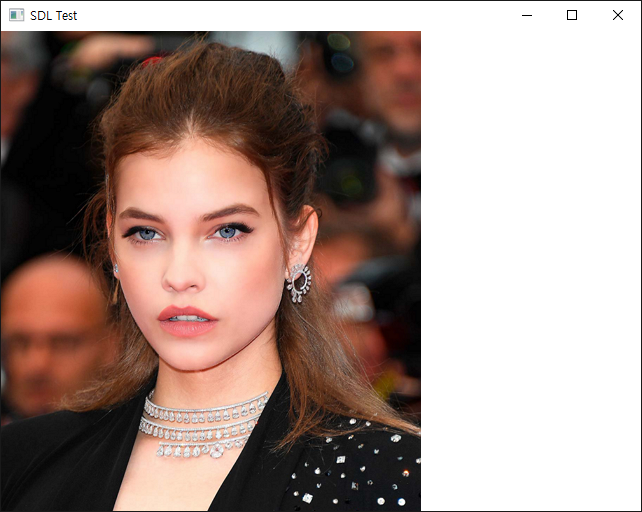
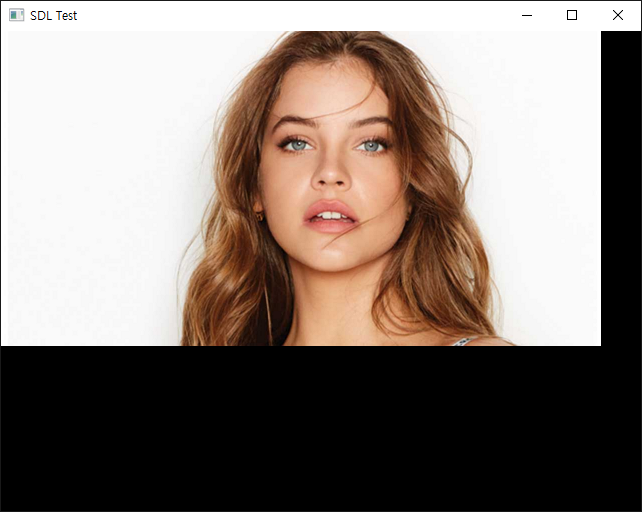
코드를 입력하고 실행한다.
pygame.transform.rotate()
rotate an image
rotate(surface, angle) -> Surface
Unfiltered counterclockwise rotation. The angle argument represents degrees and can be any floating point value. Negative angle amounts will rotate clockwise.
Unless rotating by 90 degree increments, the image will be padded larger to hold the new size. If the image has pixel alphas, the padded area will be transparent. Otherwise pygame will pick a color that matches the Surface colorkey or the topleft pixel value.
아래 링크에서 GUI를 구현해 본다.
2024.01.29 - [Python] - [Pygame] Pygame GUI 파이게임 그래픽 유저 인터페이스
※ 참고
반응형
'Python' 카테고리의 다른 글
| [Pygame] Pygame Simple Camera 파이게임 간단한 카메라 (0) | 2024.02.02 |
|---|---|
| [Pygame] Pygame GUI 파이게임 그래픽 유저 인터페이스 (0) | 2024.01.29 |
| pypdf Splitting, Merging, Cropping, and Transforming the Pages of PDF File 파이썬 PDF 파일 분할, 병합, 자르기, 회전(변형) (1) | 2024.01.06 |
| Pillow PDF Converter PDF 변환기 (2) | 2024.01.06 |
| Python C/C++ Library Wrapper 파이썬 C/C++ 라이브러리 연동 (1) | 2023.12.17 |


