
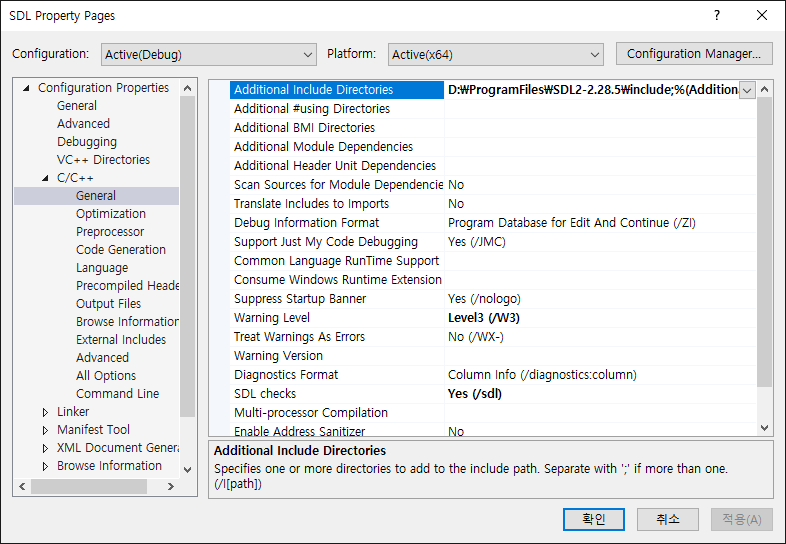
[SDL] SDL_image Image Rendering - SDL 이미지 렌더링
C, C++ 2024. 1. 23. 19:55 |반응형
SDL 기본 라이브러리는 BMP 형식의 이미지만 처리할 수 있다. JPG나 PNG 형식을 처리하기 위해서는 SDL_image 라이브러리가 필요하다.
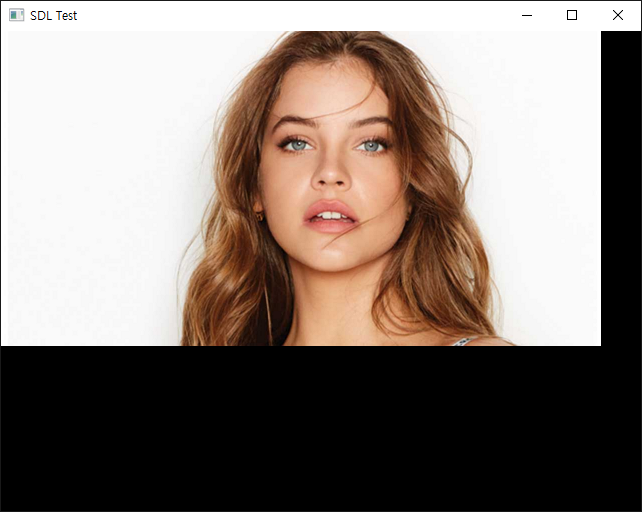
우선 SDL 기본 라이브러리로 BMP 이미지를 렌더링 해 보자.
|
1
2
3
4
5
6
7
8
9
10
11
12
13
14
15
16
17
18
19
20
21
22
23
24
25
26
27
28
29
30
31
32
33
34
35
36
37
38
39
40
41
42
43
44
45
46
47
48
49
50
51
52
53
54
55
56
57
58
59
60
61
62
63
64
65
66
67
68
69
70
71
72
73
74
75
76
77
78
79
80
81
|
#include <iostream>
#include "SDL.h"
#pragma comment(lib, "sdl2.lib")
#pragma comment(lib, "sdl2main.lib")
int main(int argc, char* argv[]) {
if (SDL_Init(SDL_INIT_VIDEO) < 0) {
printf("SDL Initialization Fail: %s\n", SDL_GetError());
return -1;
}
SDL_Window* window = SDL_CreateWindow("SDL Test", SDL_WINDOWPOS_UNDEFINED,
SDL_WINDOWPOS_UNDEFINED, 640, 480, SDL_WINDOW_RESIZABLE);
if (!window) {
printf("SDL_CreateWindow Error: %s\n", SDL_GetError());
SDL_Quit();
return -1;
}
SDL_Renderer* renderer = SDL_CreateRenderer(window, -1, 0);
SDL_Surface* bmpSurface = SDL_LoadBMP("image.bmp");
// Load a BMP image from a file path.
if (bmpSurface == NULL) {
SDL_DestroyRenderer(renderer);
SDL_DestroyWindow(window);
printf("SDL_LoadBMP Error: %s\n", SDL_GetError());
SDL_Quit();
return -1;
}
SDL_Rect destRect = { 0, 0, bmpSurface->w, bmpSurface->h };
SDL_Texture* texture = SDL_CreateTextureFromSurface(renderer, bmpSurface);
// Create a texture from an existing surface.
if (texture == NULL) {
SDL_FreeSurface(bmpSurface);
// Free an RGB surface.
SDL_DestroyRenderer(renderer);
SDL_DestroyWindow(window);
printf("SDL_CreateTextureFromSurface Error: %s\n", SDL_GetError());
SDL_Quit();
return -1;
}
SDL_FreeSurface(bmpSurface);
SDL_Event event;
bool quit = false;
while (!quit) {
while (SDL_PollEvent(&event)) {
switch (event.type) {
case SDL_QUIT:
quit = true;
break;
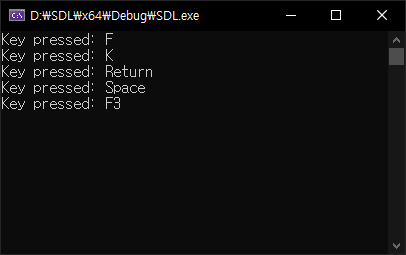
case SDL_KEYDOWN:
printf("Key pressed: %s\n", SDL_GetKeyName(event.key.keysym.sym));
if (event.key.keysym.sym == SDLK_ESCAPE)
quit = true;
break;
default:
break;
}
}
SDL_SetRenderDrawColor(renderer, 255, 255, 255, SDL_ALPHA_OPAQUE);
SDL_RenderClear(renderer);
SDL_RenderCopy(renderer, texture, NULL, &destRect);
// Copy a portion of the texture to the current rendering target.
SDL_RenderPresent(renderer);
}
SDL_DestroyTexture(texture);
// Destroy the specified texture.
SDL_DestroyRenderer(renderer);
SDL_DestroyWindow(window);
SDL_Quit();
return 0;
}
|
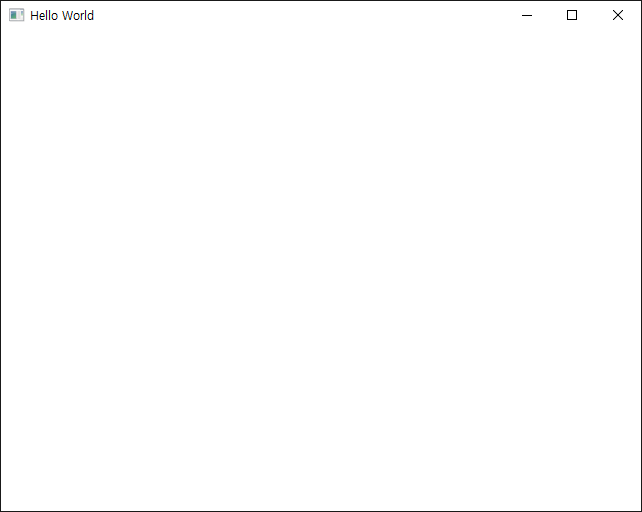
코드를 작성하고 빌드한다.

만약 그래픽 카드의 지원을 받을 수 없는 Embedded System 등에서 소프트웨어 방식의 렌더링만 사용할 수 있다면 Texture, Renderer 를 사용하지 않고 Window Surface, BMP Surface 를 사용해 직접 화면에 이미지를 출력할 수 있다.
|
1
2
3
4
5
6
7
8
9
10
11
12
13
14
15
16
17
18
19
20
21
22
23
24
25
26
27
28
29
30
31
32
33
34
35
36
37
38
39
40
41
42
43
44
45
46
47
48
49
50
51
52
53
54
55
56
57
58
59
60
61
62
63
64
65
66
67
68
69
70
|
#include <iostream>
#include "SDL.h"
#pragma comment(lib, "sdl2.lib")
#pragma comment(lib, "sdl2main.lib")
int main(int argc, char* argv[]) {
if (SDL_Init(SDL_INIT_VIDEO) < 0) {
printf("SDL Initialization Fail: %s\n", SDL_GetError());
return -1;
}
SDL_Window* window = SDL_CreateWindow("SDL Test", SDL_WINDOWPOS_UNDEFINED,
SDL_WINDOWPOS_UNDEFINED, 640, 480, SDL_WINDOW_RESIZABLE);
if (!window) {
printf("SDL_CreateWindow Error: %s\n", SDL_GetError());
SDL_Quit();
return -1;
}
SDL_Surface* windowSurface = SDL_GetWindowSurface(window);
// Get the SDL surface associated with the window.
// A new surface will be created with the optimal format for the window,
// if necessary. This surface will be freed when the window is destroyed.
// Do not free this surface.
// This surface will be invalidated if the window is resized. After resizing
// a window this function must be called again to return a valid surface.
// You may not combine this with 3D or the rendering API on this window.
SDL_Surface* bmpSurface = SDL_LoadBMP("image.bmp");
if (bmpSurface == NULL) {
SDL_DestroyWindow(window);
printf("SDL_LoadBMP Error: %s\n", SDL_GetError());
SDL_Quit();
return -1;
}
SDL_Event event;
bool quit = false;
while (!quit) {
while (SDL_PollEvent(&event)) {
switch (event.type) {
case SDL_QUIT:
quit = true;
break;
case SDL_KEYDOWN:
printf("Key pressed: %s\n", SDL_GetKeyName(event.key.keysym.sym));
if (event.key.keysym.sym == SDLK_ESCAPE)
quit = true;
break;
default:
break;
}
}
SDL_BlitSurface(bmpSurface, NULL, windowSurface, NULL);
// Use this function to perform a fast surface copy to a destination surface.
SDL_UpdateWindowSurface(window);
// Copy the window surface to the screen. This is the function you use to
// reflect any changes to the surface on the screen.
}
SDL_FreeSurface(bmpSurface);
SDL_DestroyWindow(window);
SDL_Quit();
return 0;
}
|
코드를 작성하고 빌드한다.
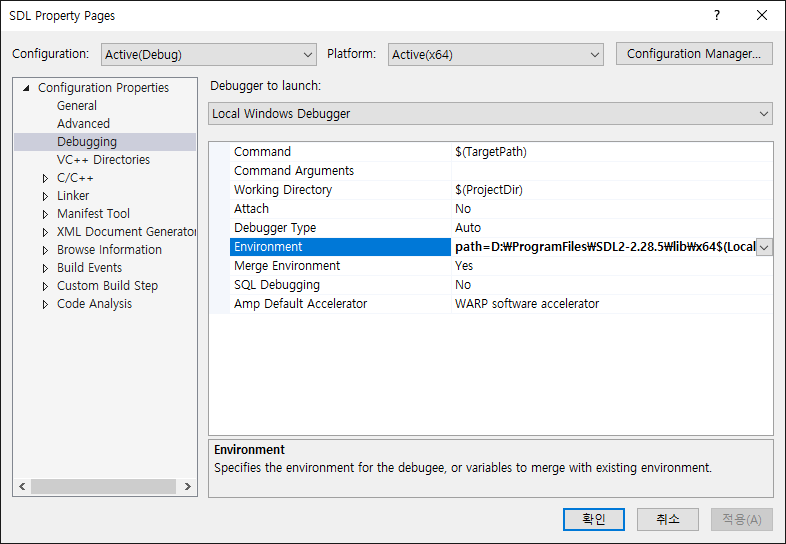
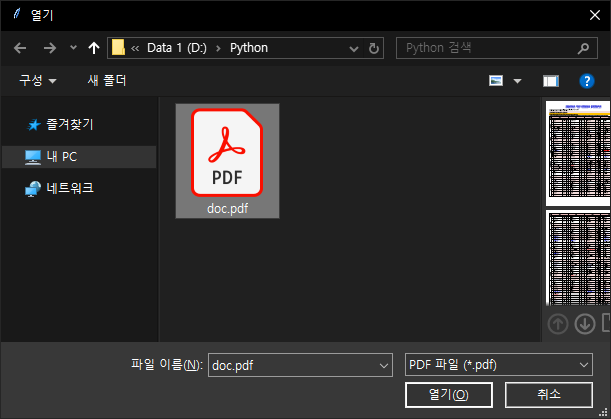
이번엔 SDL_image를 이용해 JPG, PNG 등의 이미지를 출력해 보자. 아래 링크에서 SDL_image를 다운받고 적당히 설치한다.
|
1
2
3
4
5
6
7
8
9
10
11
12
13
14
15
16
17
18
19
20
21
22
23
24
25
26
27
28
29
30
31
32
33
34
35
36
37
38
39
40
41
42
43
44
45
46
47
48
49
50
51
52
53
54
55
56
57
58
59
60
61
62
63
|
#include <iostream>
#include "SDL.h"
#include "SDL_image.h"
#pragma comment(lib, "sdl2.lib")
#pragma comment(lib, "sdl2main.lib")
#pragma comment(lib, "sdl2_image.lib")
int main(int argc, char* argv[]) {
SDL_Init(SDL_INIT_VIDEO);
SDL_Window* window = SDL_CreateWindow("SDL Test", SDL_WINDOWPOS_UNDEFINED,
SDL_WINDOWPOS_UNDEFINED, 640, 480, SDL_WINDOW_RESIZABLE);
SDL_Renderer* renderer = SDL_CreateRenderer(window, -1, SDL_RENDERER_ACCELERATED);
// SDL_RENDERER_SOFTWARE: the renderer is a software fallback
// SDL_RENDERER_ACCELERATED : the renderer uses hardware acceleration
// SDL_RENDERER_PRESENTVSYNC : present is synchronized with the refresh rate
// SDL_RENDERER_TARGETTEXTURE : the renderer supports rendering to texture
// Note that providing no flags gives priority to available SDL_RENDERER_ACCELERATED
// renderers.
IMG_Init(IMG_INIT_JPG | IMG_INIT_PNG);
// Initialize SDL_image.
SDL_Surface* imageSurface = IMG_Load("image.png");
// Load an image from a filesystem path into a software surface.
SDL_Texture* texture = SDL_CreateTextureFromSurface(renderer, imageSurface);
SDL_Rect destRect = { 0, 0, imageSurface->w, imageSurface->h };
SDL_Event event;
bool quit = false;
while (!quit) {
while (SDL_PollEvent(&event)) {
switch (event.type) {
case SDL_QUIT:
quit = true;
break;
case SDL_KEYDOWN:
printf("Key pressed: %s\n", SDL_GetKeyName(event.key.keysym.sym));
if (event.key.keysym.sym == SDLK_ESCAPE)
quit = true;
break;
default:
break;
}
}
//SDL_SetRenderDrawColor(renderer, 255, 255, 255, SDL_ALPHA_OPAQUE);
//SDL_RenderClear(renderer);
SDL_RenderCopy(renderer, texture, NULL, &destRect);
SDL_RenderPresent(renderer);
}
SDL_DestroyTexture(texture);
SDL_FreeSurface(imageSurface);
IMG_Quit();
// Deinitialize SDL_image.
SDL_DestroyRenderer(renderer);
SDL_DestroyWindow(window);
SDL_Quit();
return 0;
}
|
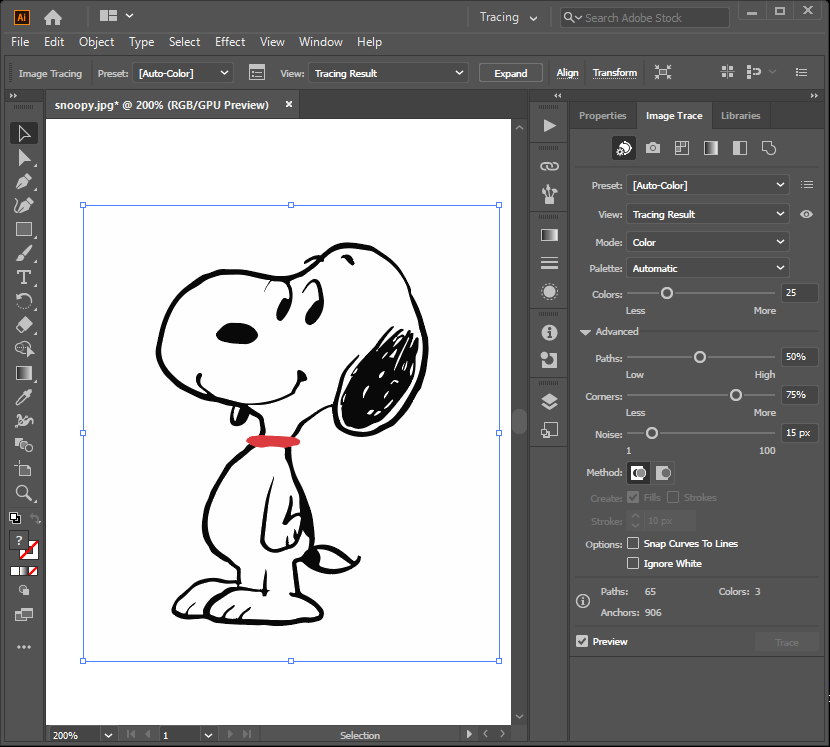
코드를 입력하고 빌드한다.

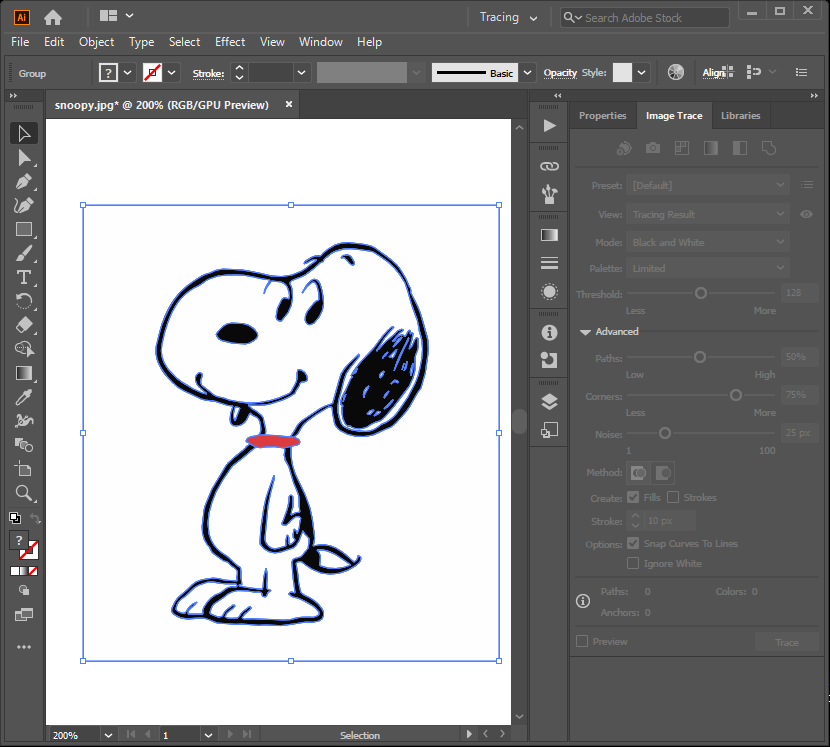
주석처리된 배경 처리 부분을 아래와 같이 해제하고 알파 채널이 있는 PNG 파일을 렌더링 해 보자.
SDL_SetRenderDrawColor(renderer, 0, 0, 255, SDL_ALPHA_OPAQUE);
SDL_RenderClear(renderer);

특별한 처리 없이도 알파 채널이 보존되어 투명한 부분이 잘 표현된다.
※ 참고
반응형
'C, C++' 카테고리의 다른 글
| [SDL] SDL_mixer Audio - SDL 믹서 오디오 (0) | 2024.01.24 |
|---|---|
| [SDL] SDL Image Color Key - SDL 이미지 컬러키 (0) | 2024.01.24 |
| [SDL] SDL_ttf Font Rendering - SDL 텍스트 폰트 렌더링 (1) | 2024.01.23 |
| [SDL] Simple DirectMedia Layer Setup and Getting Started - SDL 설정 및 초기화 (0) | 2024.01.22 |
| Qt platform plugin error fix (0) | 2021.09.26 |


