using Godot;
using System.Collections.Generic;
public partial class WaterBody : Node2D
{
public float k;
public float d;
public float spread;
public int passes;
public List<spring> springs;
public int spring_number;
public int distance_between_springs;
public int depth;
public int target_height;
public int bottom;
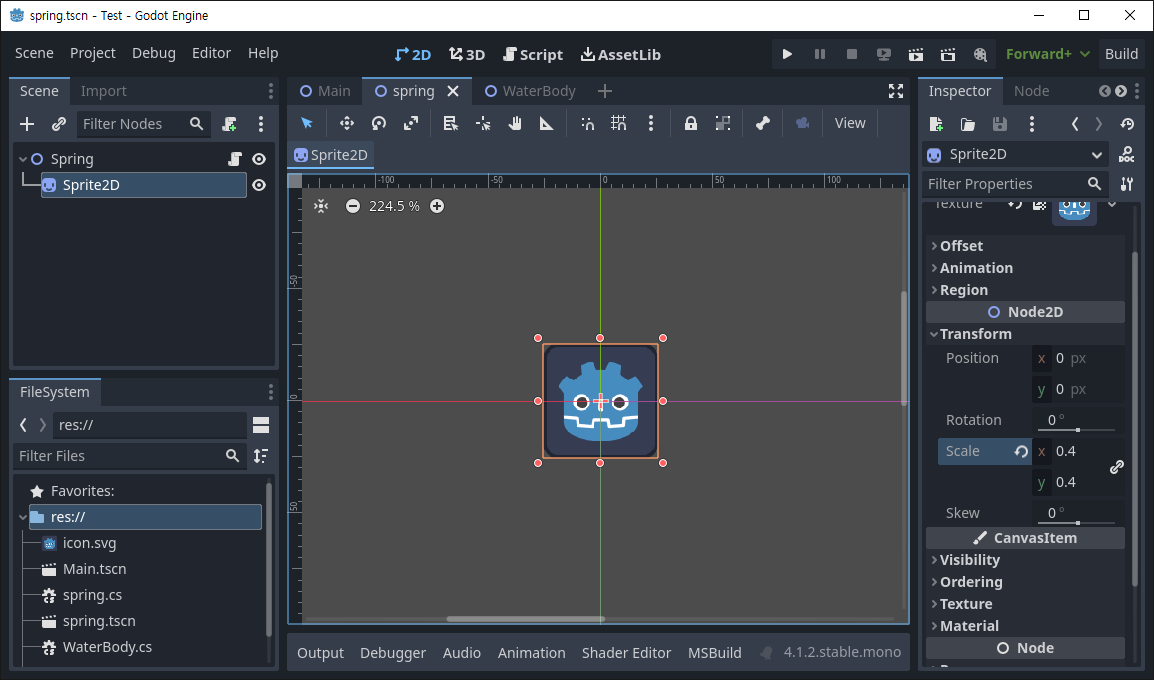
public PackedScene scene;
public Polygon2D water_polygon;
public Curve2D wave_position;
public override void _Ready()
{
k = 0.015f;
d = 0.05f;
spread = 0.0002f;
passes = 8;
depth = 1000;
bottom = (int)GlobalPosition.Y + depth;
water_polygon = GetNode<Polygon2D>("Polygon2D");
springs= new List<spring>();
spring_number = 10;
distance_between_springs = 100;
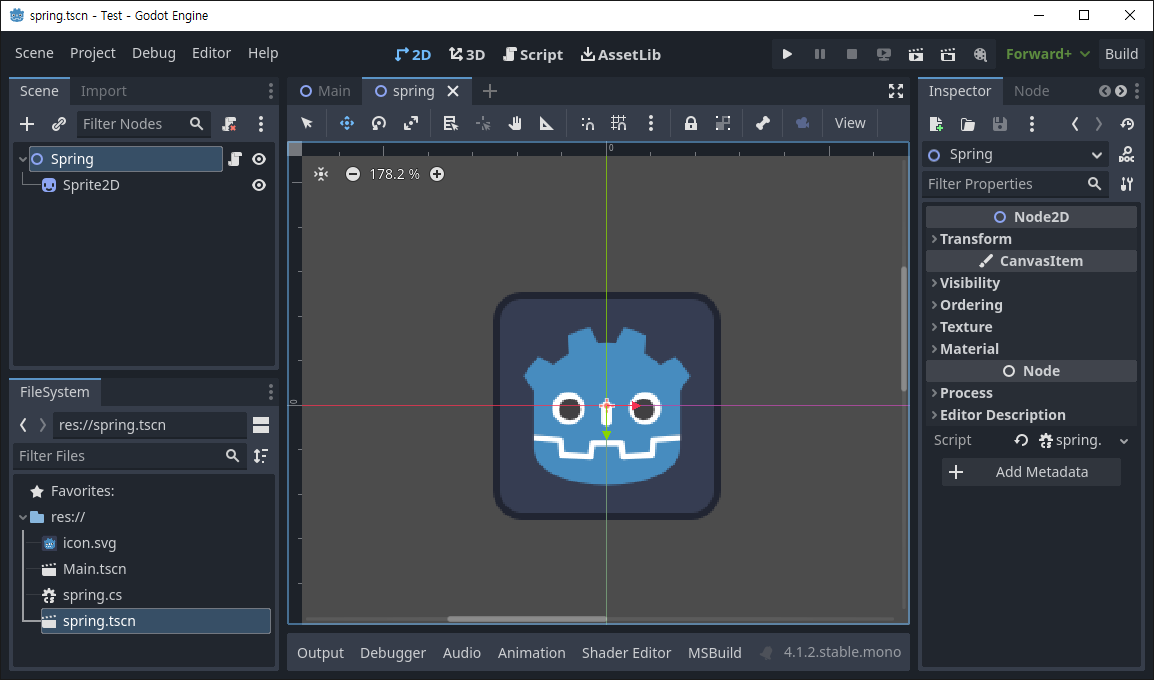
scene = ResourceLoader.Load<PackedScene>("res://spring.tscn");
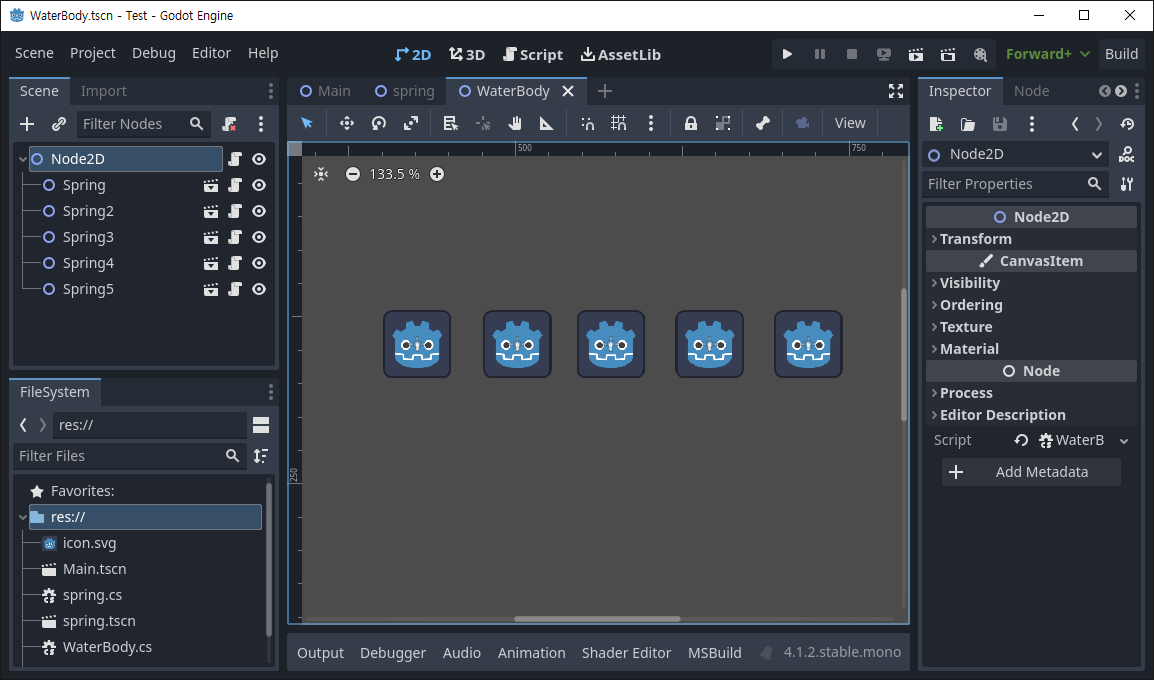
for (int i = 0; i < spring_number; i++)
{
Node2D s = scene.Instantiate<Node2D>();
AddChild(s);
springs.Add(s as spring);
int x_position = distance_between_springs * i + 100;
(s as spring).Initialize(x_position);
}
wave_position = new Curve2D();
}
public override void _PhysicsProcess(double delta)
{
if (Input.IsActionJustPressed("ui_accept"))
splash(5, 20);
foreach (spring item in springs)
{
item.water_update(k, d);
}
List<float> left_deltas = new List<float>();
List<float> right_deltas = new List<float>();
for(int i = 0; i < springs.Count; i++)
{
left_deltas.Add(0.0f);
right_deltas.Add(0.0f);
}
for (int p = 0; p < passes; p++)
{
for (int i = 0; i < springs.Count; i++)
{
if (i > 0)
{
left_deltas[i] = spread * (springs[i].height - springs[i-1].height);
springs[i-1].velocity += left_deltas[i];
}
if (i < springs.Count - 1)
{
right_deltas[i] = spread * (springs[i].height - springs[i+1].height);
springs[i+1].velocity += right_deltas[i];
}
}
}
draw_wave();
draw_waterbody();
// draw_wave()가 먼저 호출되어야 한다.
}
public void splash(int index, float speed)
{
if(index >= 0 && index < springs.Count)
{
springs[index].velocity += speed;
}
}
public void draw_waterbody()
{
List<Vector2> surface_points = new List<Vector2>();
//foreach (spring item in springs)
//{
// surface_points.Add(item.Position);
//}
Vector2[] baked_points = wave_position.GetBakedPoints();
for (int i = 0; i < baked_points.Length; i++)
{
surface_points.Add(baked_points[i]);
}
// wave_position으로 만든 곡선의 포인트를 폴리곤 포인트로 사용하기 위해
// 위와 같이 수정한다.
int first_index = 0;
int last_index = surface_points.Count - 1;
surface_points.Add(new Vector2(surface_points[last_index].X, bottom));
surface_points.Add(new Vector2(surface_points[first_index].X, bottom));
water_polygon.Polygon = surface_points.ToArray();
}
public override void _Draw()
{
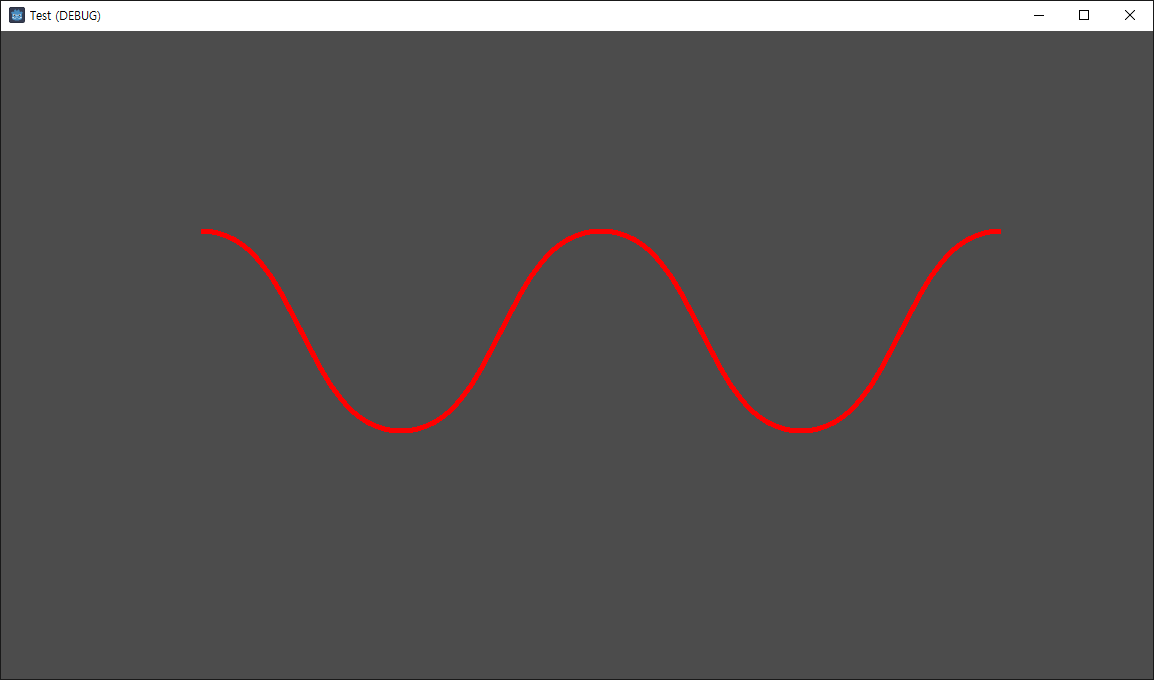
DrawPolyline(wave_position.Tessellate(), Colors.Blue, 5);
}
public void draw_wave()
{
wave_position.ClearPoints();
Vector2 control0 = new Vector2(-50, 0);
Vector2 control1 = new Vector2(50, 0);
foreach (spring item in springs)
{
wave_position.AddPoint(item.Position, control0, control1);
}
QueueRedraw();
}
}