[Godot] Wall Jump 벽 점프
Godot 2023. 10. 2. 16:53 |반응형
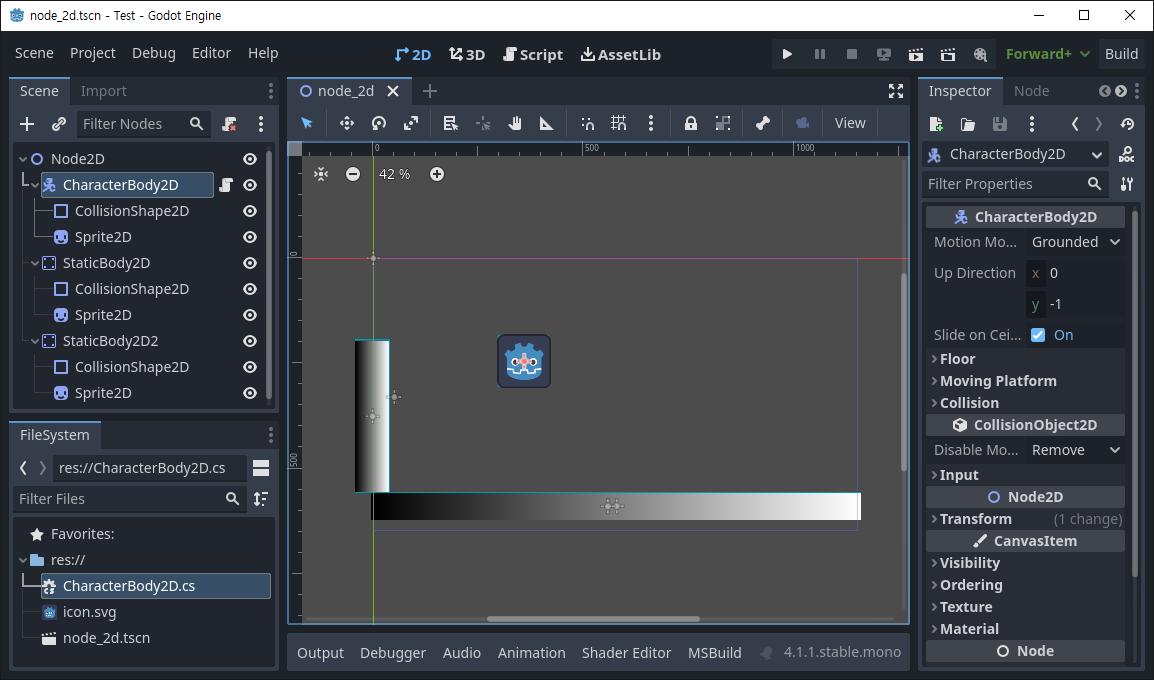
벽을 타고 점프해 보자.
|
1
2
3
4
5
6
7
8
9
10
11
12
13
14
15
16
17
18
19
20
21
22
23
24
25
26
27
28
29
30
31
32
33
34
35
36
|
using Godot;
public partial class CharacterBody2D : Godot.CharacterBody2D
{
public const float Speed = 300.0f;
public const float JumpVelocity = -400.0f;
public float gravity = ProjectSettings.GetSetting("physics/2d/default_gravity").AsSingle();
public override void _PhysicsProcess(double delta)
{
Vector2 velocity = Velocity;
if (!IsOnFloor())
velocity.Y += gravity * (float)delta;
if (Input.IsActionJustPressed("ui_accept") && IsOnFloor())
velocity.Y = JumpVelocity;
if (Input.IsActionJustPressed("ui_accept") && IsOnWallOnly())
velocity.Y = JumpVelocity;
Vector2 direction = Input.GetVector("ui_left", "ui_right", "ui_up", "ui_down");
if (direction != Vector2.Zero)
{
velocity.X = direction.X * Speed;
}
else
{
velocity.X = Mathf.MoveToward(Velocity.X, 0, Speed);
}
Velocity = velocity;
MoveAndSlide();
}
}
|
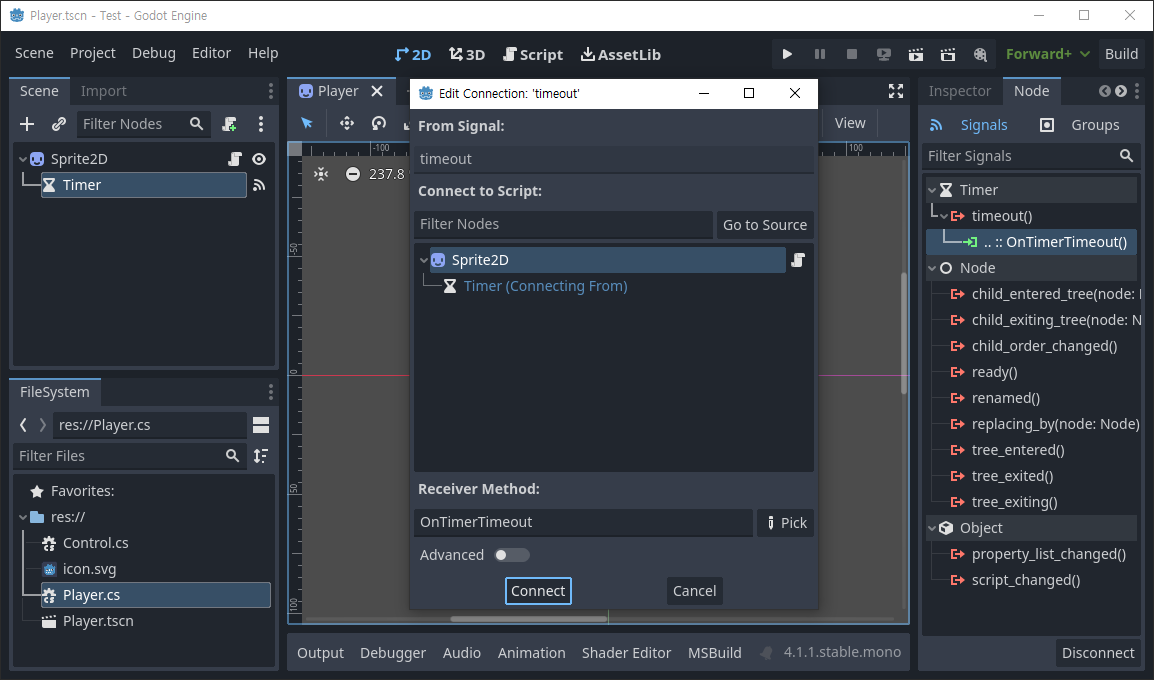
IsOnWallOnly() 함수를 사용한 스크립트를 작성한다.
※ 참고
반응형
'Godot' 카테고리의 다른 글
| [Godot] Snow, Rain with 2D Particle System 눈, 비 파티클 (0) | 2023.10.06 |
|---|---|
| [Godot] 2D Navigation Basic Setup (0) | 2023.10.06 |
| [Godot] TileMap Physics Layers Custom Data Layers (0) | 2023.10.01 |
| [Godot] RayCast2D C# Example (0) | 2023.09.27 |
| [Godot] Area2D Gravity 중력 (0) | 2023.09.27 |