[Pygame] Moving Character 파이게임 캐릭터 움직이기
Python 2023. 9. 2. 20:21 |반응형
캐릭터를 움직여 보자.
|
1
2
3
4
5
6
7
8
9
10
11
12
13
14
15
16
17
18
19
20
21
22
23
24
25
26
27
28
29
30
31
32
33
34
35
36
37
38
39
40
41
42
43
44
45
46
47
48
49
50
51
52
|
import pygame
pygame.init()
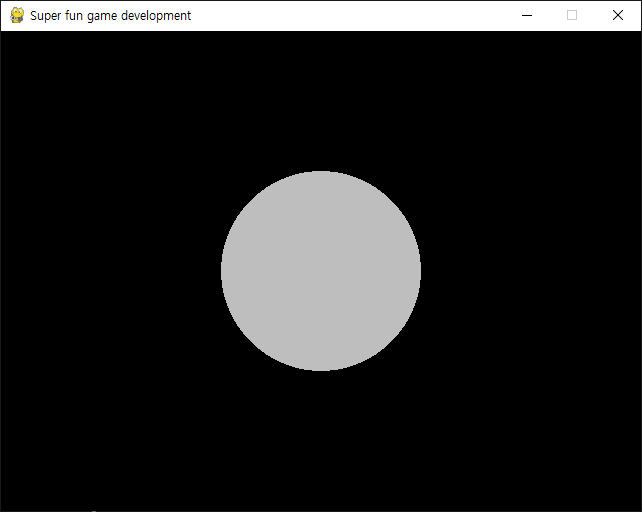
pygame.display.set_caption("Super fun game development")
screen = pygame.display.set_mode((640, 480))
clock = pygame.time.Clock()
running = True
player = pygame.image.load("player.png").convert()
player.set_colorkey(player.get_at((0, 0)))
player_size = (player.get_width()*1.5, player.get_height()*1.5)
player = pygame.transform.scale(player, player_size)
player_pos = player.get_rect()
player_pos.center = (screen.get_width()/2, screen.get_height()/2)
player_speed = 4
# 플레이어 이동 속도
player_direction = -1
# 플레이어 이동 방향
sound = pygame.mixer.Sound("music.mp3")
sound.play()
while running:
for event in pygame.event.get():
if event.type == pygame.QUIT:
running = False
elif event.type == pygame.KEYDOWN and event.key == pygame.K_ESCAPE:
running = False
keys = pygame.key.get_pressed()
# 모든 키의 상태를 확인한다.
if keys[pygame.K_LEFT]: # 왼쪽키가 눌렸다면..
if player_direction > 0:
player = pygame.transform.flip(player, True, False)
player_direction = -1
# 플레이어가 오른쪽으로 이동중이었다면 왼쪽으로 반전한다.
player_pos.move_ip(-player_speed, 0)
if keys[pygame.K_RIGHT]: # 오른쪽키가 눌렸다면..
if player_direction < 0:
player = pygame.transform.flip(player, True, False)
player_direction = 1
# 플레이어가 왼쪽으로 이동중이었다면 오른쪽으로 반전한다.
player_pos.move_ip(player_speed, 0)
# 플레이어를 player_speed 만큼 x축으로 이동한다.
screen.fill("black")
screen.blit(player, player_pos)
pygame.display.flip()
clock.tick(60)
pygame.quit()
|
반응형
'Python' 카테고리의 다른 글
| [Pygame] Collision Detection 파이게임 충돌 감지 (0) | 2023.09.02 |
|---|---|
| [Pygame] Rendering Font 파이게임 텍스트(폰트) 렌더링 (0) | 2023.09.02 |
| [Pygame] Loading Sound 파이게임 사운드 로드하고 출력하기 (0) | 2023.09.02 |
| [Pygame] Loading Image 파이게임 이미지 로드하고 출력하기 (0) | 2023.09.02 |
| [Pygame] Basic Setup 파이게임 기본 셋업 (0) | 2023.09.02 |