캐릭터 모델을 임포트하고 애니메이션(애니메이터)을 사용해 보자.

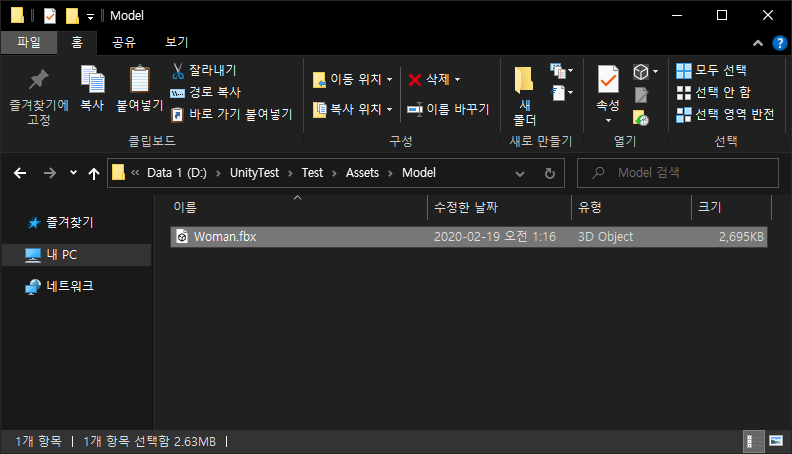 Assets - Model 폴더에 모델을 복사한다.
 Project 창에서 확인할 수 있다.
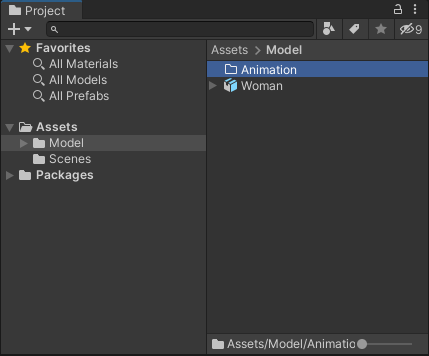 Animation 폴더를 만든다.
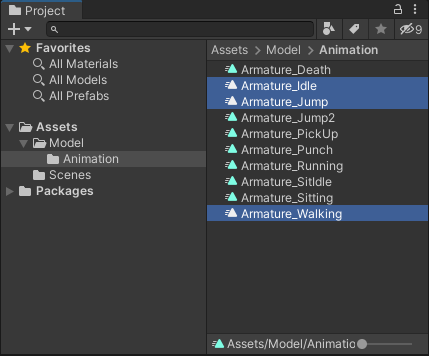
 모델에 포함된 애니메이션을 복사한다(Ctrl+D)
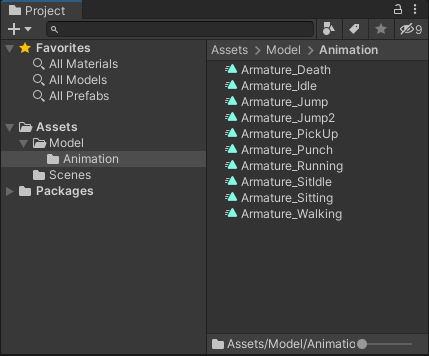 Animation 폴더에 넣는다.
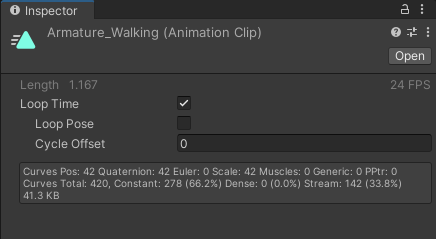 애니메이션 목록 중 Walking 에는 Loop Time을 체크한다.
 경고는 신경쓰지 않는다.
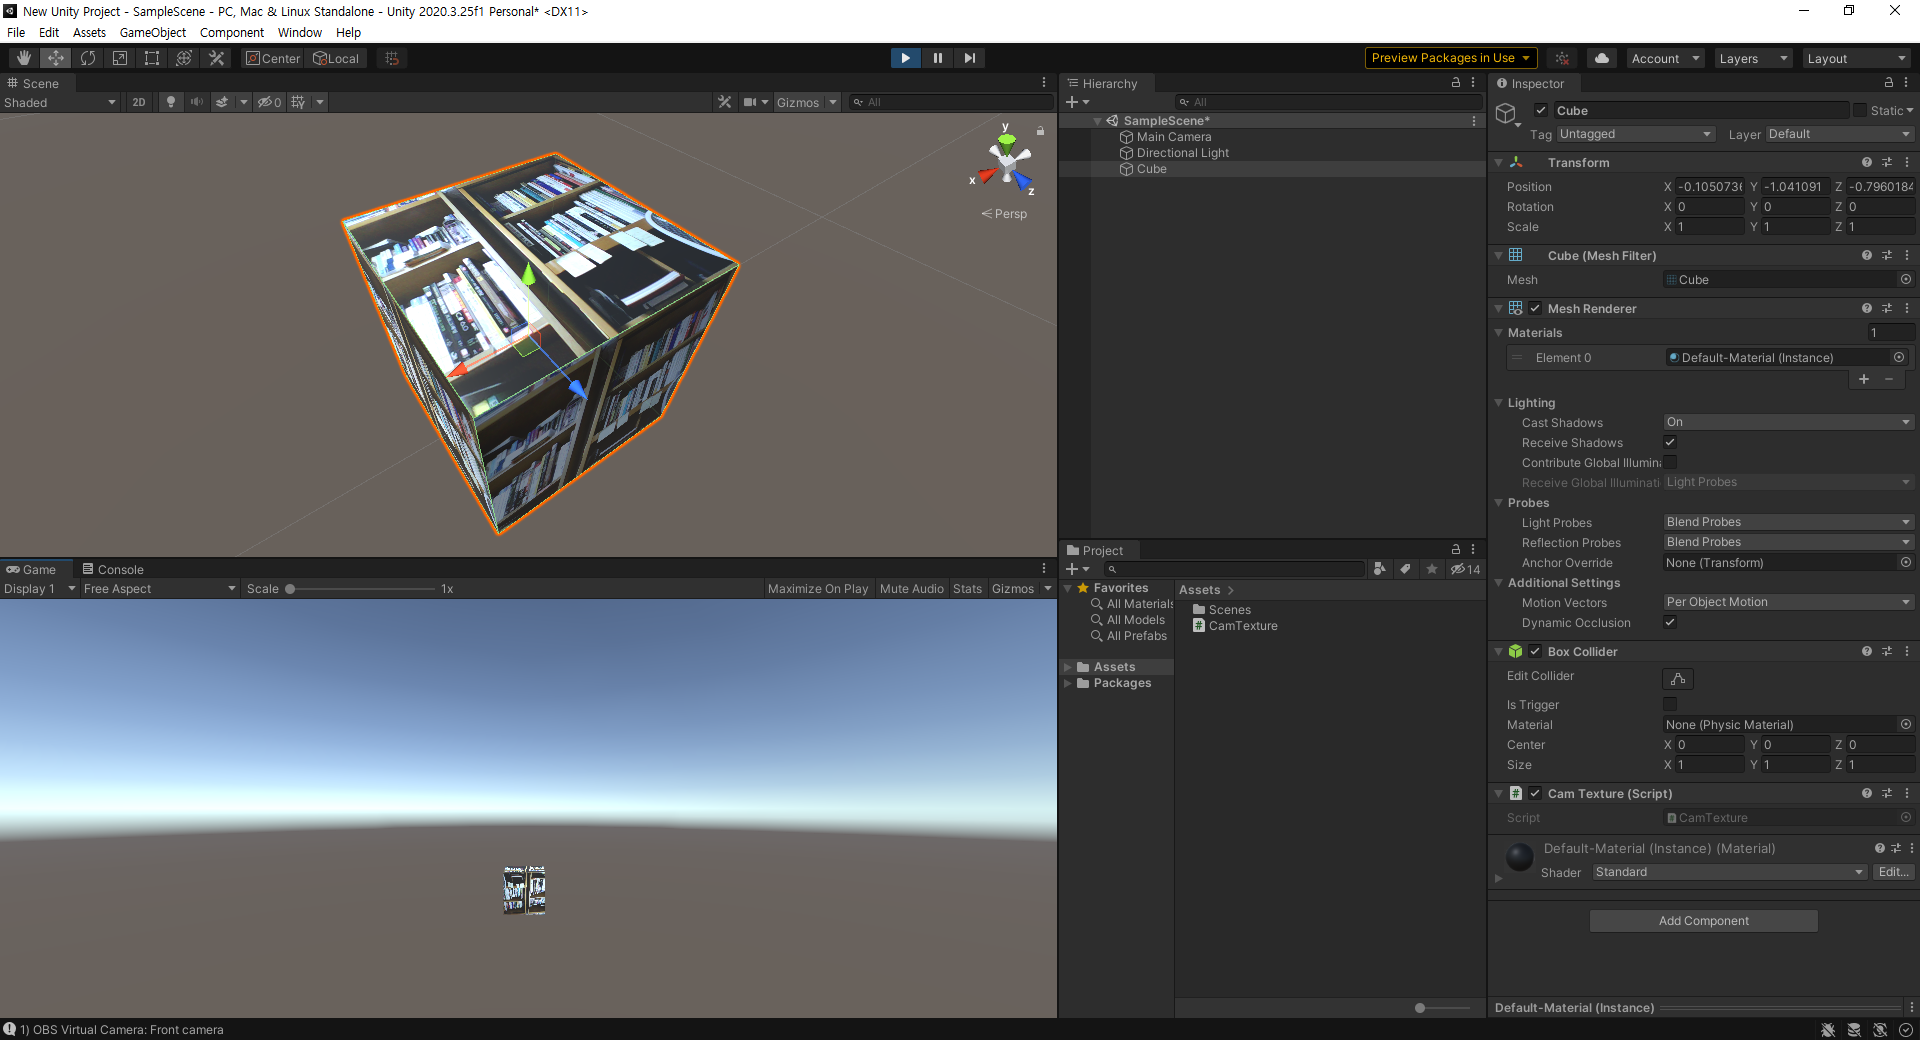
 모델을 씬으로 불러온다.
 애니메이션 목록 중 Idle, Jump, Walking을 모델로 drag&drop 한다.
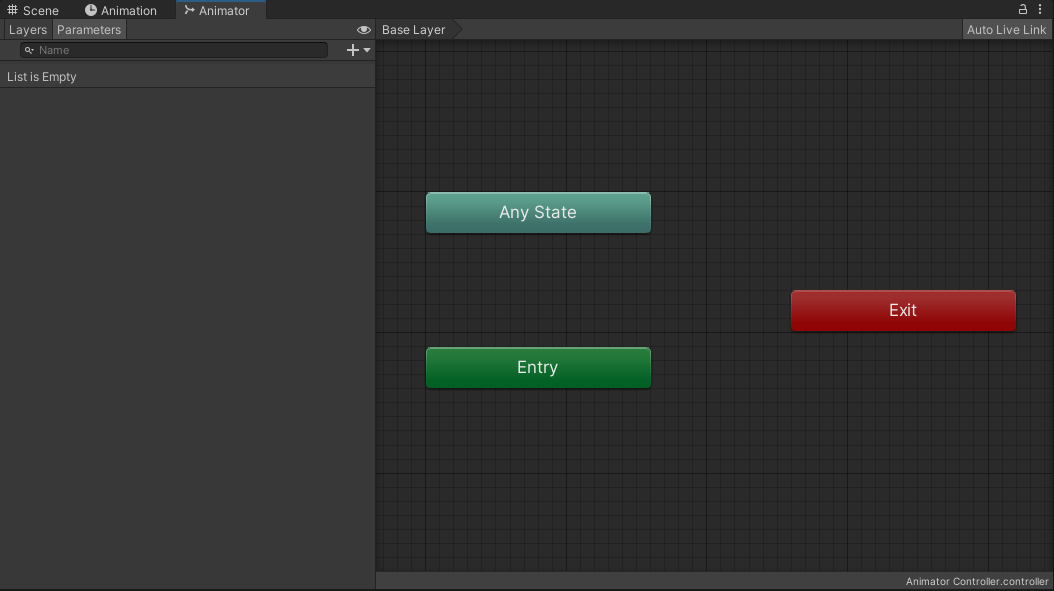
 Animator를 확인해 보자.
 위 그림과 같은 트랜지션을 만든다.
 Walk(Bool), Jump(Trigger) 파라미터를 만든다.
 Idle -> Walk 트랜지션의 컨디션을 설정한다. (Walk -> true, Has Exit Time 체크 해제)
 Walk -> Idle 트랜지션의 컨디션을 설정한다. (Walk -> false, Has Exit Time 체크 해제)
 Any State -> Jump 트랜지션의 컨디션을 설정한다. (Jump, Has Exit Time 체크 해제)
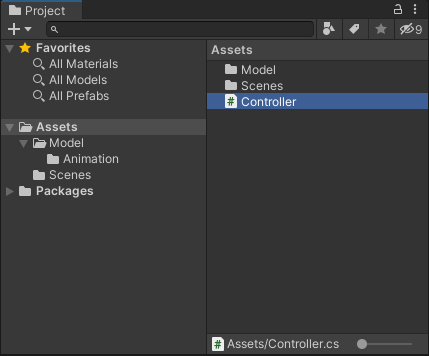 컨트롤러 스크립트를 만든다.
1
2
3
4
5
6
7
8
9
10
11
12
13
14
15
16
17
18
19
20
21
22
23
24
25
26
27
28
29
30
31
32
33
34
35
|
using System.Collections;
using System.Collections.Generic;
using UnityEngine;
public class Controller : MonoBehaviour
{
private Animator animator;
// Start is called before the first frame update
void Start()
{
animator = GetComponent<Animator>();
}
// Update is called once per frame
void Update()
{
float xInput = Input.GetAxis("Horizontal");
float zInput = Input.GetAxis("Vertical");
if (xInput != 0 || zInput != 0)
{
animator.SetBool("Walk", true);
}
else
{
animator.SetBool("Walk", false);
}
if (Input.GetKeyDown(KeyCode.Space))
{
animator.SetTrigger("Jump");
}
}
}
|
|
스크립트를 작성한다.
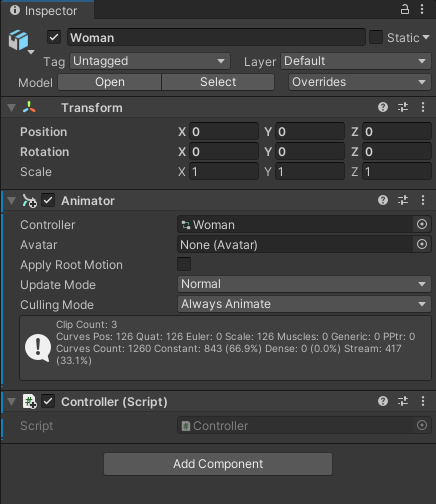 컨트롤러 스크립트를 모델에 넣는다.
이 상태에서 실행해 보면 Idle, Walk는 생각대로 작동하지만 Jump 후 다시 Idle이나 Walk로 돌아가지 못한다.
Jump 후 다른 애니메이션으로 가는 트랜지션이 없기 때문이다.
 Jump -> Idle 트랜지션을 만들고 Has Exit Time을 체크한다. (컨디션은 설정하지 않는다)
다시 실행해 보자.


