반응형

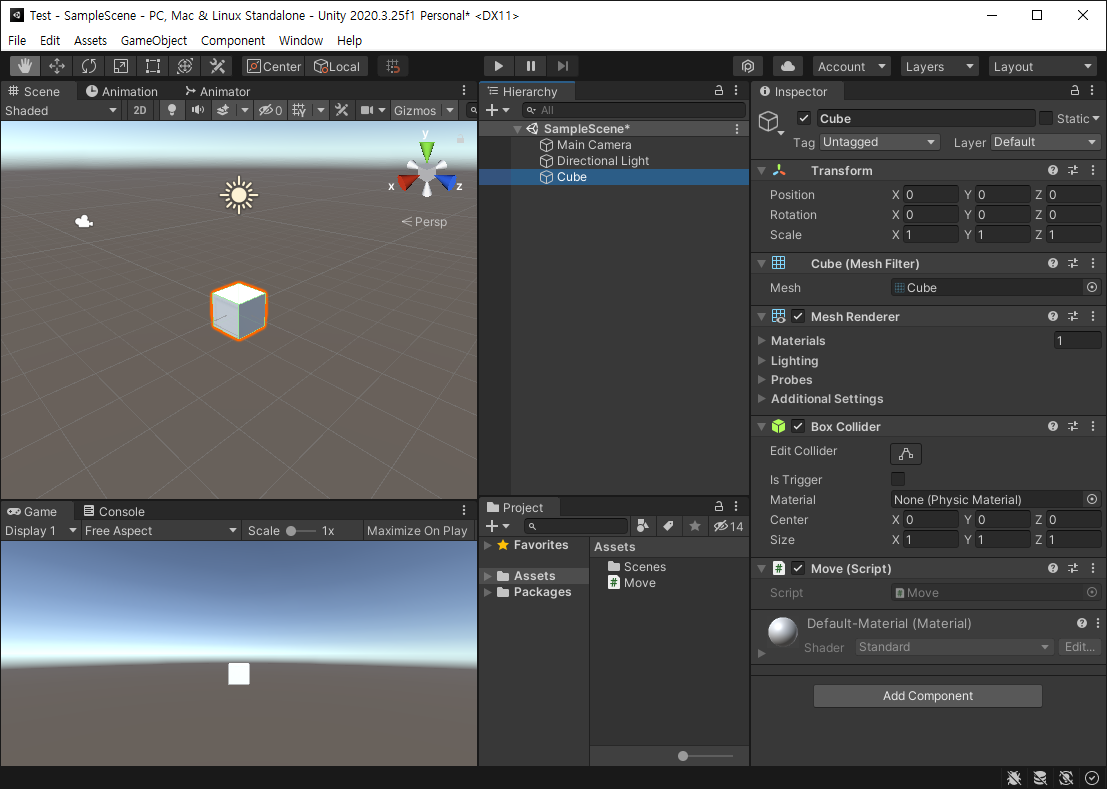
유니티와 Visual Studio를 이용해 디버깅 해 보자.


Cube를 하나 생성하고 스크립트를 추가한다.


매 프레임마다 X축으로 1 이동하는 스크립트를 작성한다.


이동하는 코드에 브레이크 포인트를 설정한다. (F9)


디버깅을 시작한다. (Attach to Unity 버튼을 클릭하거나 F5를 누른다)


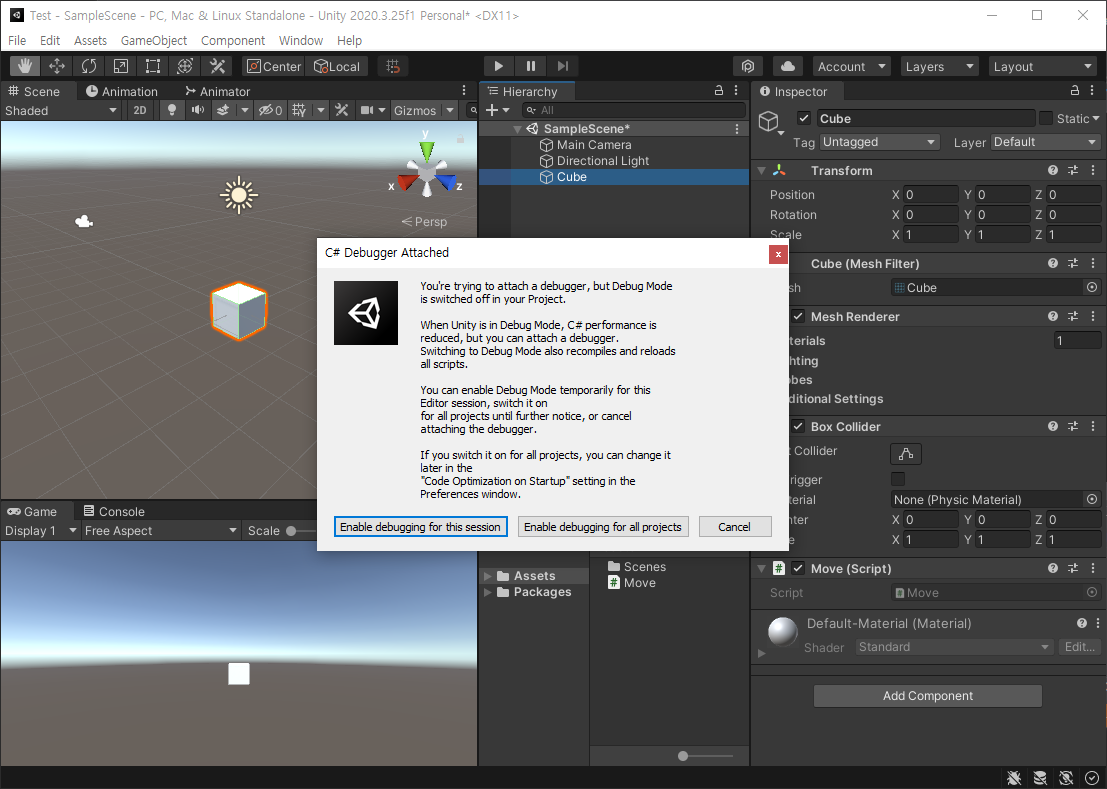
유니티에 C# 디버거가 연결되었다는 창이 뜬다. 'Enable debugging for this session' 버튼을 클릭한다.


오른쪽 하단에 'Debugger Attached' 표시(파란색 벌레)가 나타난다. Play 버튼을 클릭한다.


브레이크 포인트에서 실행이 멈춘다.


디버거와 유니티를 확인하며 디버깅을 진행한다.


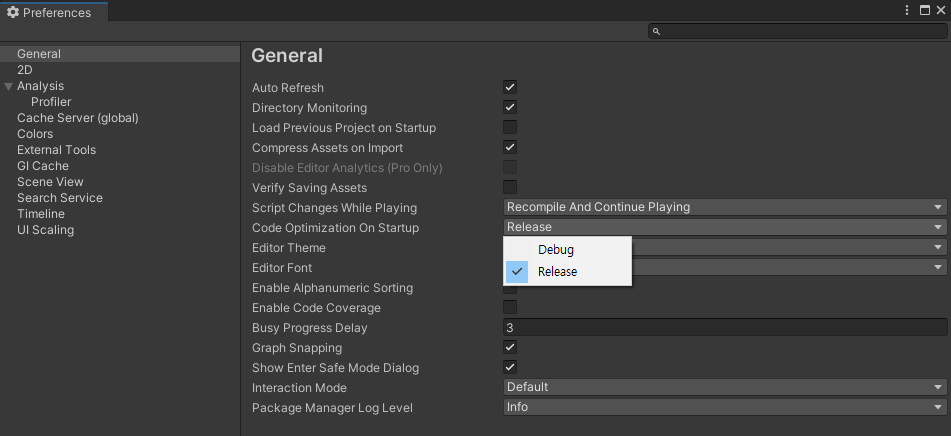
유니티 실행시 처음부터 디버깅이 가능하게 설정할 수 도 있다. (Code Optimization On Startup을 Debug로 바꾼다)


반응형
Posted by J-sean
:
반응형

2022.01.18 - [Unity] - Unity3D - 유니티3D with AdMob 광고

Unity3D 앱에 배너 광고를 넣어 보자.


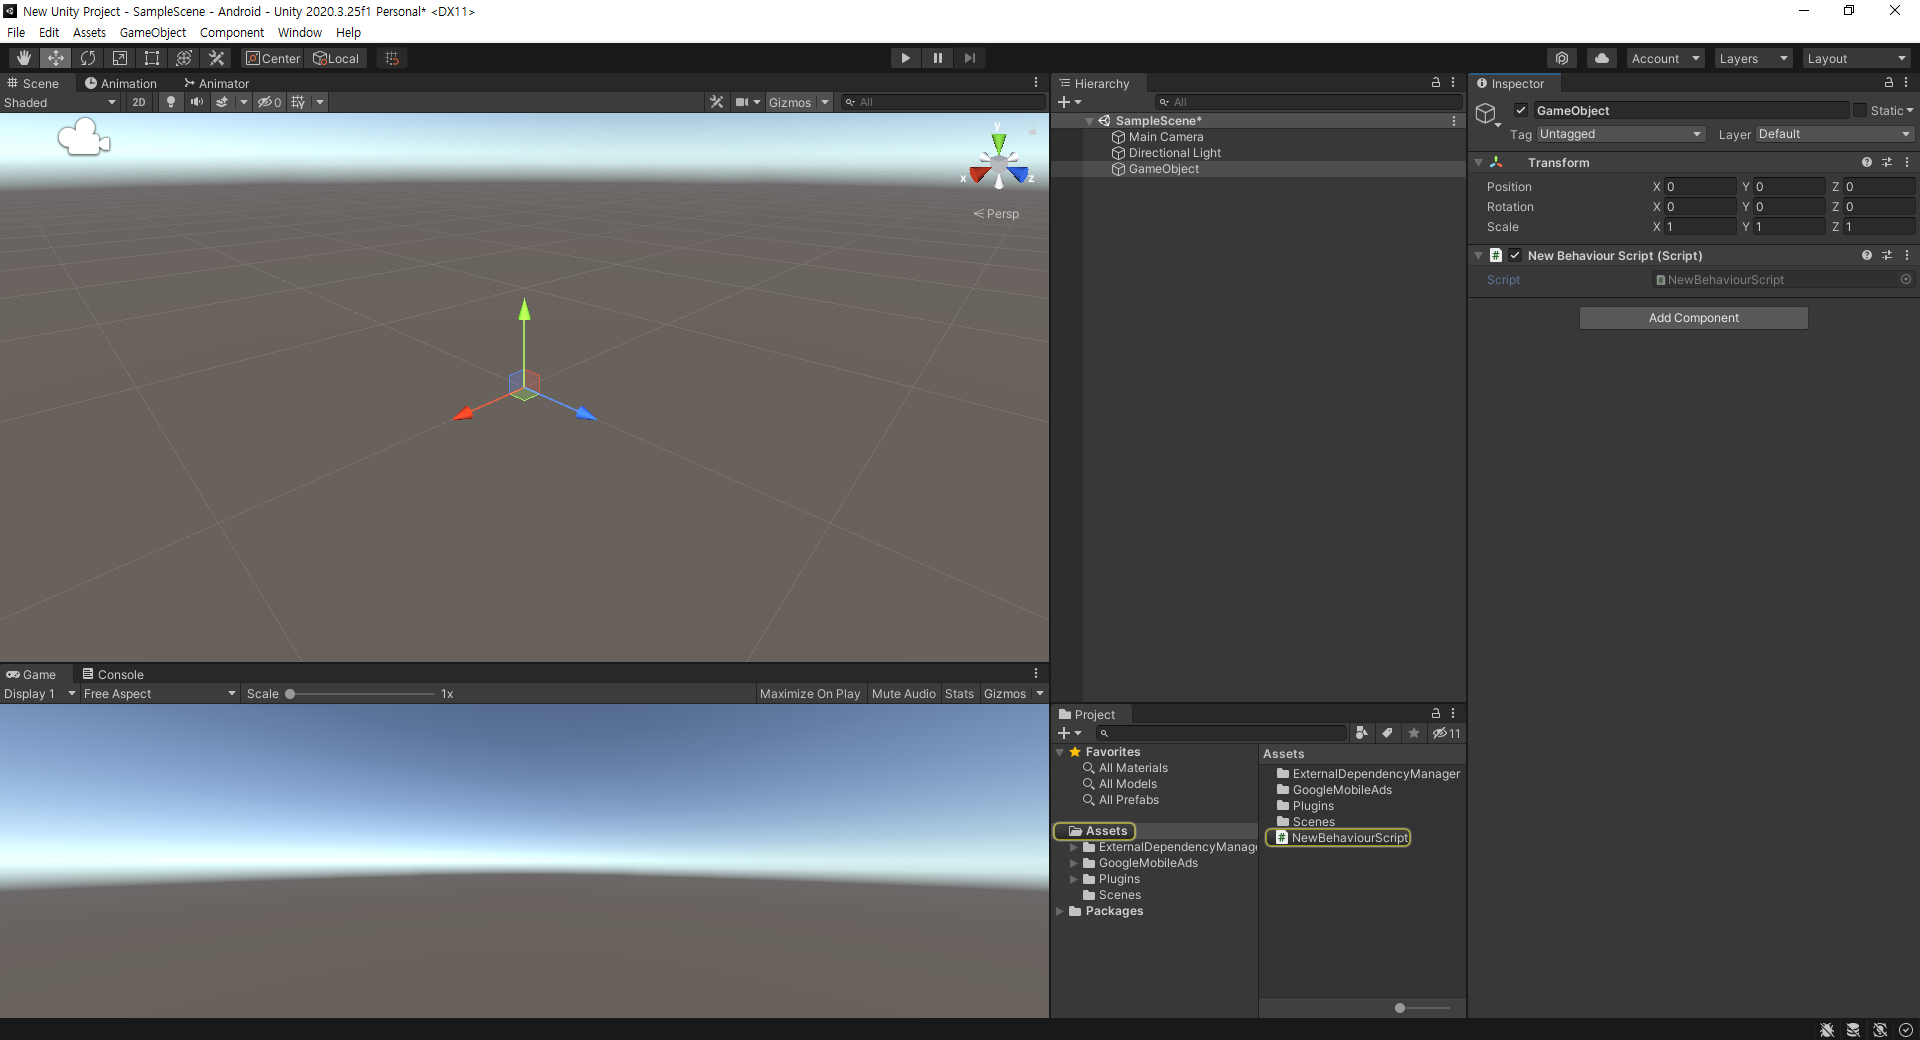
Empty 오브젝트를 만들고 스크립트를 추가한다.


1
2
3
4
5
6
7
8
9
10
11
12
13
14
15
16
17
18
19
20
21
22
23
24
25
26
27
28
29
30
31
32
33
34
35
36
37
38
39
40
41
42
43
44
45
46
47
48
49
50
51
52
53
54
55
56
57
58
59
60
61
62
63
64
65
66
67
68
69
70
71
72
73
74
75
76
77
78
79
80
81
82
83
84
85
86
87
88
89
90
91
92
93
94
95
96
97
98
99
100
101
102
103
104
105
106
107
108
109
110
111
112
113
114
115
116
117
118
#define UNITY_ANDROID
 
using System.Collections;
using System.Collections.Generic;
using UnityEngine;
 
using System;
using GoogleMobileAds.Api;
 
public class NewBehaviourScript : MonoBehaviour
{
    private BannerView bannerView;
 
    // Start is called before the first frame update
    void Start()
    {
        // Initialize the Google Mobile Ads SDK.
        // Before loading ads, have your app initialize the Google Mobile Ads SDK
        // by calling MobileAds.initialize() which initializes the SDK and calls back
        // a completion listener once initialization is complete (or after a 30-second
        // timeout). This needs to be done only once, ideally at app launch.
        MobileAds.Initialize(initStatus =>
        {
            Dictionary<string, AdapterStatus> map = initStatus.getAdapterStatusMap();
            foreach (KeyValuePair<string, AdapterStatus> keyValuePair in map)
            {
                string className = keyValuePair.Key;
                AdapterStatus adapterStatus = keyValuePair.Value;
                switch (adapterStatus.InitializationState)
                {
                    case AdapterState.Ready:
                        // The adapter initialization ready.
                        MonoBehaviour.print($"Adapter: {className} is {adapterStatus.Description}");
                        // Adapter: ExampleClass is Ready
                        break;
 
                    case AdapterState.NotReady:
                        // The adapter initialization not ready.
                        MonoBehaviour.print($"Adapter: {className} is {adapterStatus.Description}");
                        break;
 
                    default:
                        break;
                }
            }
        });
 
        this.RequestBanner();
    }
 
    private void RequestBanner()
    {
        #if UNITY_ANDROID
        string adUnitId = "ca-app-pub-3940256099942544/6300978111";
        #elif UNITY_IPHONE
            string adUnitId = "ca-app-pub-3940256099942544/2934735716";
        #else
            string adUnitId = "unexpected_platform";
        #endif
 
        // Create a 320x50 banner at the top of the screen.
        this.bannerView = new BannerView(adUnitId, AdSize.Banner, AdPosition.Top);
 
        // Called when an ad request has successfully loaded.
        this.bannerView.OnAdLoaded += this.HandleOnAdLoaded;
        // Called when an ad request failed to load.
        this.bannerView.OnAdFailedToLoad += this.HandleOnAdFailedToLoad;
        // Called when an ad is clicked.
        this.bannerView.OnAdOpening += this.HandleOnAdOpened;
        // Called when the user returned from the app after an ad click.
        this.bannerView.OnAdClosed += this.HandleOnAdClosed;
        // Removed OnAdLeavingApplication event for all formats.
        //this.bannerView.OnAdLeavingApplication += this.HandleOnAdLeavingApplication;
 
        // Create an empty ad request.
        AdRequest request = new AdRequest.Builder().Build();
 
        // Load the banner with the request.
        this.bannerView.LoadAd(request);
    }
 
    // Update is called once per frame
    void Update()
    {
 
    }
 
    public void HandleOnAdLoaded(object sender, EventArgs args)
    {
        MonoBehaviour.print("HandleAdLoaded event received");
    }
 
    public void HandleOnAdFailedToLoad(object sender, AdFailedToLoadEventArgs args)
    {
        MonoBehaviour.print("HandleFailedToReceiveAd event received with message: "
            + args.ToString());
    }
 
    public void HandleOnAdOpened(object sender, EventArgs args)
    {
        MonoBehaviour.print("HandleAdOpened event received");
    }
 
    public void HandleOnAdClosed(object sender, EventArgs args)
    {
        MonoBehaviour.print("HandleAdClosed event received");
    }
 
    //public void HandleOnAdLeavingApplication(object sender, EventArgs args)
    //{
    //    MonoBehaviour.print("HandleAdLeavingApplication event received");
    //}
 
    private void OnDestroy()
    {
        this.bannerView.Destroy();
    }
}


스크립트 소스를 입력하고 저장한다.


게임을 실행하면 화면 상단에 배너가 표시된다.


반응형
Posted by J-sean
:
반응형


2022.0118 - [Unity] - Unity3D - 유니티3D with AdMob 광고의 내용을 진행하다 보면 예상치 못한 에러를 만날 수 있다. 몇 가지 에러를 해결해 보자.


Resolving Android Dependencies 과정 중 발생하는 에러

환경 변수에 JAVA_HOME이 등록되지 않아 발생하는 에러다.


유니티 설치 폴더에 있는 OpenJDK 경로를 JAVA_HOME 변수로 등록한다.


Google.IOSResolver.dll을 로드할 수 없어 발생하는 에러

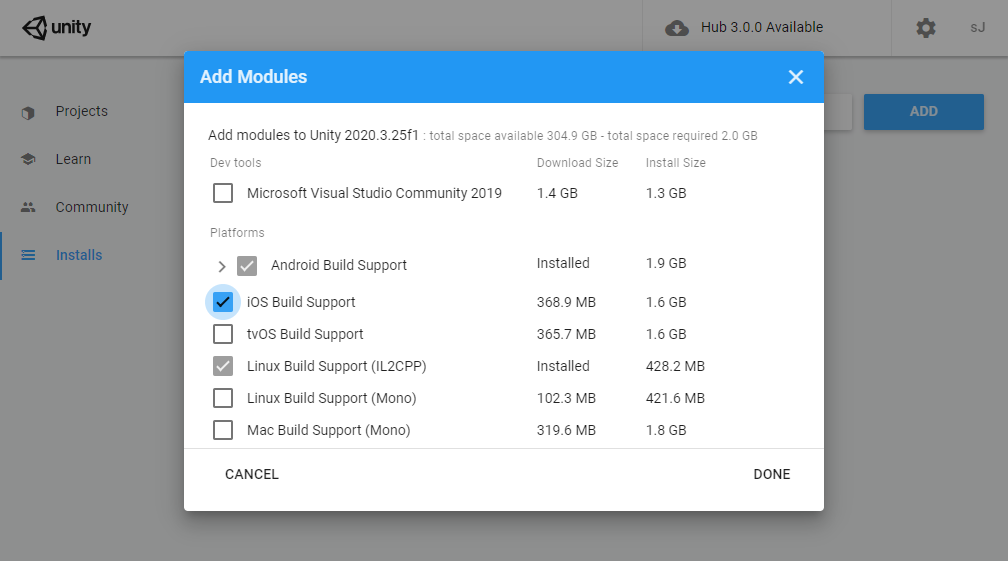
안드로이드 앱을 개발하기 위해 iOS Build Support를 설치하지 않아 발생하는 에러다.


Unity Hub를 실행한다.


설치되어 있는 Unity 아이콘 오른쪽 점(...)을 클릭하고 Add Modules를 선택한다.


iOS Build Support를 선택하고 DONE을 클릭해 설치한다.


반응형
Posted by J-sean
:
반응형


2021.12.30 - [Unity] - Unity3D - 유니티 3D with OpenCV 1 에서 만든 라이브러리(OpenCVDll.dll)와 

2021.12.29 - [Unity] - Unity3D - 유니티 3D WebCamTexture 라이브 비디오 텍스쳐 의 WebCamTexture를 이용해 라이브 비디오 데이터를 프로세싱하고 오브젝트의 텍스쳐로 사용해 보자.


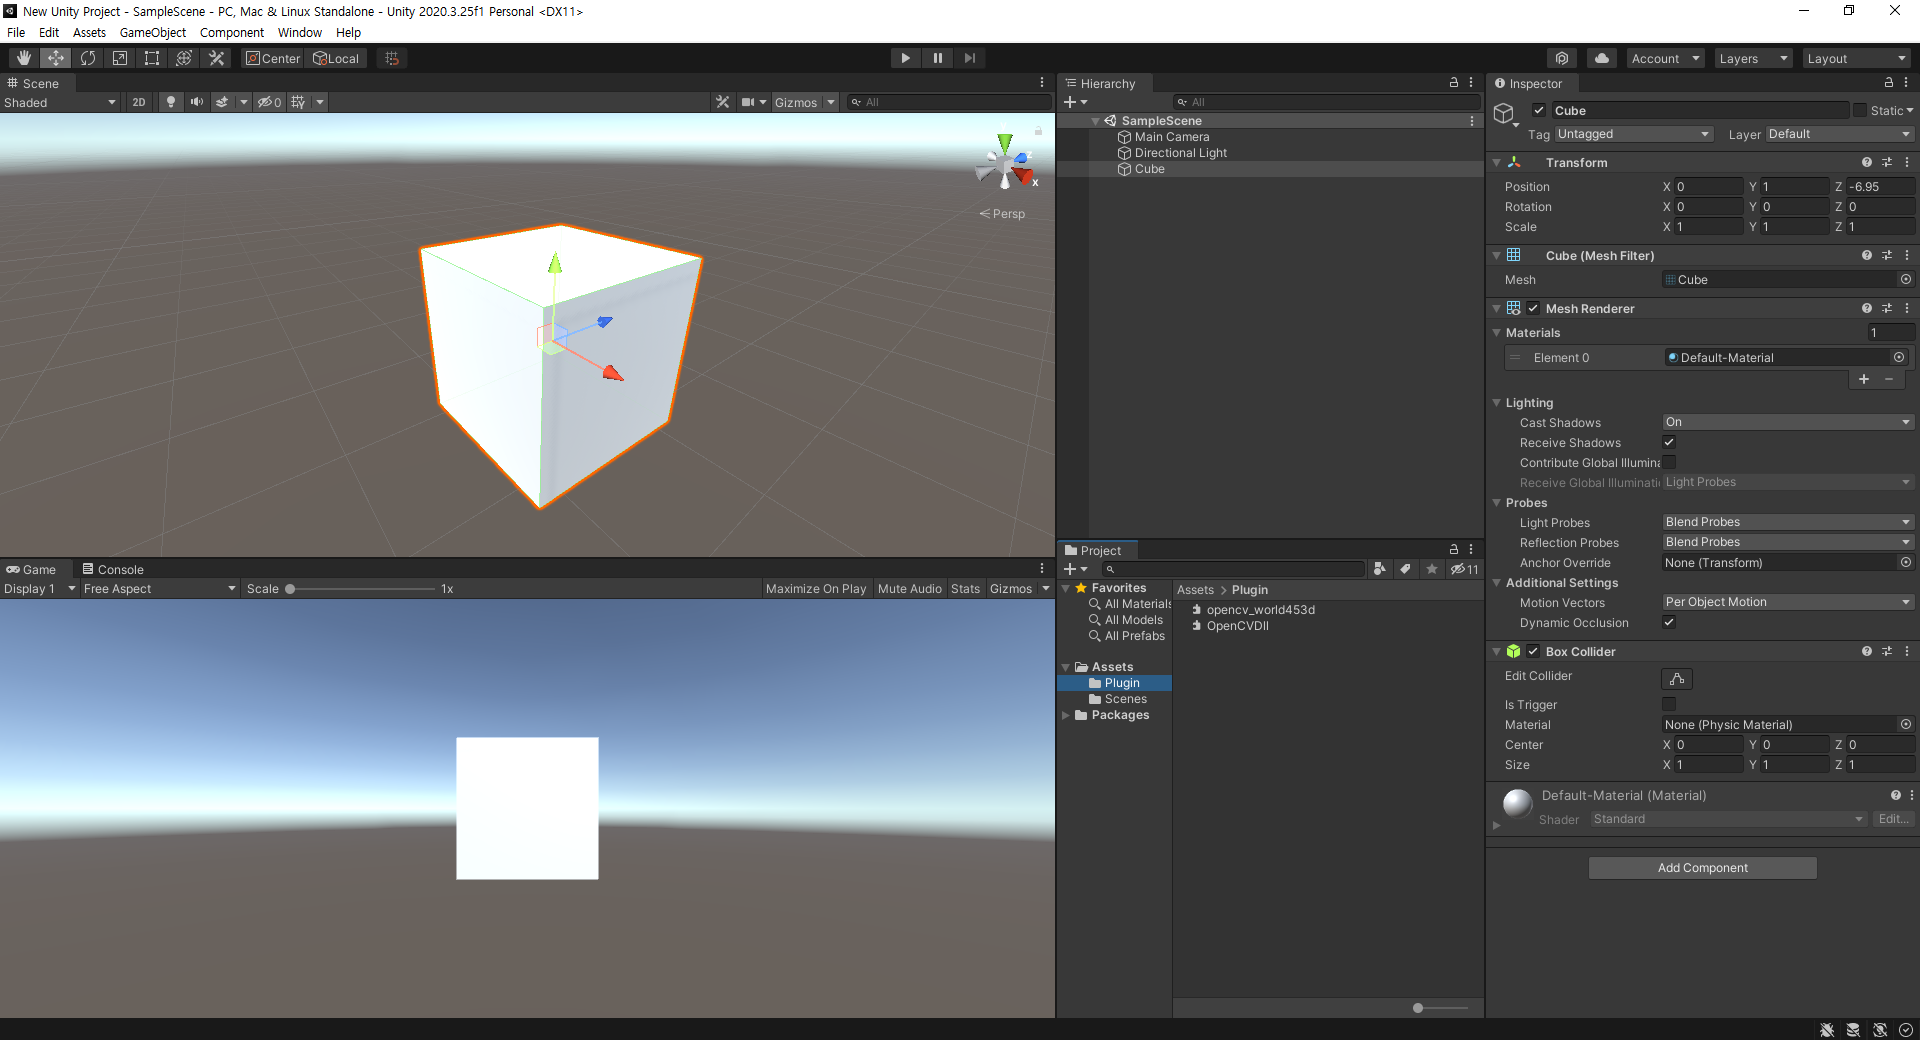
이미지 프로세싱에 사용할 OpenCVDll 라이브러리를 세팅하고 Cube를 생성한다.


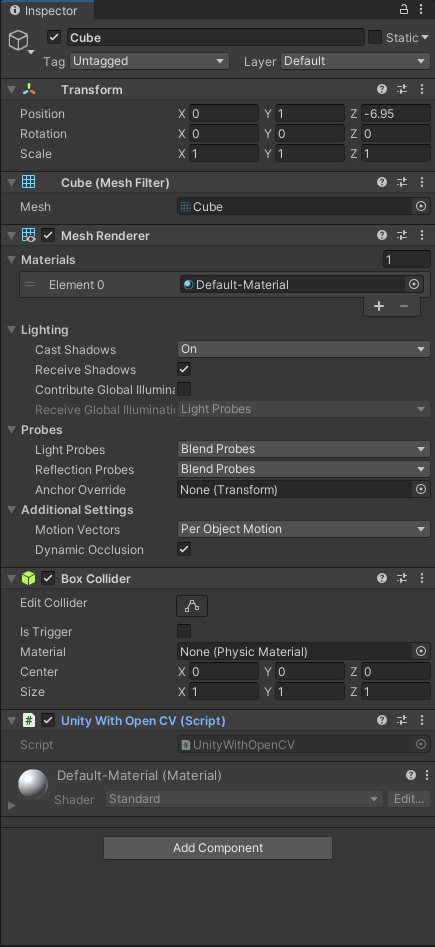
Cube에 스크립트를 추가한다.


1
2
3
4
5
6
7
8
9
10
11
12
13
14
15
16
17
18
19
20
21
22
23
24
25
26
27
28
29
30
31
32
33
34
35
36
37
38
39
using System.Collections;
using System.Collections.Generic;
using UnityEngine;
 
using System.Runtime.InteropServices;
 
public class UnityWithOpenCV : MonoBehaviour
{
    [DllImport("OpenCVDll")]
    private static extern void FlipImage(ref Color32[] rawImage, int width, int height);
 
    Renderer renderer;
    WebCamTexture webCamTexture;
    Color32[] image;
 
    // Start is called before the first frame update
    void Start()
    {
        renderer = GetComponent<Renderer>();
        webCamTexture = new WebCamTexture(64048060);
        webCamTexture.Play();
 
        image = new Color32[webCamTexture.width * webCamTexture.height];
    }
 
    // Update is called once per frame
    void Update()
    {
        webCamTexture.GetPixels32(image);
 
        // Image processing
        FlipImage(ref image, webCamTexture.widthwebCamTexture.height);
 
        Texture2D texture2D = new Texture2D(webCamTexture.width, webCamTexture.height);
        texture2D.SetPixels32(image);
        renderer.material.mainTexture = texture2D as Texture;
        (renderer.material.mainTexture as Texture2D).Apply();
    }
}


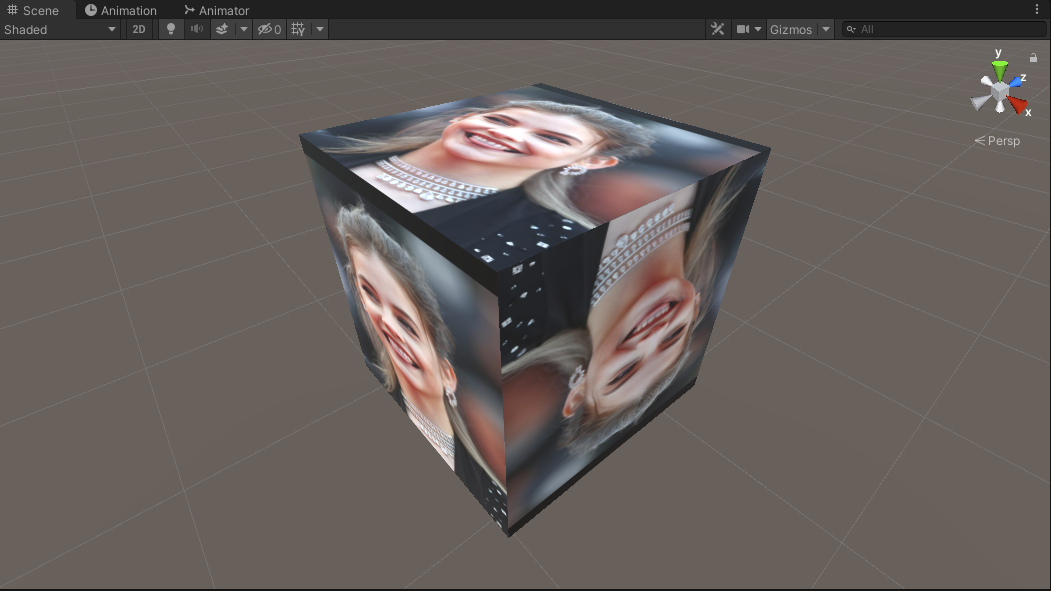
Cube에 추가한 스크립트에 코드를 작성하고 저장한다. 모든 프레임에 텍스쳐가 이미지 프로세서(FlipImage())에 의해 상하좌우 반전된다.


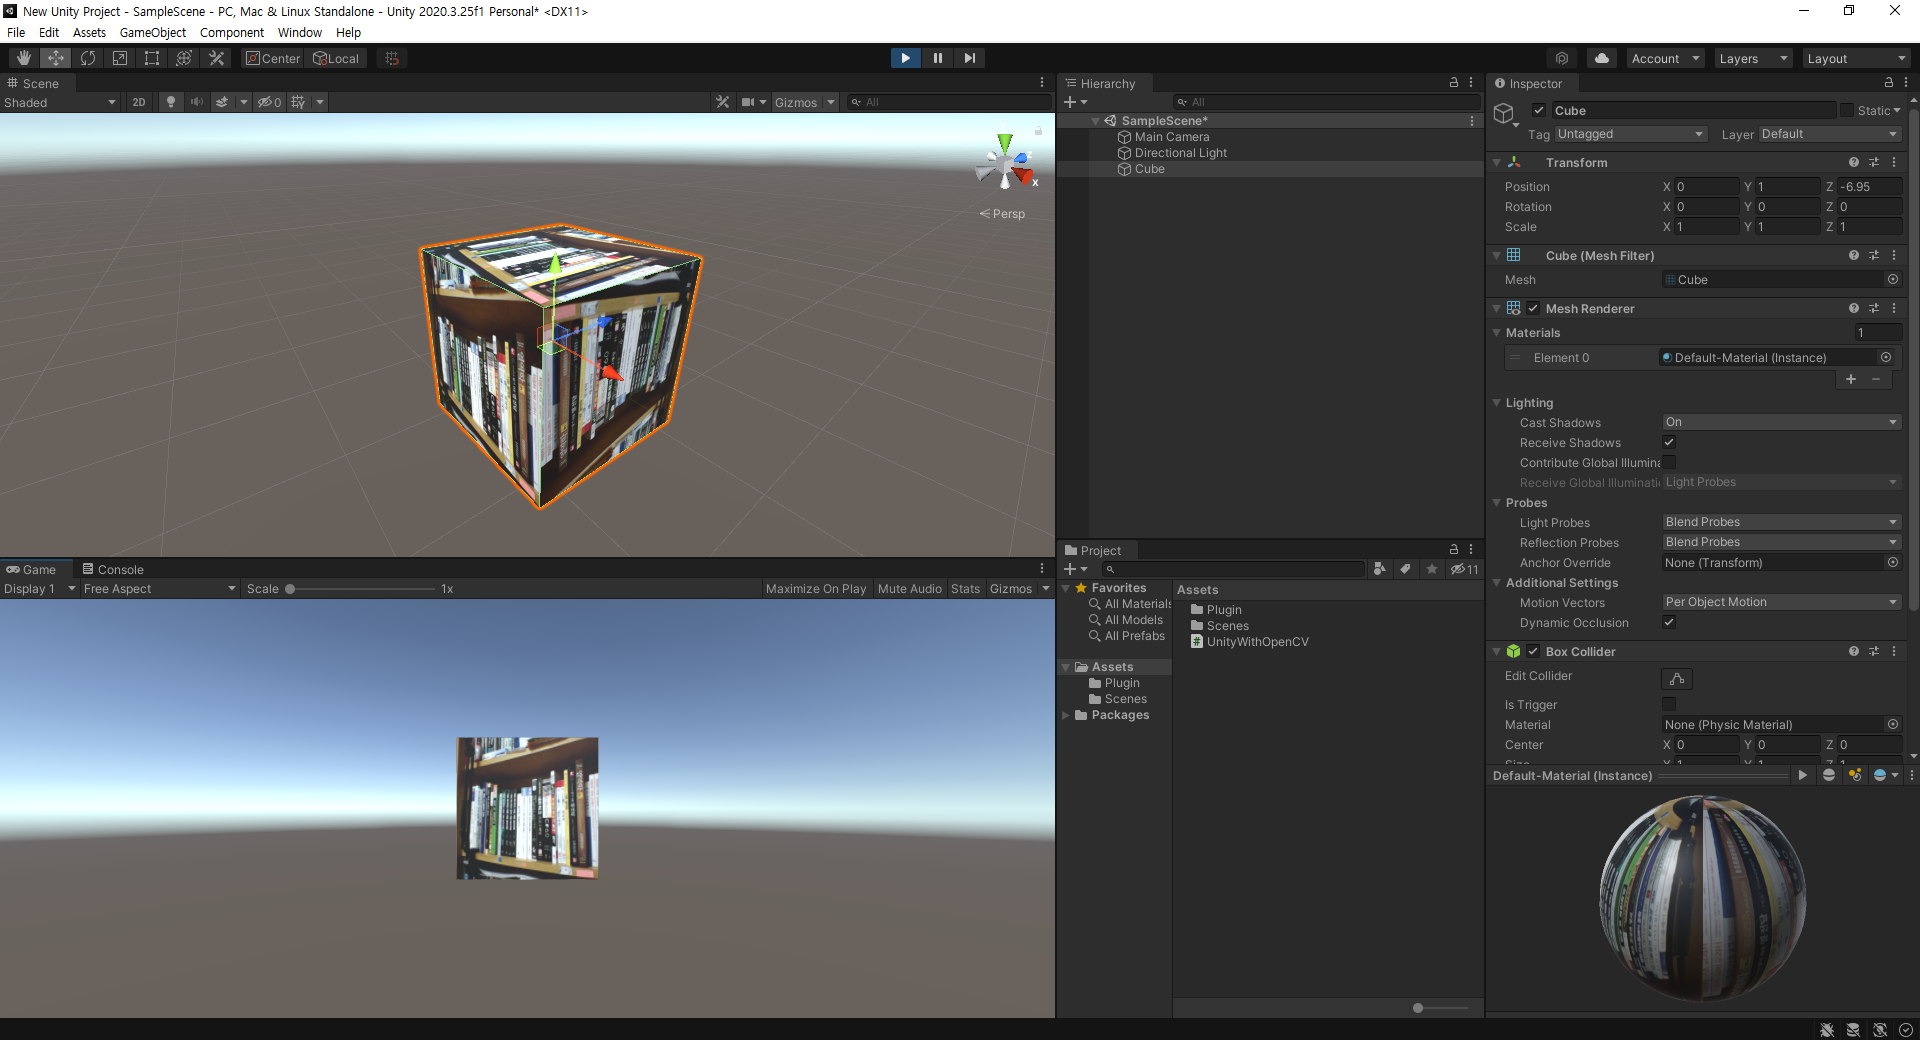
유니티로 돌아오면 스크립트가 컴파일 된다. 실행 버튼을 클릭하면 매 프레임마다 Cube의 텍스쳐가 상하좌우 반전 처리된다.


스크립트의 FlipImage()를 주석처리하고 실행하면 원래 이미지의 텍스쳐가 표시된다.


프로그램을 실행하는 동안 처리된 이미지가 Inpector창의 Material Preview에도 실시간 적용된다.


반응형
Posted by J-sean
:
반응형

유니티에서 OpenCV를 사용할 수 있도록 라이브러리(DLL)를 만들어 보자.


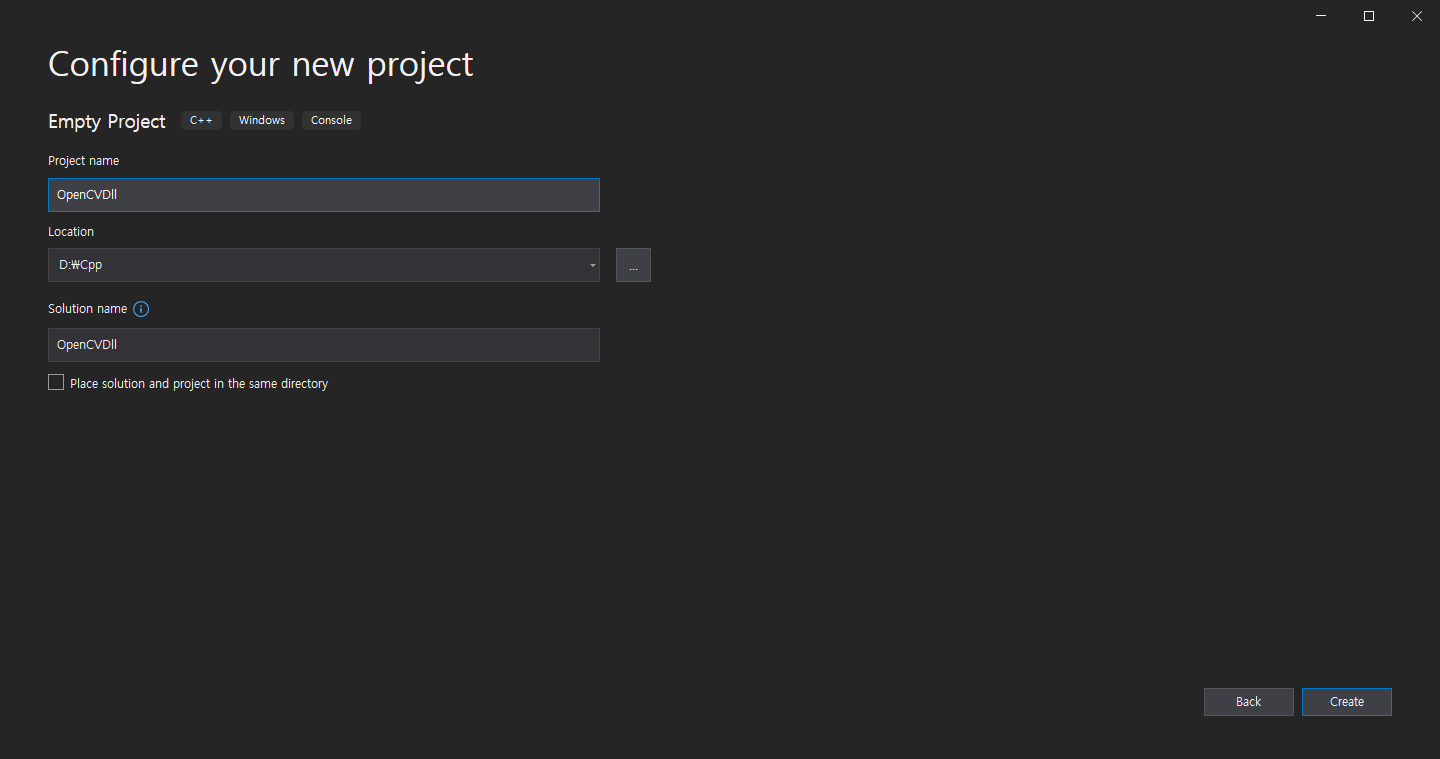
Visual Studio에서 C++ - Windows - Empty Project를 선택한다.


적당한 이름과 폴더를 지정한다.


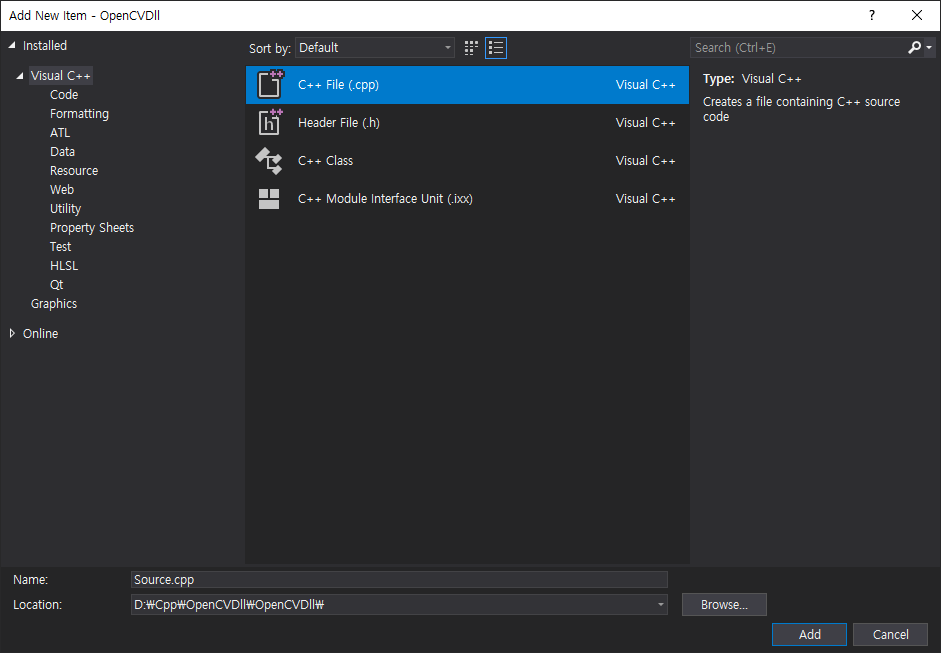
프로젝트가 생성되었으면 C++ File을 추가한다. (Add New Item)


Solution Platforms는 x64로 변경한다.


프로젝트 Property Pages - General - Configuration Type - Dynamic Library (.dll)로 변경한다.


Advanced - Target File Extension - .dll로 변경한다.


C/C++ - General - Additional Include Directories에 OpenCV Include 폴더를 추가한다.


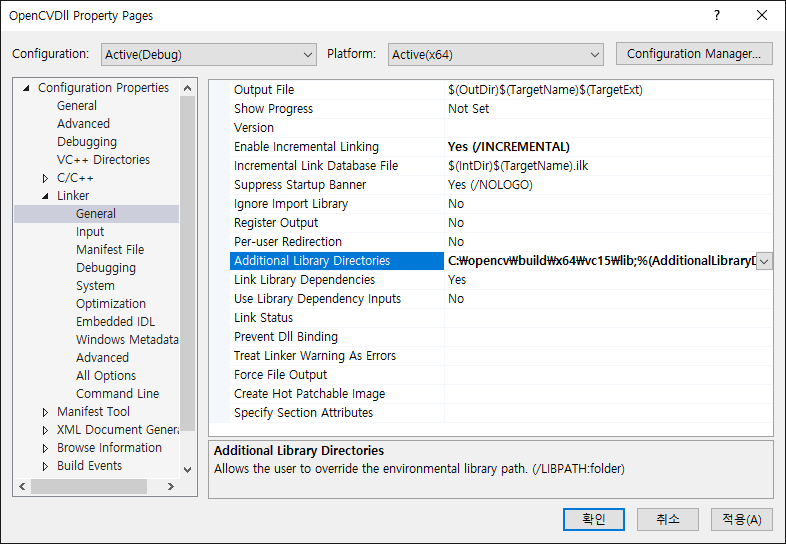
Linker - General - Additional Library Directories에 OpenCV Library 폴더를 추가한다.


Linker - Input - Additional Dependencies에 OpenCV 라이브러리(opencv_worldXXXd.lib)를 추가한다.


1
2
3
4
5
6
7
8
9
10
11
12
13
14
15
16
#include <opencv2/opencv.hpp>
 
struct Color32
{
    uchar red;
    uchar green;
    uchar blue;
    uchar alpha;
};
 
extern "C" __declspec(dllexportvoid FlipImage(Color32 **rawImage, int width, int height)
{
    using namespace cv;
    Mat image(height, width, CV_8UC4, *rawImage);
    flip(image, image, -1);
}


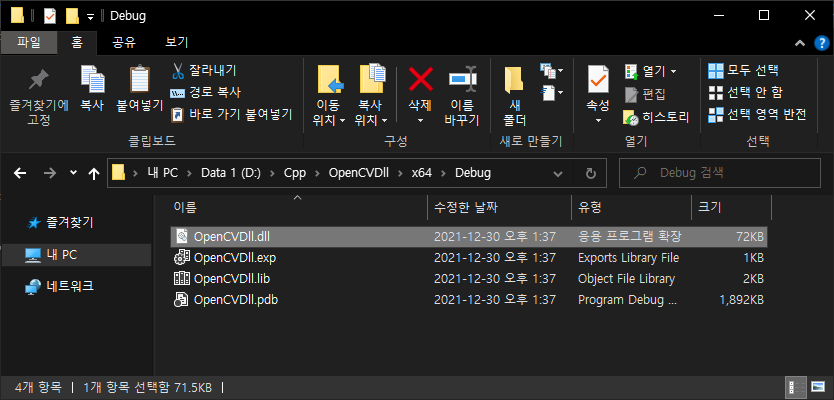
프로젝트 세팅이 끝나면 이미지의 상하좌우를 반전하는 소스를 입력하고 빌드한다.


라이브러리 파일(OpenCVDll.dll)이 생성된다.


유니티3D 프로젝트를 생성한다.


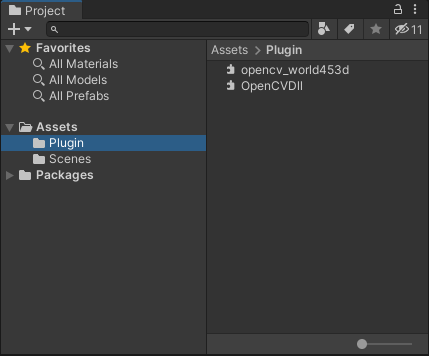
Assets에 Plugin 폴더를 만들고 OpenCV 라이브러리 파일(opencv_worldXXX.dll)과 위에서 만든 라이브러리 파일(OpenCVDll.dll)을 복사한다.


원하는 이미지 파일을 Assets 폴더에 복사한다.


아래와 같이 텍스쳐 세팅을 변경한다.

Texture Type - Sprite (2D and UI)

Advanced - Read/Write Enabled - Check

Default - Format - RGBA 32 bit

Apply 클릭


Image UI를 생성한다.


Source Image에 위에서 추가한 이미지를 선택한다.


스크립트 컴포넌트를 추가한다.


1
2
3
4
5
6
7
8
9
10
11
12
13
14
15
16
17
18
19
20
21
22
23
24
25
26
27
using System.Collections;
using System.Collections.Generic;
using UnityEngine;
 
using System.Runtime.InteropServices;
using UnityEngine.UI;
 
public class OpenCVTest : MonoBehaviour
{
    [DllImport("OpenCVDll")]
    private static extern void FlipImage(ref Color32[] rawImage, int width, int height);
 
    // Start is called before the first frame update
    void Start()
    {
        Color32[] image = GetComponent<Image>().sprite.texture.GetPixels32();
        FlipImage(ref image, 608912);
        GetComponent<Image>().sprite.texture.SetPixels32(image);
        GetComponent<Image>().sprite.texture.Apply();
    }
 
    // Update is called once per frame
    void Update()
    {
 
    }
}


OpenCVDll.dll을 사용하는 스크립트를 작성하고 저장한다.


유니티로 돌아오면 스크립트가 컴파일 된다. 실행 버튼을 클릭한다.


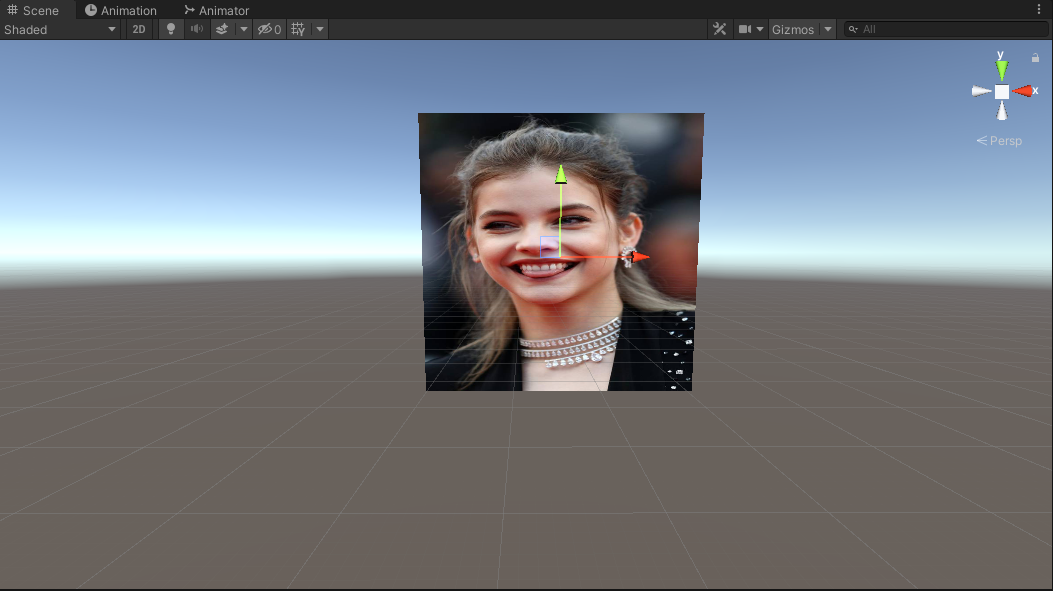
이미지의 상하좌우가 반전된다.


3D 오브젝트에 적용해 보자. Image UI를 삭제하고 Cube를 생성한다.


위에서 사용했던 이미지는 삭제하고 다시 복사한다. 그리고 아래와 같이 세팅한다.

Advanced - Read/Write Enabled - Check

Default - Format - RGBA 32 bit

Apply 클릭


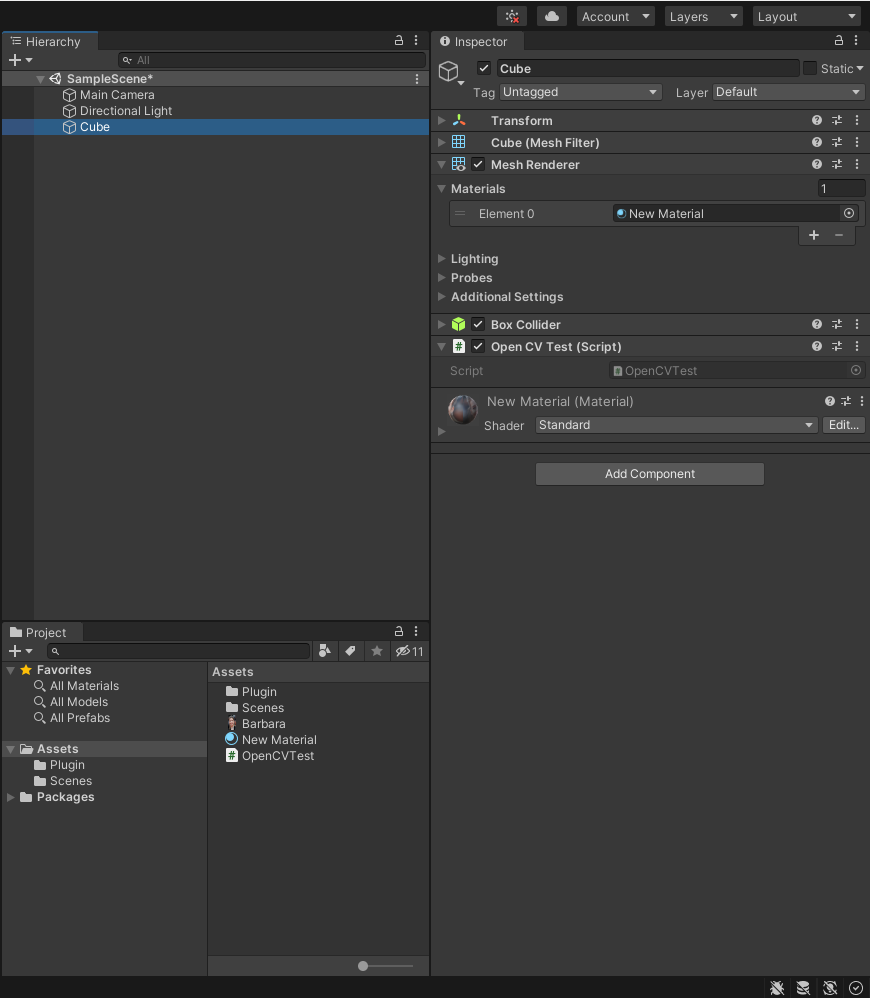
Material을 생성하고 위에서 세팅한 이미지를 적용한다. (Albedo 옆 동그라미 클릭)


Cube에 새로 생성한 Material을 적용하고 OpenCVTest 스크립트를 추가한다.


1
2
3
4
5
6
7
8
9
10
11
12
13
14
15
16
17
18
19
20
21
22
23
24
25
26
27
28
29
30
31
32
33
34
using System.Collections;
using System.Collections.Generic;
using UnityEngine;
 
using System.Runtime.InteropServices;
 
public class OpenCVTest : MonoBehaviour
{
    [DllImport("OpenCVDll")]
    private static extern void FlipImage(ref Color32[] rawImage, int width, int height);
 
    // Start is called before the first frame update
    void Start()
    {
        Color32[] image = (GetComponent<Renderer>().material.mainTexture as Texture2D).GetPixels32();
        FlipImage(ref image, 608912);
        (GetComponent<Renderer>().material.mainTexture as Texture2D).SetPixels32(image);
        (GetComponent<Renderer>().material.mainTexture as Texture2D).Apply();
 
        // Assets - Resources 폴더에 이미지를 저장하고 로드해서 텍스쳐로 활용하는 예
        //Texture2D texture2D = Resources.Load("Barbara") as Texture2D;
        //Color32[] image = texture2D.GetPixels32();
        //FlipImage(ref image, 608, 912);
        //texture2D.SetPixels32(image);
        //texture2D.Apply();
        //GetComponent<Renderer>().material.mainTexture = texture2D;
    }
 
    // Update is called once per frame
    void Update()
    {
 
    }
}


OpenCVTest 스크립트는 위와 같이 수정하고 저장한다.


유니티로 돌아오면 스크립트가 컴파일된다. 실행 버튼을 클릭한다.


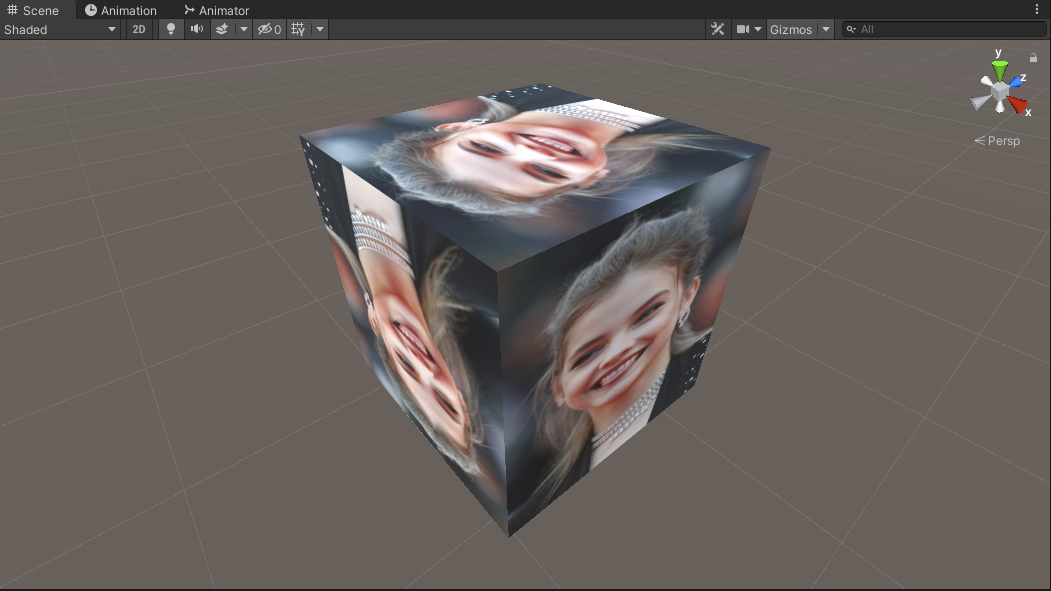
상하좌우가 반전된다.


반응형
Posted by J-sean
:
반응형

카메라 영상을 텍스쳐로 사용해 보자.


Cube를 하나 생성한다.


스크립트(CamTexture)를 만든다.


1
2
3
4
5
6
7
8
9
10
11
12
13
14
15
16
17
18
19
20
21
22
23
24
25
26
27
28
29
30
31
32
33
34
35
36
37
38
39
40
41
42
43
44
45
46
47
48
49
50
51
52
53
54
55
56
57
58
59
60
61
62
63
64
using System.Collections;
using System.Collections.Generic;
using UnityEngine;
 
public class CamTexture : MonoBehaviour
{
    Renderer renderer;
    WebCamDevice[] webCamDevices;
    WebCamTexture webCamTexture;
 
    // Start is called before the first frame update
    void Start()
    {
        renderer = GetComponent<Renderer>();
 
        // 카메라 조사
        webCamDevices = WebCamTexture.devices;
        for (int i = 0; i < webCamDevices.Length; i++)
        {
            Debug.Log($"{i}) {webCamDevices[i].name}: {(webCamDevices[i].isFrontFacing ? "Front" : "Back")} camera");
        }
 
        // 첫 번째 전면 카메라 선택
        for (int i = 0; i < webCamDevices.Length; i++)
        {
            if (webCamDevices[i].isFrontFacing == true)
            {
                webCamTexture = new WebCamTexture(webCamDevices[i].name);
                break;
            }
        }
 
        // 텍스쳐에 적용
        if (webCamTexture != null)
        {
            webCamTexture.requestedFPS = 60;
            renderer.material.mainTexture = webCamTexture;
            webCamTexture.Play();
        }
 
        // 간단히 하고 싶다면 아래처럼 하면 된다.
        /*
        webCamTexture = new WebCamTexture(640, 480, 60);
        // If no device name is supplied to the constructor or is passed as a null string, the first device found will be used.
        renderer.material.mainTexture = webCamTexture;
        webCamTexture.Play();
        */
    }
 
    // Update is called once per frame
    void Update()
    {
 
    }
 
    private void OnDestroy()
    {
        if (webCamTexture != null)
        {
            webCamTexture.Stop();
            WebCamTexture.Destroy(webCamTexture);
        }
    }
}


소스를 입력하고 저장한다.


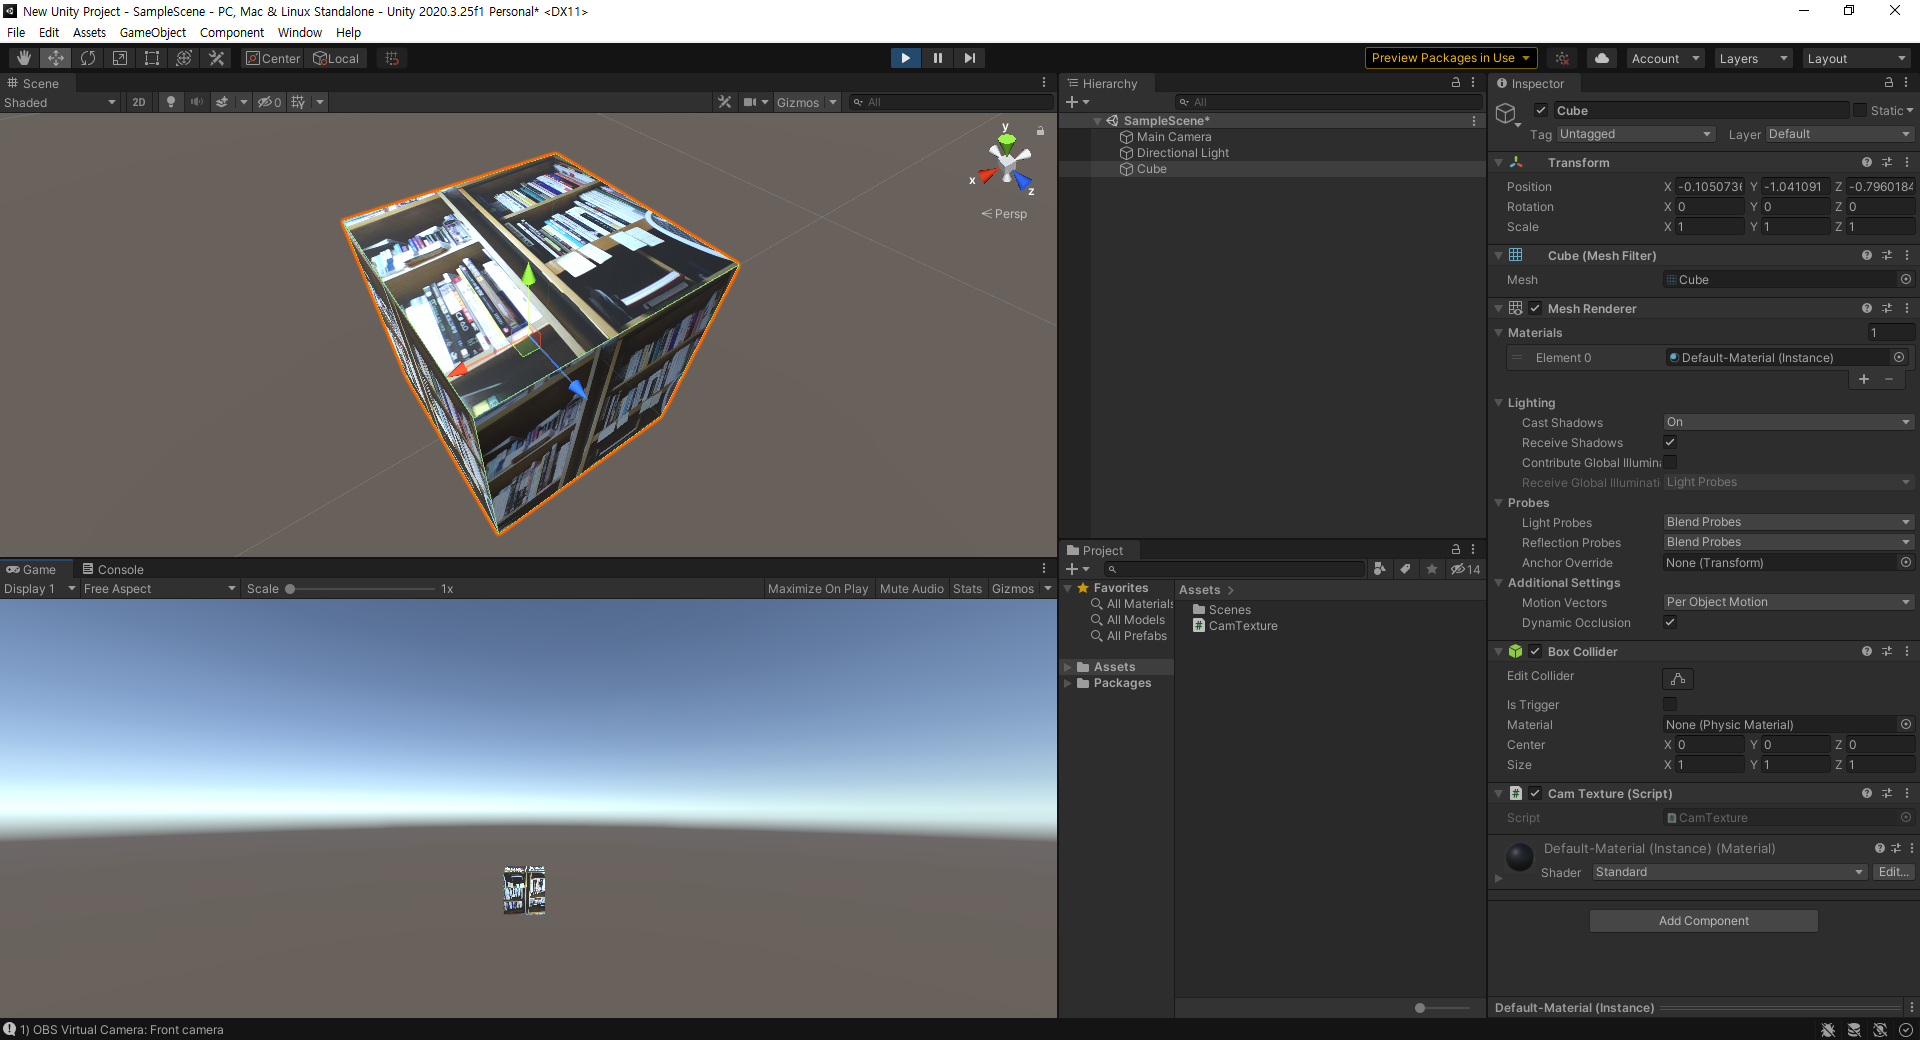
실행하면 Cube에 카메라 영상이 재생된다.


반응형
Posted by J-sean
:
반응형

3D 모델을 임포트하고 텍스쳐를 적용해 보자.


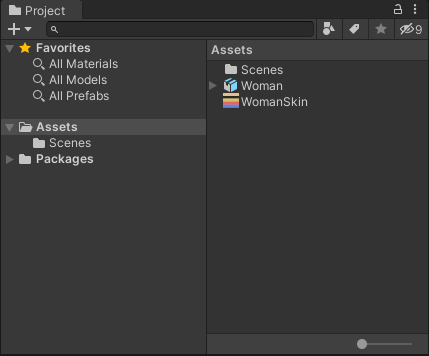
모델과 텍스쳐를 임포트한다.


Woman.fbx
2.63MB
WomanSkin.png
0.00MB


임포트한 모델을 씬으로 불러와도 텍스쳐가 자동으로 적용되지 않는다. 인스펙터창의 Texture (Material)은 비활성화 되어 있다.


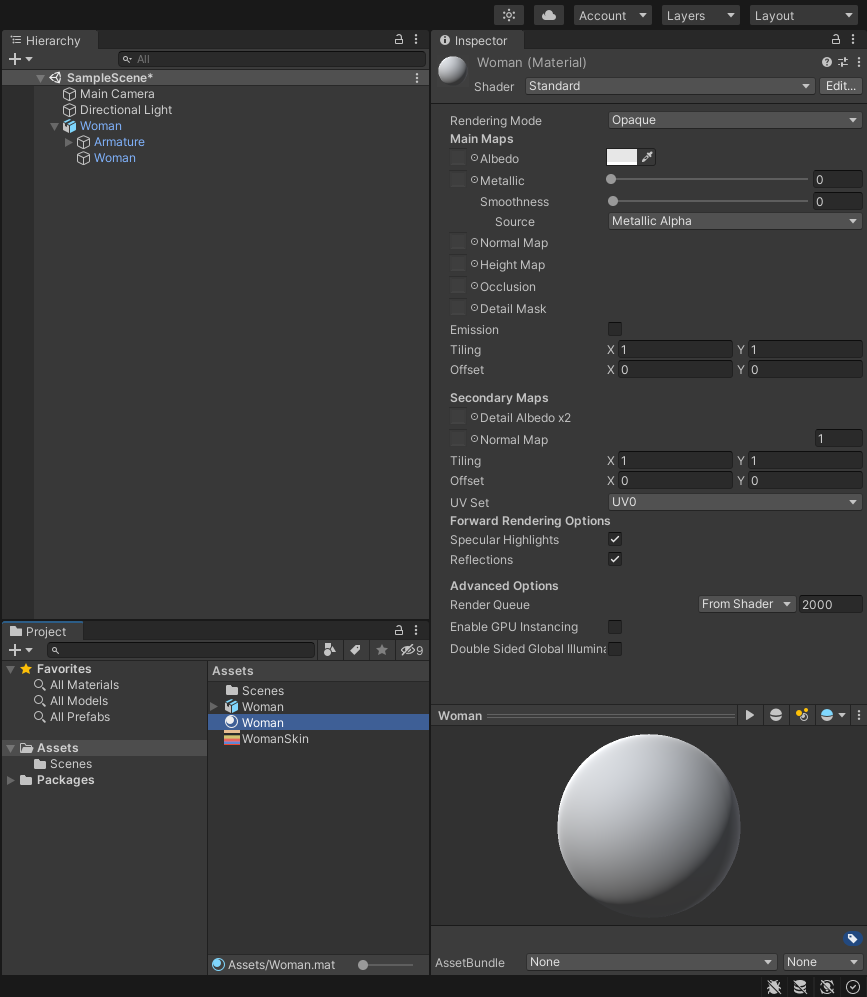
임포트한 모델의 Texture (Material)에서 Create Material Preset을 클릭한다.


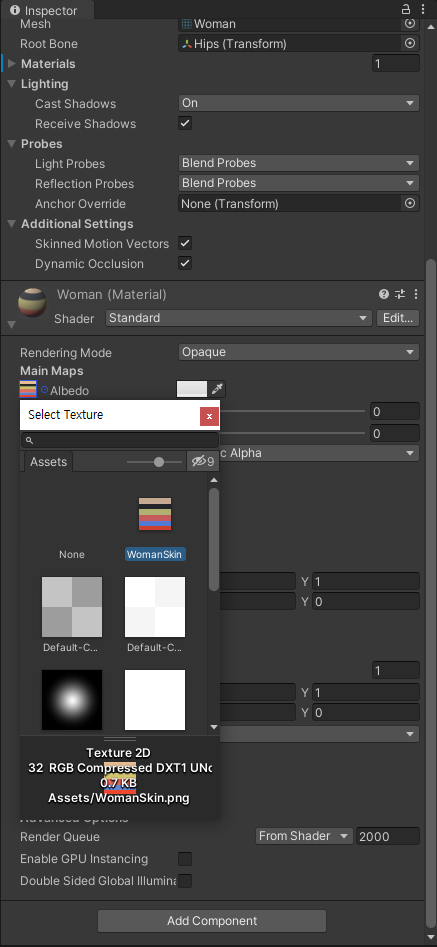
모델의 Material과 동일한 Material이 생성된다. (여기서 먼저 Albedo 왼쪽 작은 원을 클릭하고 WomanSkin 텍스쳐를 선택해도 된다)


모델을 선택하고 위에서 생성한 Woman Material을 Drag&Drop한다. 씬에 있는 모델에 직접 Drag&Drop 하거나 인스펙터창 Add Component 버튼 아래에 Drag&Drop한다. 아니면 Woman - Skinned Mesh Renderer - Materials - Element 0 에서 박스 오른쪽 작은 원을 클릭하고 Woman 머테리얼을 선택한다.


Woman (Material) - Albedo 왼쪽 작은 동그라미를 클릭하고 WomanSkin을 선택한다.


텍스쳐가 적용되었다.


반응형
Posted by J-sean
:
반응형

모델에 포함된 애니메이션도 인스펙터 창에서 직접 수정 할 수 있다.


모델을 임포트한다.


Woman.fbx
2.63MB


Assets 창에서 모델을 선택하고 인스펙터 창에서 Animation 탭으로 이동한다.


Idle 애니메이션을 선택하고 Loop Time을 체크한다. Apply를 클릭한다.


Assets창 모델의 애니메이션을 확인하면 Loop Time이 체크 되어있다.


씬에 모델을 Drag&Drop 한다.


애니메이터 컨트롤을 생성한다.


생성한 애니메이터 컨트롤을 씬에 있는 모델에 Drag&Drop 한다.


애니메이터 창을 확인한다.


Assets창 모델의 애니메이션(Idle)을 애니메이터창으로 Drag&Drop 한다.


플레이하면 Idle상태가 반복된다.


다른 애니메이션도 추가해 테스트 해 보자.


반응형
Posted by J-sean
: