Unity3D - 유니티3D 에러/예외 로그 Error/Exception Logging
Unity 2022. 7. 9. 22:12 |반응형
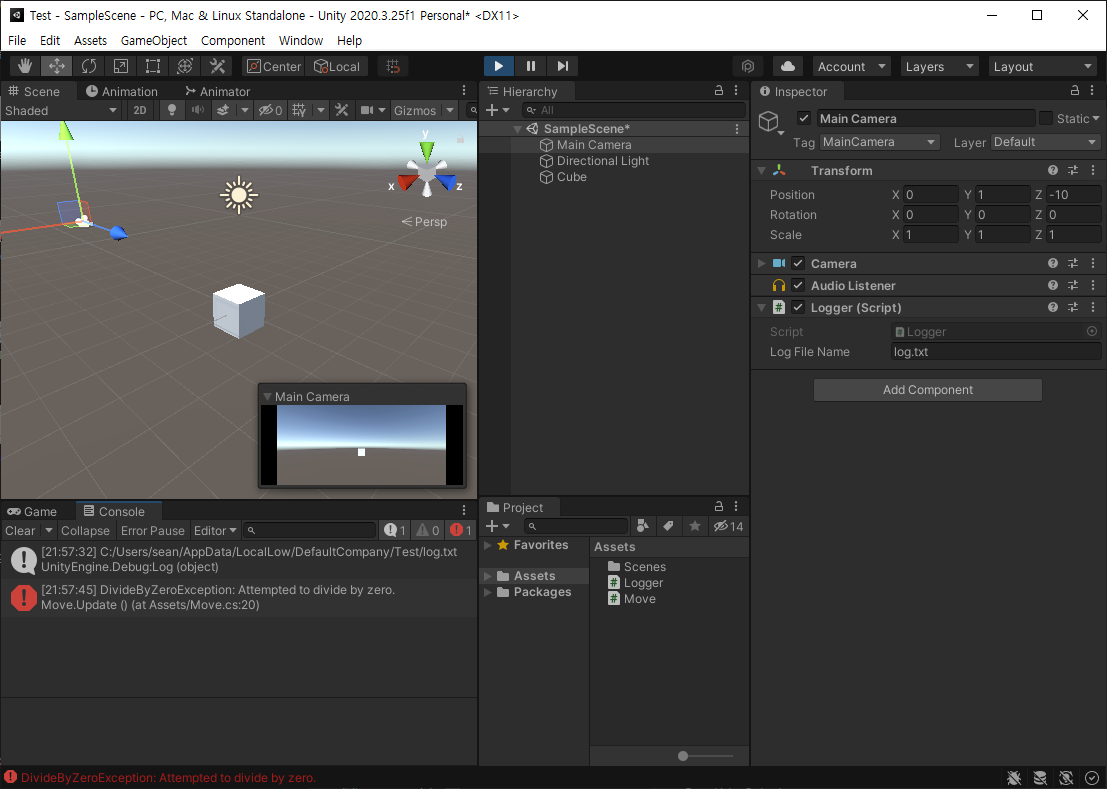
에러나 예외 발생 기록을 남겨보자.
Application.RegisterLogCallback()는 deprecated 되었으므로 Application.logMessageReceived를 사용한다.


|
1
2
3
4
5
6
7
8
9
10
11
12
13
14
15
16
17
18
19
20
21
22
23
24
25
26
27
28
29
30
31
32
33
34
35
36
37
38
39
40
|
using System.Collections;
using System.Collections.Generic;
using UnityEngine;
public class Logger : MonoBehaviour
{
private System.IO.StreamWriter sw;
public string logFileName = "log.txt";
// Start is called before the first frame update
void Start()
{
sw = new System.IO.StreamWriter(Application.persistentDataPath + "/" + logFileName);
Debug.Log(Application.persistentDataPath + "/" + logFileName);
}
private void OnEnable()
{
Application.logMessageReceived += HandleLog;
}
private void OnDisable()
{
Application.logMessageReceived -= HandleLog;
}
void HandleLog(string logString, string stackTrace, LogType type)
{
sw.WriteLine("Logged at: " + System.DateTime.Now.ToString() + "\n"
+ "Log type: " + type + "\n"
+ "Log desc: " + logString + "\n"
+ "Trace: " + stackTrace
);
}
private void OnDestroy()
{
sw.Close();
}
}
|
위 내용을 Logger 스크립트에 작성한다.


반응형
'Unity' 카테고리의 다른 글
| Unity3D - 유니티3D Camera Shaking 카메라 흔들기 (0) | 2022.07.20 |
|---|---|
| Unity3D - 유니티3D AI Navigation NavMesh Components (0) | 2022.07.14 |
| Unity3D - 유니티3D 디버깅 Debugging with Visual Studio (0) | 2022.07.09 |
| Unity3D - 유니티3D with AdMob Banner 배너 광고 (0) | 2022.01.19 |
| Unity3D - 유니티3D with AdMob Troubleshooting (0) | 2022.01.18 |