[wxWidgets] Window Handle & Titlebar Icon 윈도우 핸들 구하기 및 타이틀바 아이콘 바꾸기
C, C++ 2026. 5. 4. 09:19 |반응형
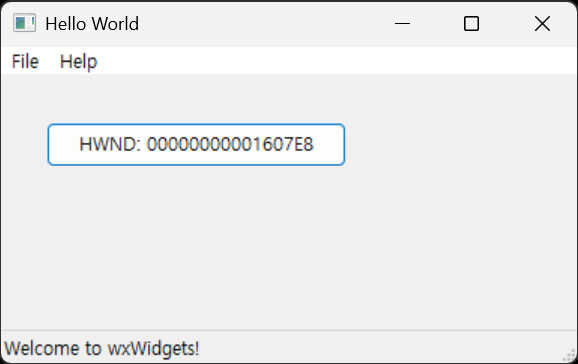
wxWidgets로 만든 앱에서 윈도우 핸들(HWND)을 확인해 보자.
#include <wx/wx.h>
class MyApp : public wxApp
{
public:
bool OnInit() override;
};
wxIMPLEMENT_APP(MyApp);
class MyFrame : public wxFrame
{
public:
MyFrame();
private:
void OnHello(wxCommandEvent& event);
void OnExit(wxCommandEvent& event);
void OnAbout(wxCommandEvent& event);
};
enum
{
ID_Hello = 1
};
bool MyApp::OnInit()
{
MyFrame* frame = new MyFrame();
frame->Show(true);
return true;
}
MyFrame::MyFrame()
: wxFrame(nullptr, wxID_ANY, "Hello World")
{
wxMenu* menuFile = new wxMenu;
menuFile->Append(ID_Hello, "&Hello...\tCtrl-H", "Help string shown in status bar for this menu item");
menuFile->AppendSeparator();
menuFile->Append(wxID_EXIT);
wxMenu* menuHelp = new wxMenu;
menuHelp->Append(wxID_ABOUT);
wxMenuBar* menuBar = new wxMenuBar;
menuBar->Append(menuFile, "&File");
menuBar->Append(menuHelp, "&Help");
SetMenuBar(menuBar);
CreateStatusBar();
SetStatusText("Welcome to wxWidgets!");
wxPanel* panel = new wxPanel(this, wxID_ANY);
wxButton* myButton = new wxButton(panel, wxID_ANY, "Press Me", wxPoint(30, 30), wxSize(200, 30));
myButton->Bind(wxEVT_BUTTON, &MyFrame::OnHello, this);
Bind(wxEVT_MENU, &MyFrame::OnHello, this, ID_Hello);
Bind(wxEVT_MENU, &MyFrame::OnAbout, this, wxID_ABOUT);
Bind(wxEVT_MENU, &MyFrame::OnExit, this, wxID_EXIT);
}
void MyFrame::OnExit(wxCommandEvent& event)
{
Close(true);
}
void MyFrame::OnAbout(wxCommandEvent& event)
{
wxMessageBox("This is a wxWidgets Hello World example", "About Hello World", wxOK | wxICON_INFORMATION);
}
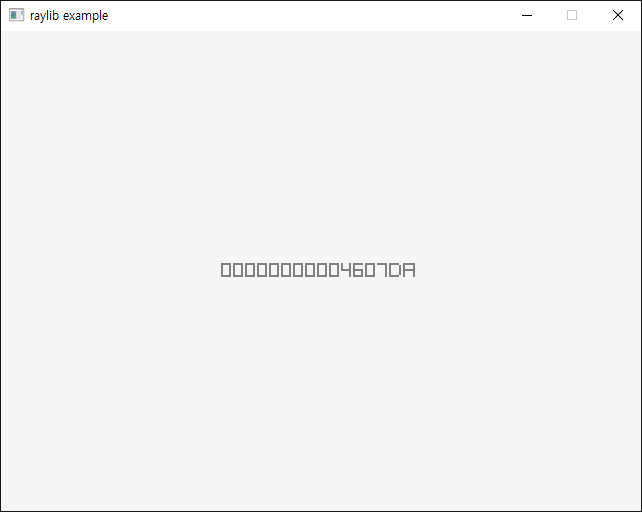
void MyFrame::OnHello(wxCommandEvent& event)
{
// 버튼의 윈도우 핸들을 가져와서 텍스트를 변경한다.
// 실행시간에 이벤트가 발생한 객체가 wxButton인지 확인하기 위해 dynamic_cast를 사용한다.
wxButton* button = dynamic_cast<wxButton*>(event.GetEventObject());
if (button)
{
// GetHandle()을 통해 네이티브 운영체제의 윈도우 핸들(HWND)을 가져올 수 있다.
// 이벤트가 발생한 객체가 wxButton인 경우, 해당 버튼의 핸들을 표시한다.
void* handle = button->GetHandle();
//void* handle = button->GetHWND(); // GetHWND()는 wxButton의 핸들을 반환하는 메서드로, GetHandle()과 동일한 값을 반환한다.
button->SetLabel(wxString::Format("HWND: %p", handle));
}
else
{
// 버튼이 아닌 메뉴에서 호출된 경우, 메인 윈도우(MyFrame)의 핸들을 표시한다.
void* frameHandle = this->GetHandle();
wxLogMessage(wxString::Format("Main Window HWND: %p", frameHandle));
}
}


이번엔 타이틀바 왼쪽의 아이콘을 바꿔보자.
MyFrame::MyFrame()
	: wxFrame(nullptr, wxID_ANY, "Hello World")
{
	// 윈도우 타이틀바 왼쪽에 표시될 아이콘 설정
	// 프로젝트(혹은 실행 파일) 경로에 "icon.ico" 파일이 존재해야 정상적으로 로드된다.
	SetIcon(wxIcon("icon.ico", wxBITMAP_TYPE_ICO));

	wxMenu* menuFile = new wxMenu;
	menuFile->Append(ID_Hello, "&Hello...\tCtrl-H", "Help string shown in status bar for this menu item");
	menuFile->AppendSeparator();
	menuFile->Append(wxID_EXIT);
    .
    .
    .

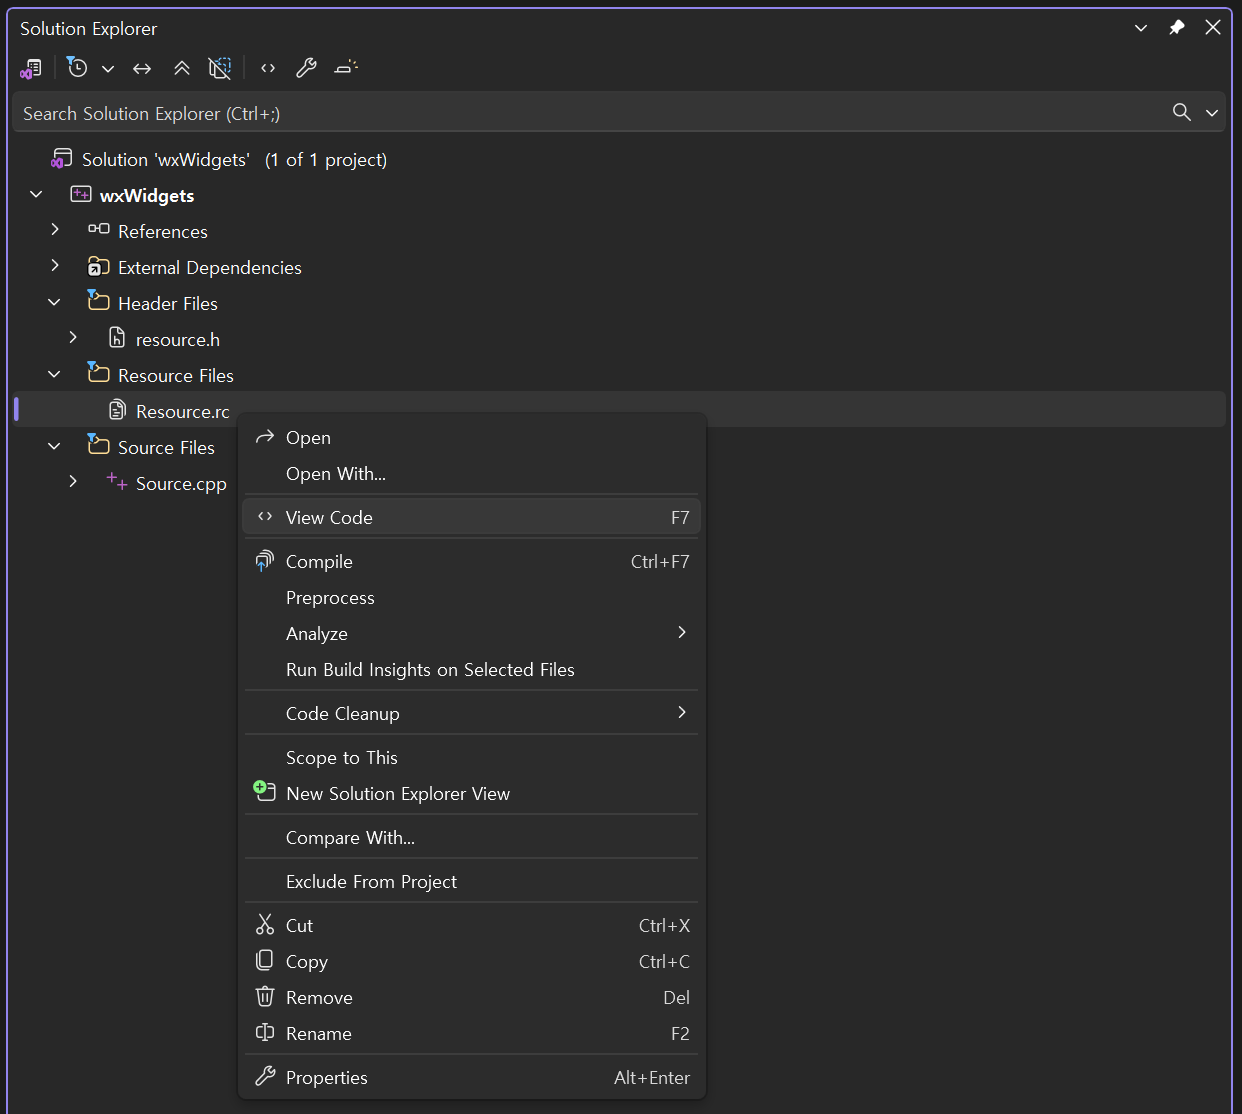
이번엔 리소스 파일을 이용해 타이틀바의 아이콘뿐만 아니라 실행 파일의 아이콘도 바꿔보자.


// Microsoft Visual C++ generated resource script.
//
#include "resource.h"

#define APSTUDIO_READONLY_SYMBOLS
/////////////////////////////////////////////////////////////////////////////
//
// Generated from the TEXTINCLUDE 2 resource.
//
#include "winres.h"

/////////////////////////////////////////////////////////////////////////////
#undef APSTUDIO_READONLY_SYMBOLS

/////////////////////////////////////////////////////////////////////////////
// 영어(미국) resources

#if !defined(AFX_RESOURCE_DLL) || defined(AFX_TARG_KOR)
LANGUAGE 18, 1

#ifdef APSTUDIO_INVOKED
/////////////////////////////////////////////////////////////////////////////
//
// TEXTINCLUDE
//

1 TEXTINCLUDE
BEGIN
    "resource.h\0"
END

2 TEXTINCLUDE
BEGIN
    "#include ""winres.h""\r\n"
    "\0"
END

3 TEXTINCLUDE
BEGIN
    "\r\n"
    "\0"
END

#endif    // APSTUDIO_INVOKED

#endif    // 영어(미국) resources
/////////////////////////////////////////////////////////////////////////////


#ifndef APSTUDIO_INVOKED
/////////////////////////////////////////////////////////////////////////////
//
// Generated from the TEXTINCLUDE 3 resource.
//


/////////////////////////////////////////////////////////////////////////////
#endif    // not APSTUDIO_INVOKED

// Windows 탐색기에서 표시할 실행 파일 메인 아이콘
MAINICON ICON "icon.ico"

// 참고: wxWidgets 기본 리소스(매니페스트 및 기본 커서 등)를 포함하려면 아래 줄을 추가하는 것이 좋다.
#include "wx/msw/wx.rc"
리소스 파일 아래에 위와 같이 MAINICON ICON "icon.ico" 문장을 추가한다. Windows는 프로젝트에 포함된 리소스 파일 중 가장 먼저(또는 가장 낮은 ID로) 정의된 아이콘을 실행 파일의 주 아이콘으로 사용한다. (#include "wx/msw/wx.rc"를 추가하면 wxWidgets 기본 리소스를 사용할 수 있다)
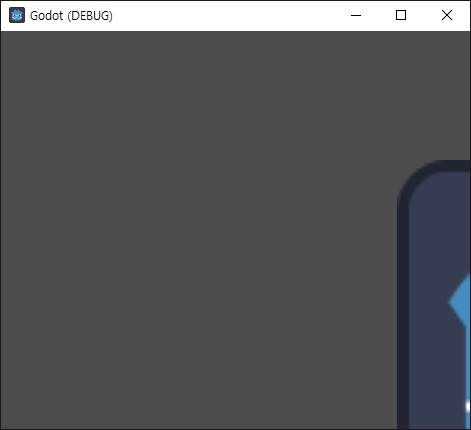
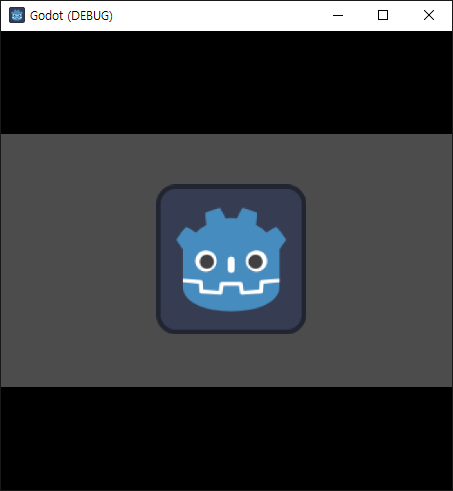
이 상태에서 다시 빌드하면 실행 파일의 아이콘이 아래와 같이 변경된다.

또, 리소스에 아이콘을 등록했으므로 타이틀바 아이콘 설정도 아래와 같이 바꿀 수 있다.
MyFrame::MyFrame()
	: wxFrame(nullptr, wxID_ANY, "Hello World")
{
	// 윈도우 타이틀바 왼쪽에 표시될 아이콘 설정
	// 프로젝트(혹은 실행 파일) 경로에 "icon.ico" 파일이 존재해야 정상적으로 로드된다.
	//SetIcon(wxIcon("icon.ico", wxBITMAP_TYPE_ICO));
	//
	// 리소스에 아이콘을 등록했기 때문에, Source.cpp에서 파일 경로를 직접 적지 않고 리소스에 등록된 아이콘명을
	// 활용하여 타이틀바 아이콘을 설정할 수 있다. (wxIcon() 대신 매크로 wxICON() 사용)
	SetIcon(wxICON(MAINICON)); // 리소스에 등록된 아이콘을 사용하여 타이틀바 아이콘 설정("MAINICON"은 리소스에 선언한 이름)
	//
	// 리소스에 #include "wx/msw/wx.rc"를 추가했기 때문에, wxWidgets의 기본 리소스(매니페스트 및 기본 커서 등)가 포함되어 있다.
	// 따라서 wx.rc에 정의된 기본 아이콘을 사용할 수 있다. 예를 들어, wxICON(wxICON_INFORMATION)과 같이 기본 아이콘을 사용할 수 있다.
	//SetIcon(wxICON(wxICON_INFORMATION));

	wxMenu* menuFile = new wxMenu;
	menuFile->Append(ID_Hello, "&Hello...\tCtrl-H", "Help string shown in status bar for this menu item");
	menuFile->AppendSeparator();
	menuFile->Append(wxID_EXIT);
    .
    .
    .
반응형
'C, C++' 카테고리의 다른 글
| [wxWidgets] wxChartDir 차트 그리기 (0) | 2026.05.05 |
|---|---|
| [wxWidgets] wxCharts 차트 그리기 (0) | 2026.05.04 |
| [wxWidgets] wxFormBuiler XRC 파일 사용하기 (0) | 2026.05.03 |
| [wxWidgets] Build and Simple Example 빌드와 간단한 예제 (feat.OpenCV) (0) | 2026.05.03 |
| [C++] Linear Interpolation (Lerp) 선형보간 (0) | 2026.05.02 |